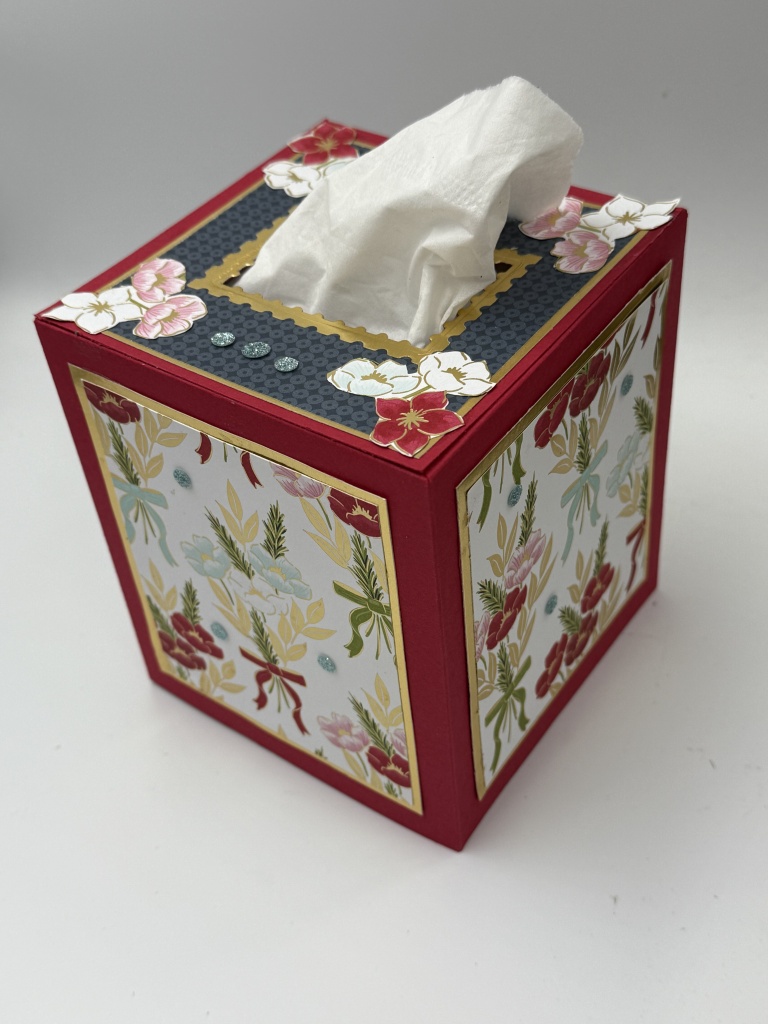
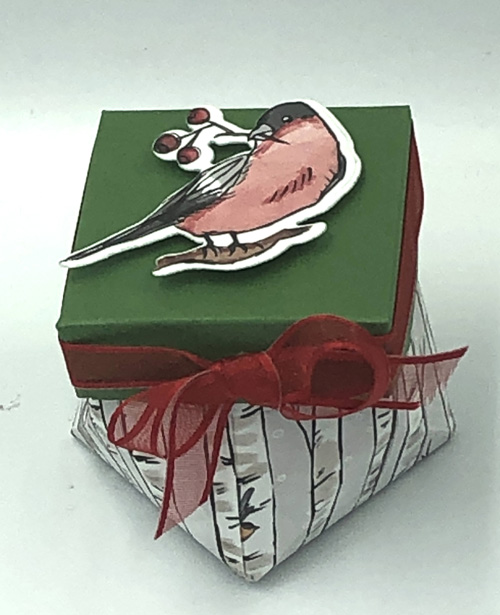
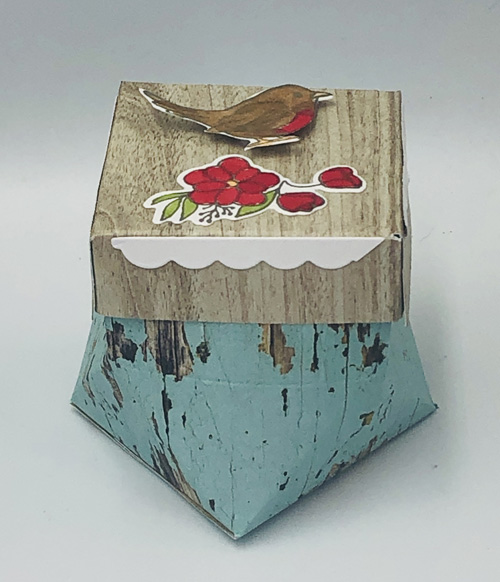
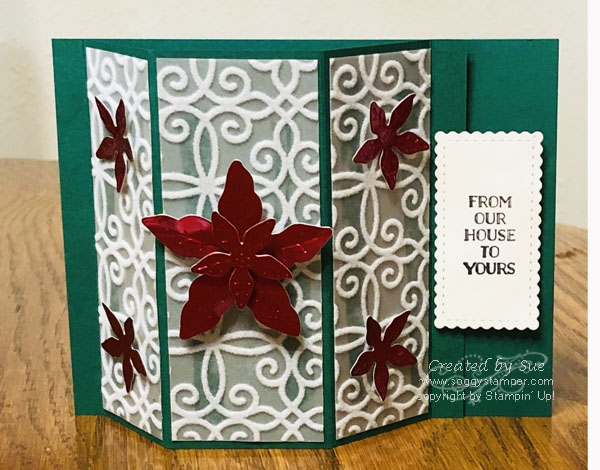
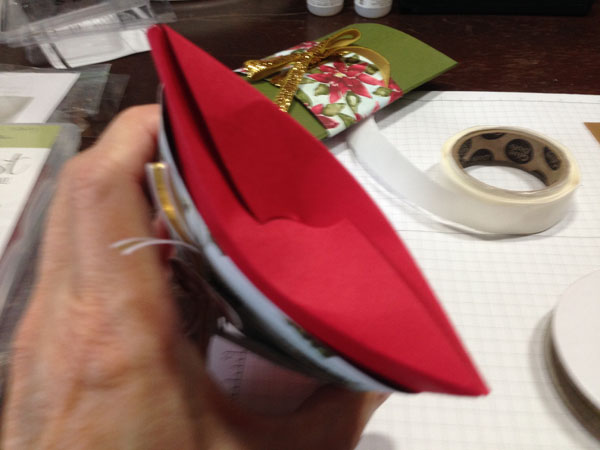
This Outstanding 3D Star Christmas Card looks intricate but is really easy to make. Although it has 3 dimensions, it folds flat to fit into a standard medium envelope. I love the Traditions of Christmas Specialty Designer Series Paper (165853) and have had to reorder it. It has so many beautiful designs but this is the first time I have used this particular one. I think it is perfect for this card and I am so delighted with how the card turned out. I am a big fan of fancy folds and this one takes the cake. The design is perfect for a variety of occasions. All you have to do is change out the patterned paper. This card will remain on the recipients bookshelf or fireplace mantel and not end up in the trash.
Supplies Needed to Make This Outstanding 3D Star Card
- Words for the Season Stamp Set (165716)
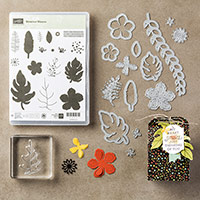
- Christmas Greenery Stamp Set (165879)
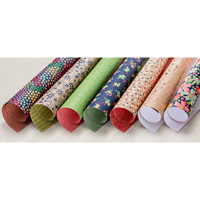
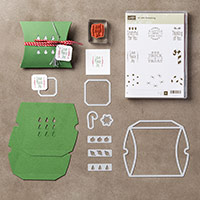
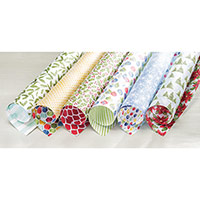
- Traditions of Christmas Specialty Designer Series Paper (165853)
- Real Red Cardstock (102482)
- Basic White Cardstock (166780)
- Gold Foil Sheets (132622)
- Old Olive Classic Stampin’ Pad (147090)
- Real Red Classic Stampin’ Pad (147084)
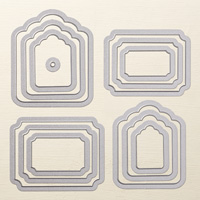
- Traditional Labels Dies (165864)
- Stampin’ Seal and Multipurpose Liquid Glue
- Stampin’ Cut & Emboss Machine (149653) or Mini Stampin’ Cut & Emboss Machine (150673)
- I have put all these supplies in a shopping card in my online store for your convenience. Click here to access it. You can always delete what you already have. Thanks for your business!
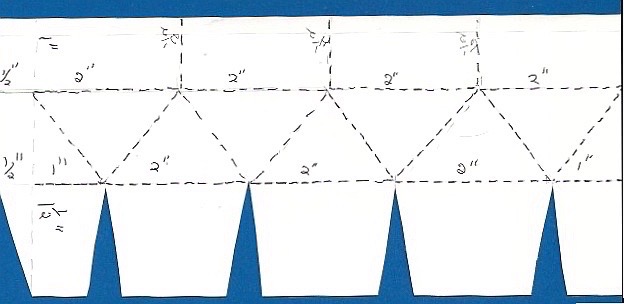
Cutting Measurements
- Real Red Cardstock (card base) 4 1/2″ x 4 1/4″
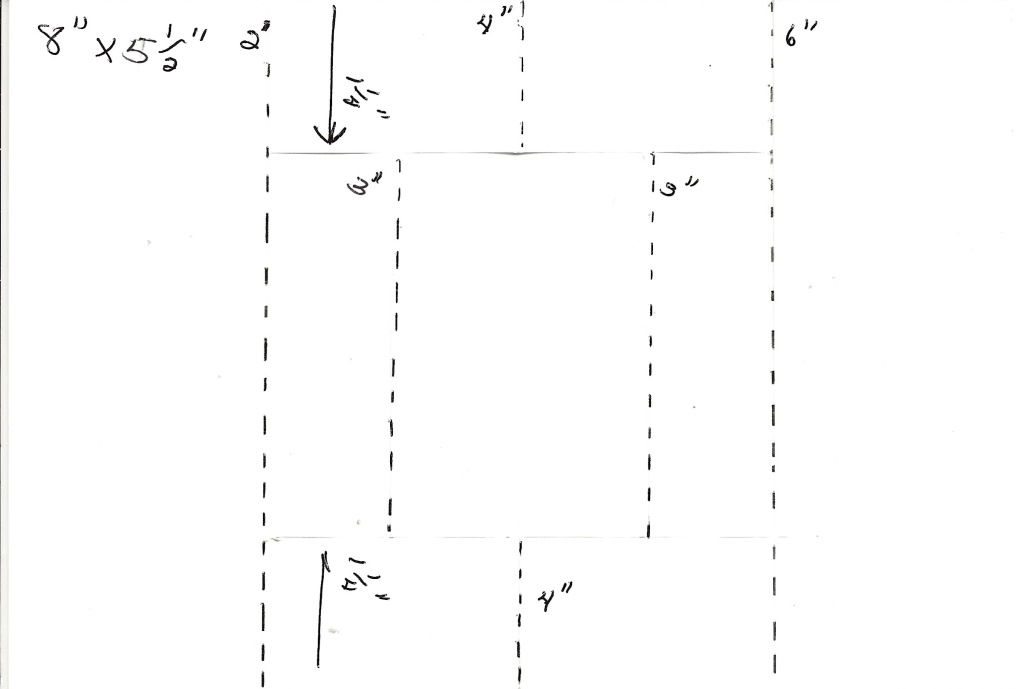
- Traditions of Christmas paper 6 pieces 4″ x 4 1/4″, place the 4″ length at the top of the paper trimmer or scoring board and score 2 pieces at 1″, 2″, 3″. Then score the other 4 at 1/2″, 1 1/2″, 2 1/2″ and 3 1/2″
Once you have the supplies needed for this outstanding 3D star Christmas card, you can follow along with me in this video.
Once you give this tutorial a go, I’d love to see your card. Send a picture to me, sue@soggystamper.com.