The ladies in our Craig/Klawock card group made this darling Easter Basket on Sunday. It is made using the Petal Cone Bigz L die. Yes, it is! Here is how:
1. Cut out two of the dies and fold them in half along the long score line.
2. Place the score line by the petals on the 2" mark of a Stampin' Trimmer and score the die cut. Turn the die cut over and do the same thing on the other side.
3. Repeat with the other die cut.
4. Now place the score line by the petals on the 3" mark and cut the point of the die cut off.
5. With a pair of scissors, cut up from the bottom cutting line to score line you made in step 2. Trm off the narrow flap at the score line.
6. Put your basket together with sticky tape, folding up the bottom flaps. Be careful to keep the basket square.
7. Cut a strip of designer series paper 3/4" x 9" for the handle and secure with glue dots.
8. Cut two of the large Delicate Doilies, cut them in half, and adhere them to the basket flaps.
9. Decorate your basket as desired.
Now for the tip! To get the Delicate Doilies to cut cleanly through, you need to run the die and paper through the Big Shot back and forth several times. It is important to have relatively unscored cutting plates for this process! I used the original ones that came with my Big Shot several years ago and they were deeply scored. That scoring caused marks on the card stock and deep marks in the foam of my die. I discovered that if you gently heat the foam with your heat tool, those marks will almost disappear. You have to be very careful to not apply the heat too long at any one time and not be too close or you might melt the foam. However, it really did smooth out the foam on my die significantly!!!
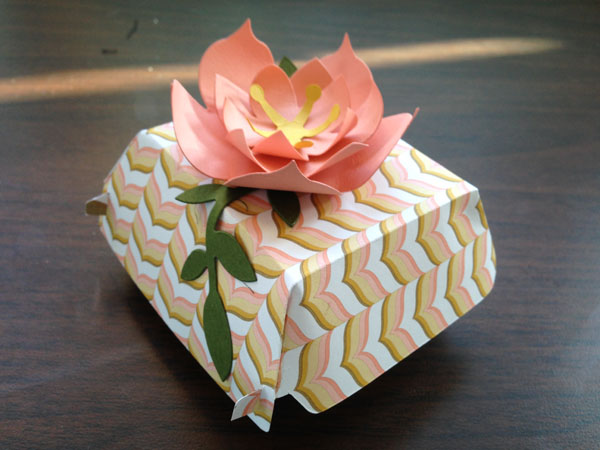
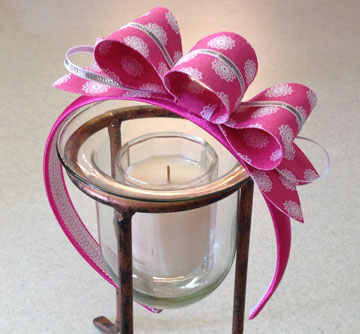
I colored the 5/8" Flower Trim by filling a Stampin' Spritzer about 3/4 full with 70% rubbing alcohol and added about 10 drops of So Saffron refill ink. Then I sprayed the flowers.
Now for the list of supplies for the basket:
Tea for Two Designer Series Paper (129311)
Whisper White Card Stock 8 1/2" x 11" (100730)
So Saffron Classic Ink Refill (105225)
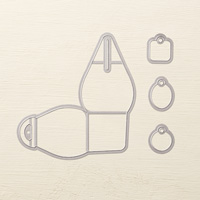
Petal Cone Bigz L Die (121810)
Delicate Doilies Sizzlit (126999)
Big Shot Die-Cutting Machine (113439)
5/8" Flower Trim (126869)
Marina Mist 1/8" Taffeta Ribbon (119257)
Stampin' Trimmer (126889)
Stampin' Spritzer (126185)
To order these supplies or any other supplies you need, either click on the lins or visit my online store. I am holding a virtual workshop which ends tomorrow evening. Use this hostess code 3SWVFAE2 when placing your order and when the workshop total reaches $150, your name will be put into a drawing to be the mystery hostess. Remember there are only a few days left for Sale-a-bration so take advantage of this great sale today!
Until your next visit…blessings,
Sue Erickson

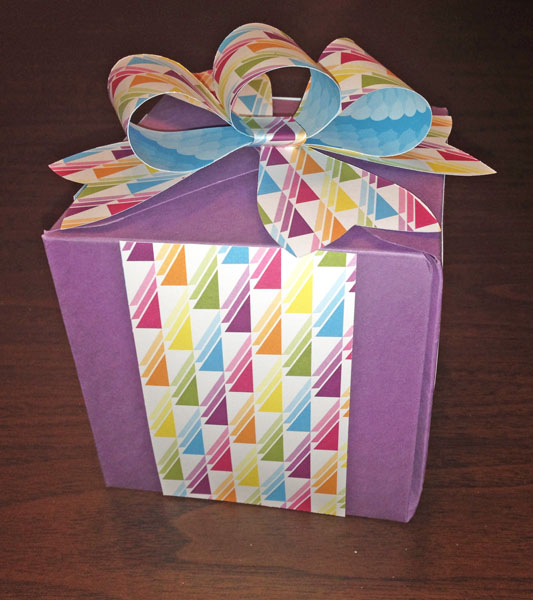
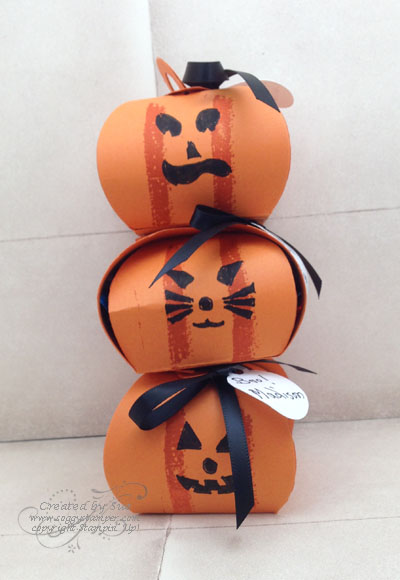
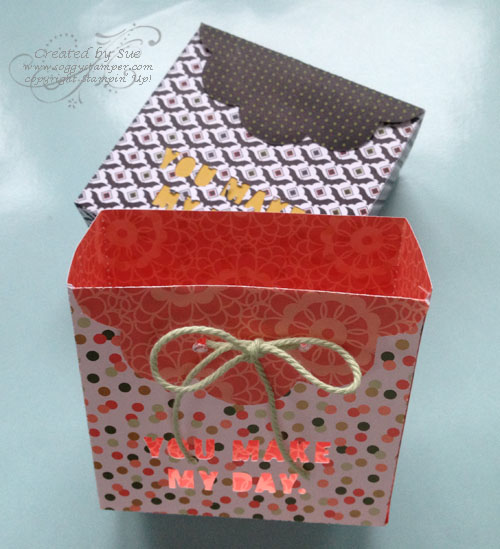
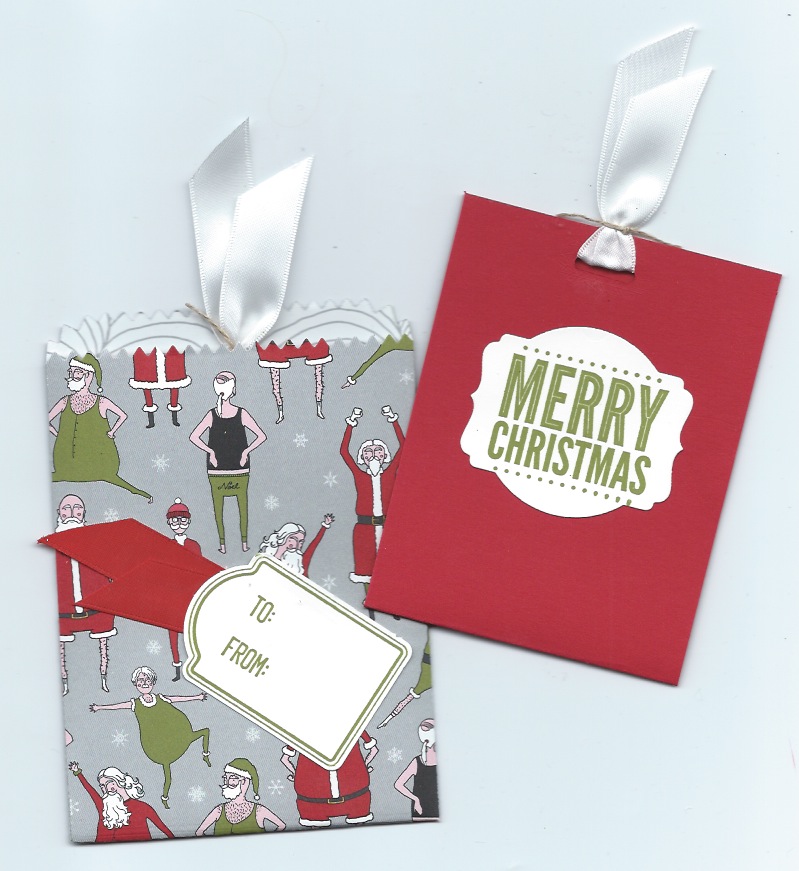 What do you do when you want to play with your new toys from your preorder but have to stay focused on Christmas? You find a way to use them for Christmas presents! These Mini Treat Bag Thinlits Dies are in the new Occasions catalog and you can buy them beginning Jan 6.


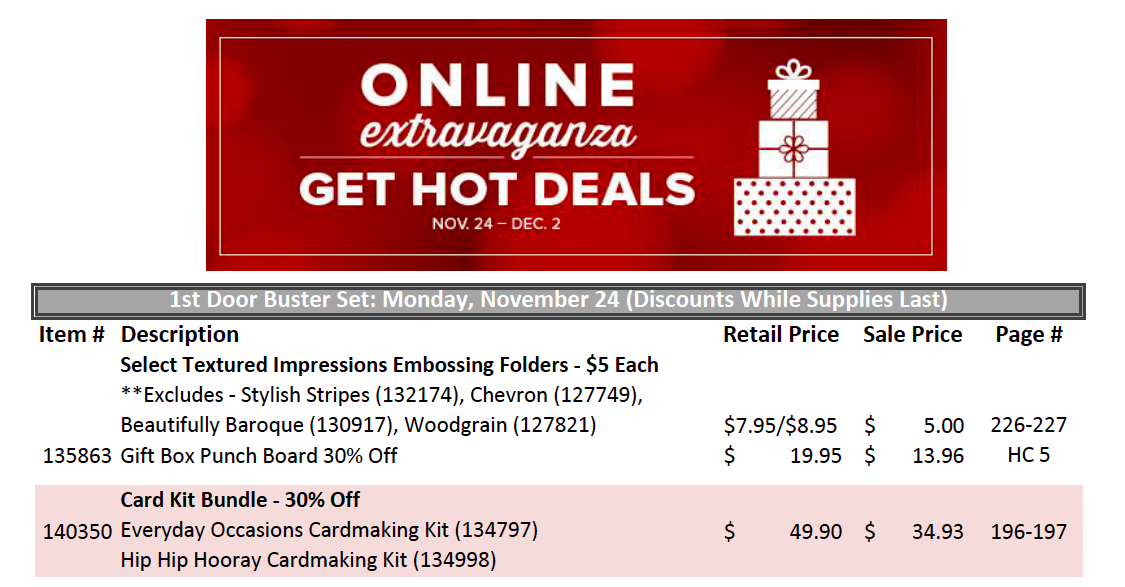
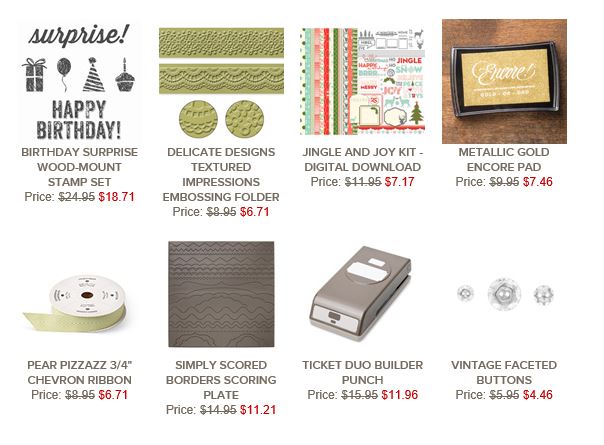 These prices only last through next Monday night so order the ones you want now while you are looking at them. Click on the image to go to my online store.