The Sweet Days of Autumn Designer Series Paper can not only be purchased by itself but also as a Sweet Days of Autumn Bundle which includes a coordinating sticker sheet.

This Sweet Days of Autumn bundle is perfect for scrapbooking as it includes four double-sided sheets each of three combinations. There is one combination of the trees on one side and darling forest animals on the other. (Too bad the reverse of each pattern wasn’t a neutral pattern.) The stickers quickly add details to a scrapbook page.
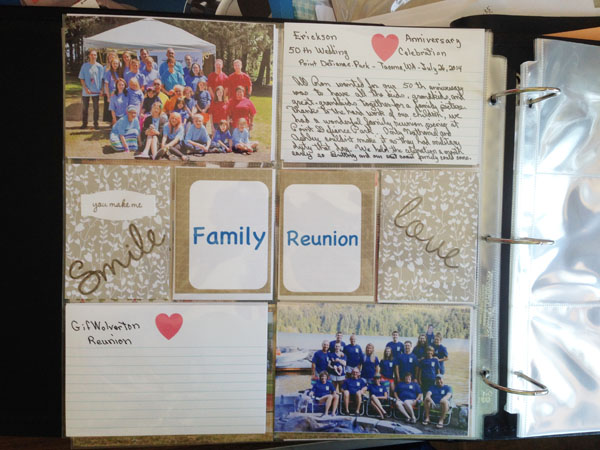
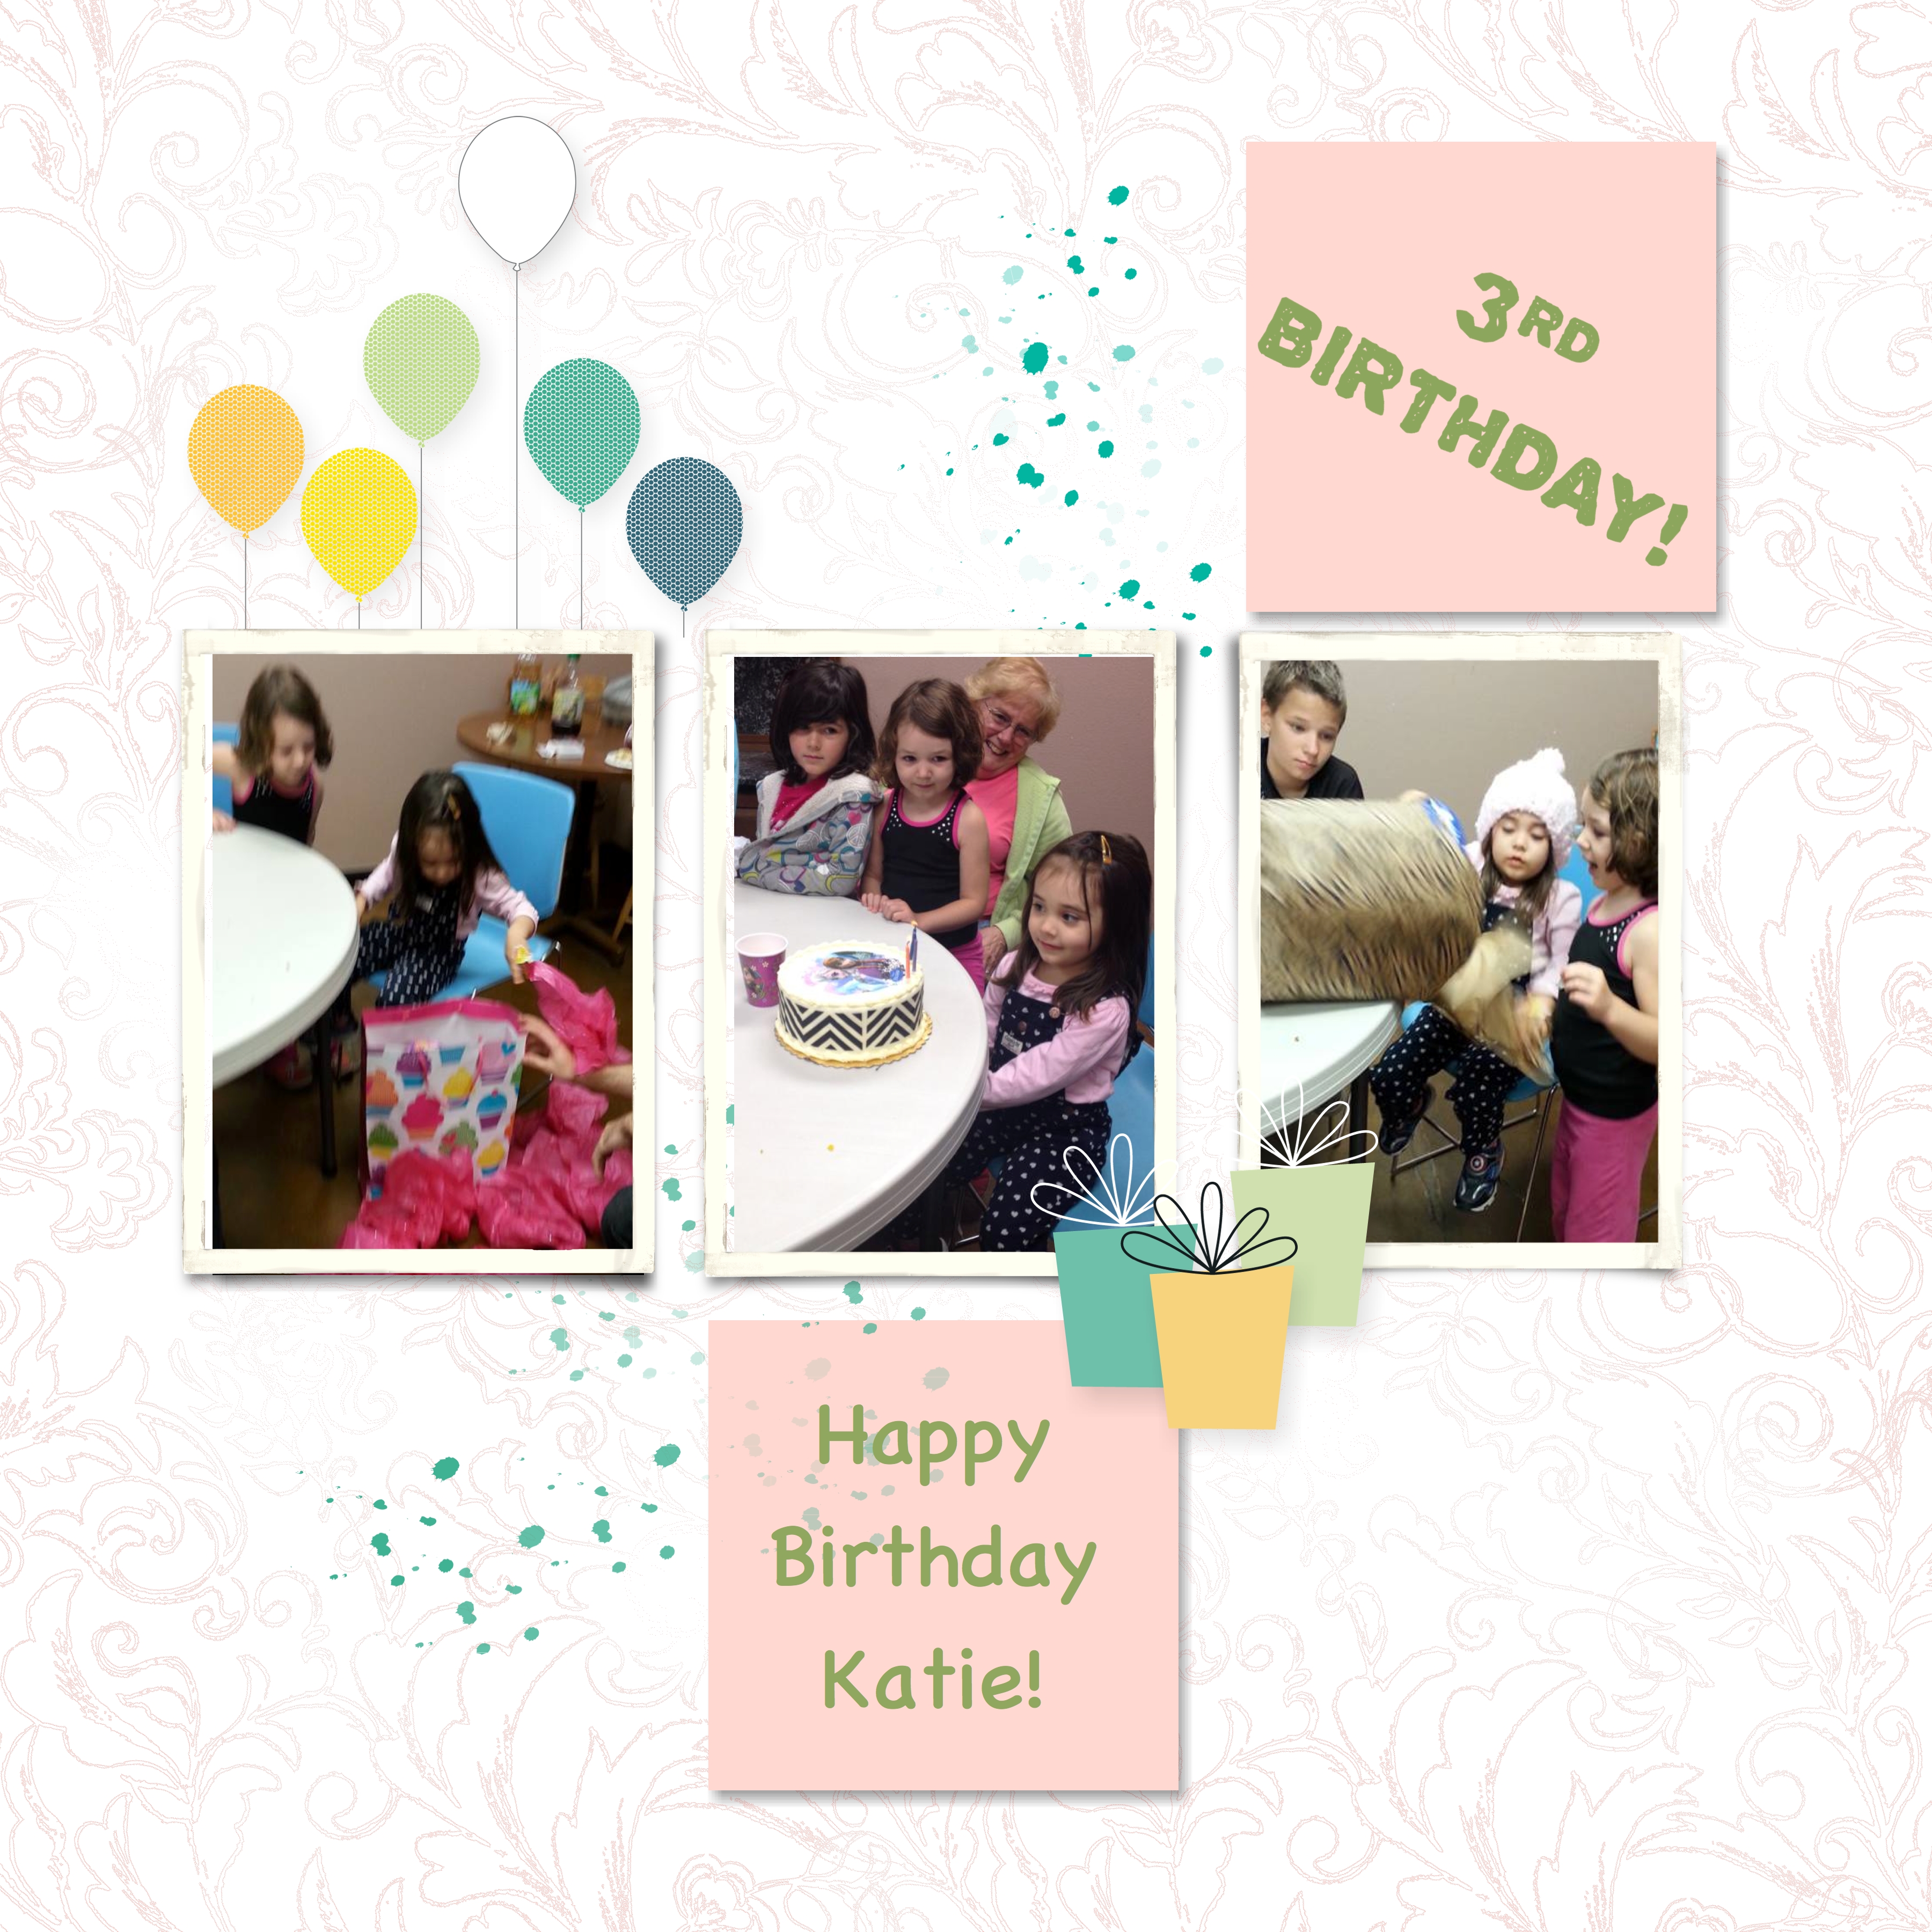
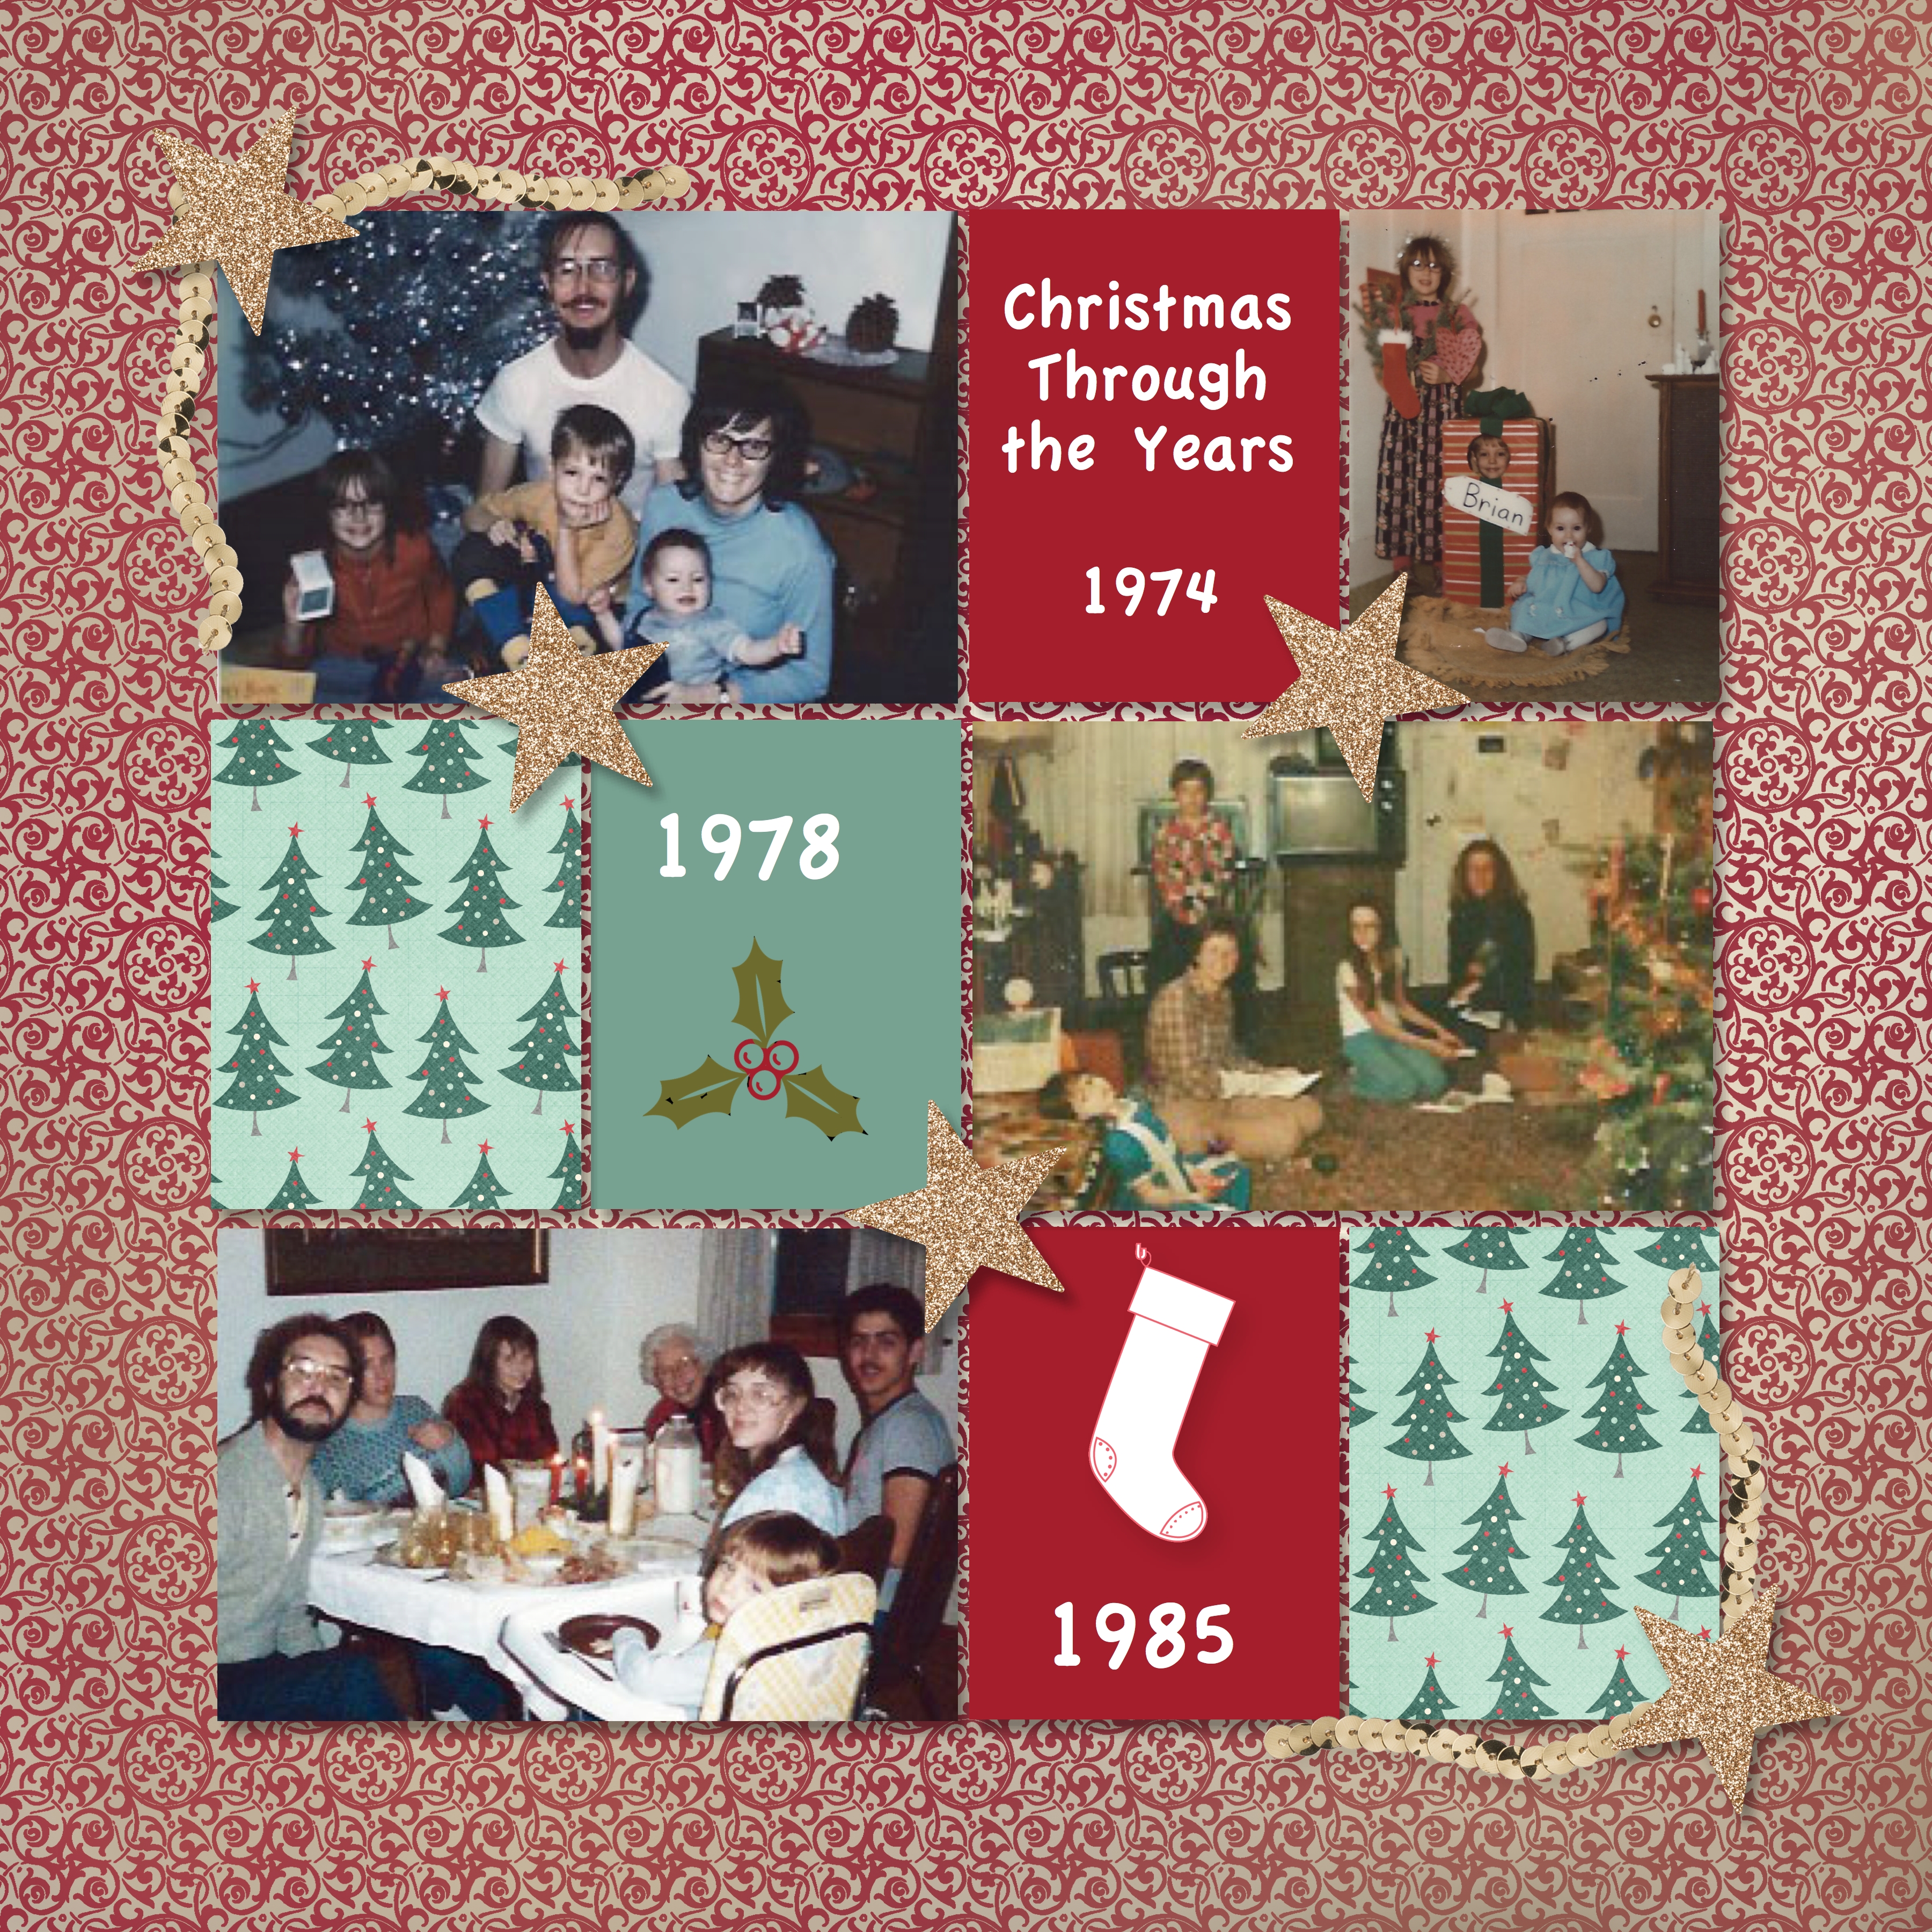
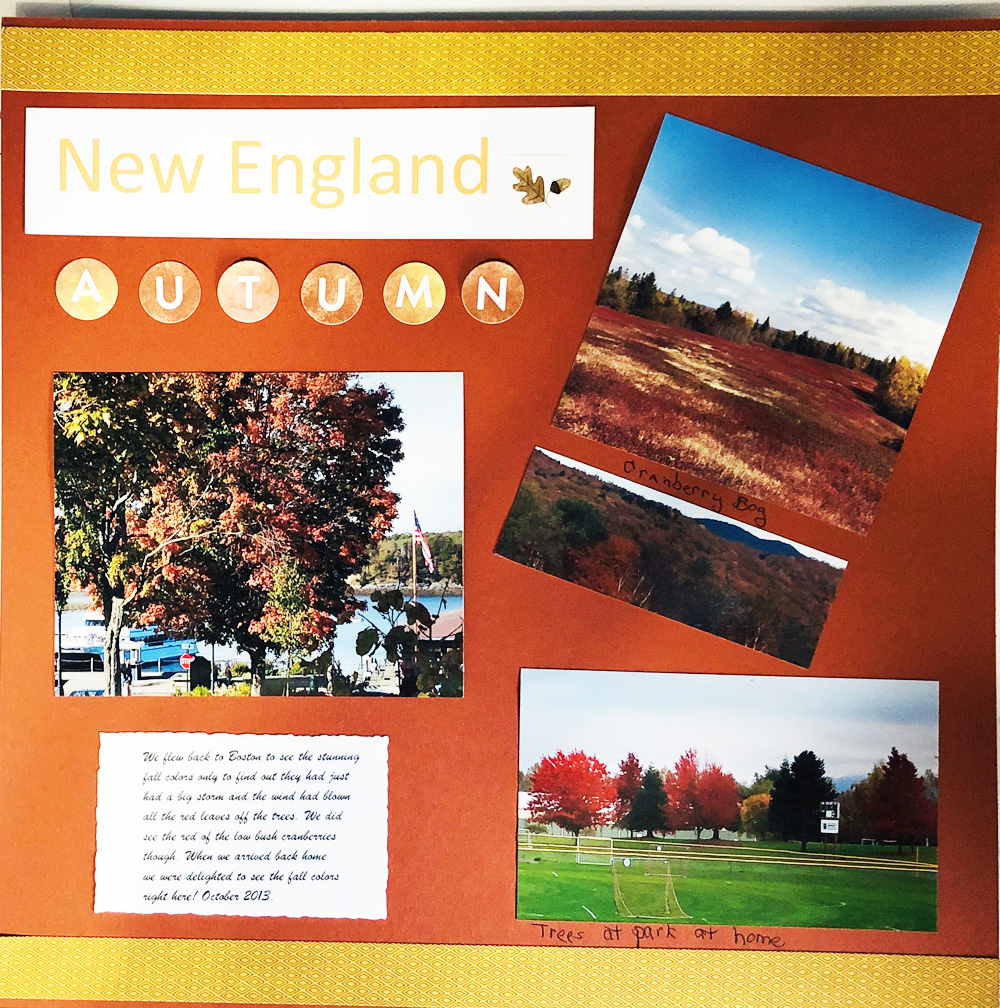
One year we flew to Boston from Seattle to view the famous fall colors in New England. Unfortunately the day we flew in, there was a huge storm with lots of wind and all the red leaves blew off the trees. What a disappointment! However the low bush cranberry fields were still in glorious reds. I used the stickers on this simple page of some of the photos taken on this trip. I computer generated the ‘New England’ and my journaling.
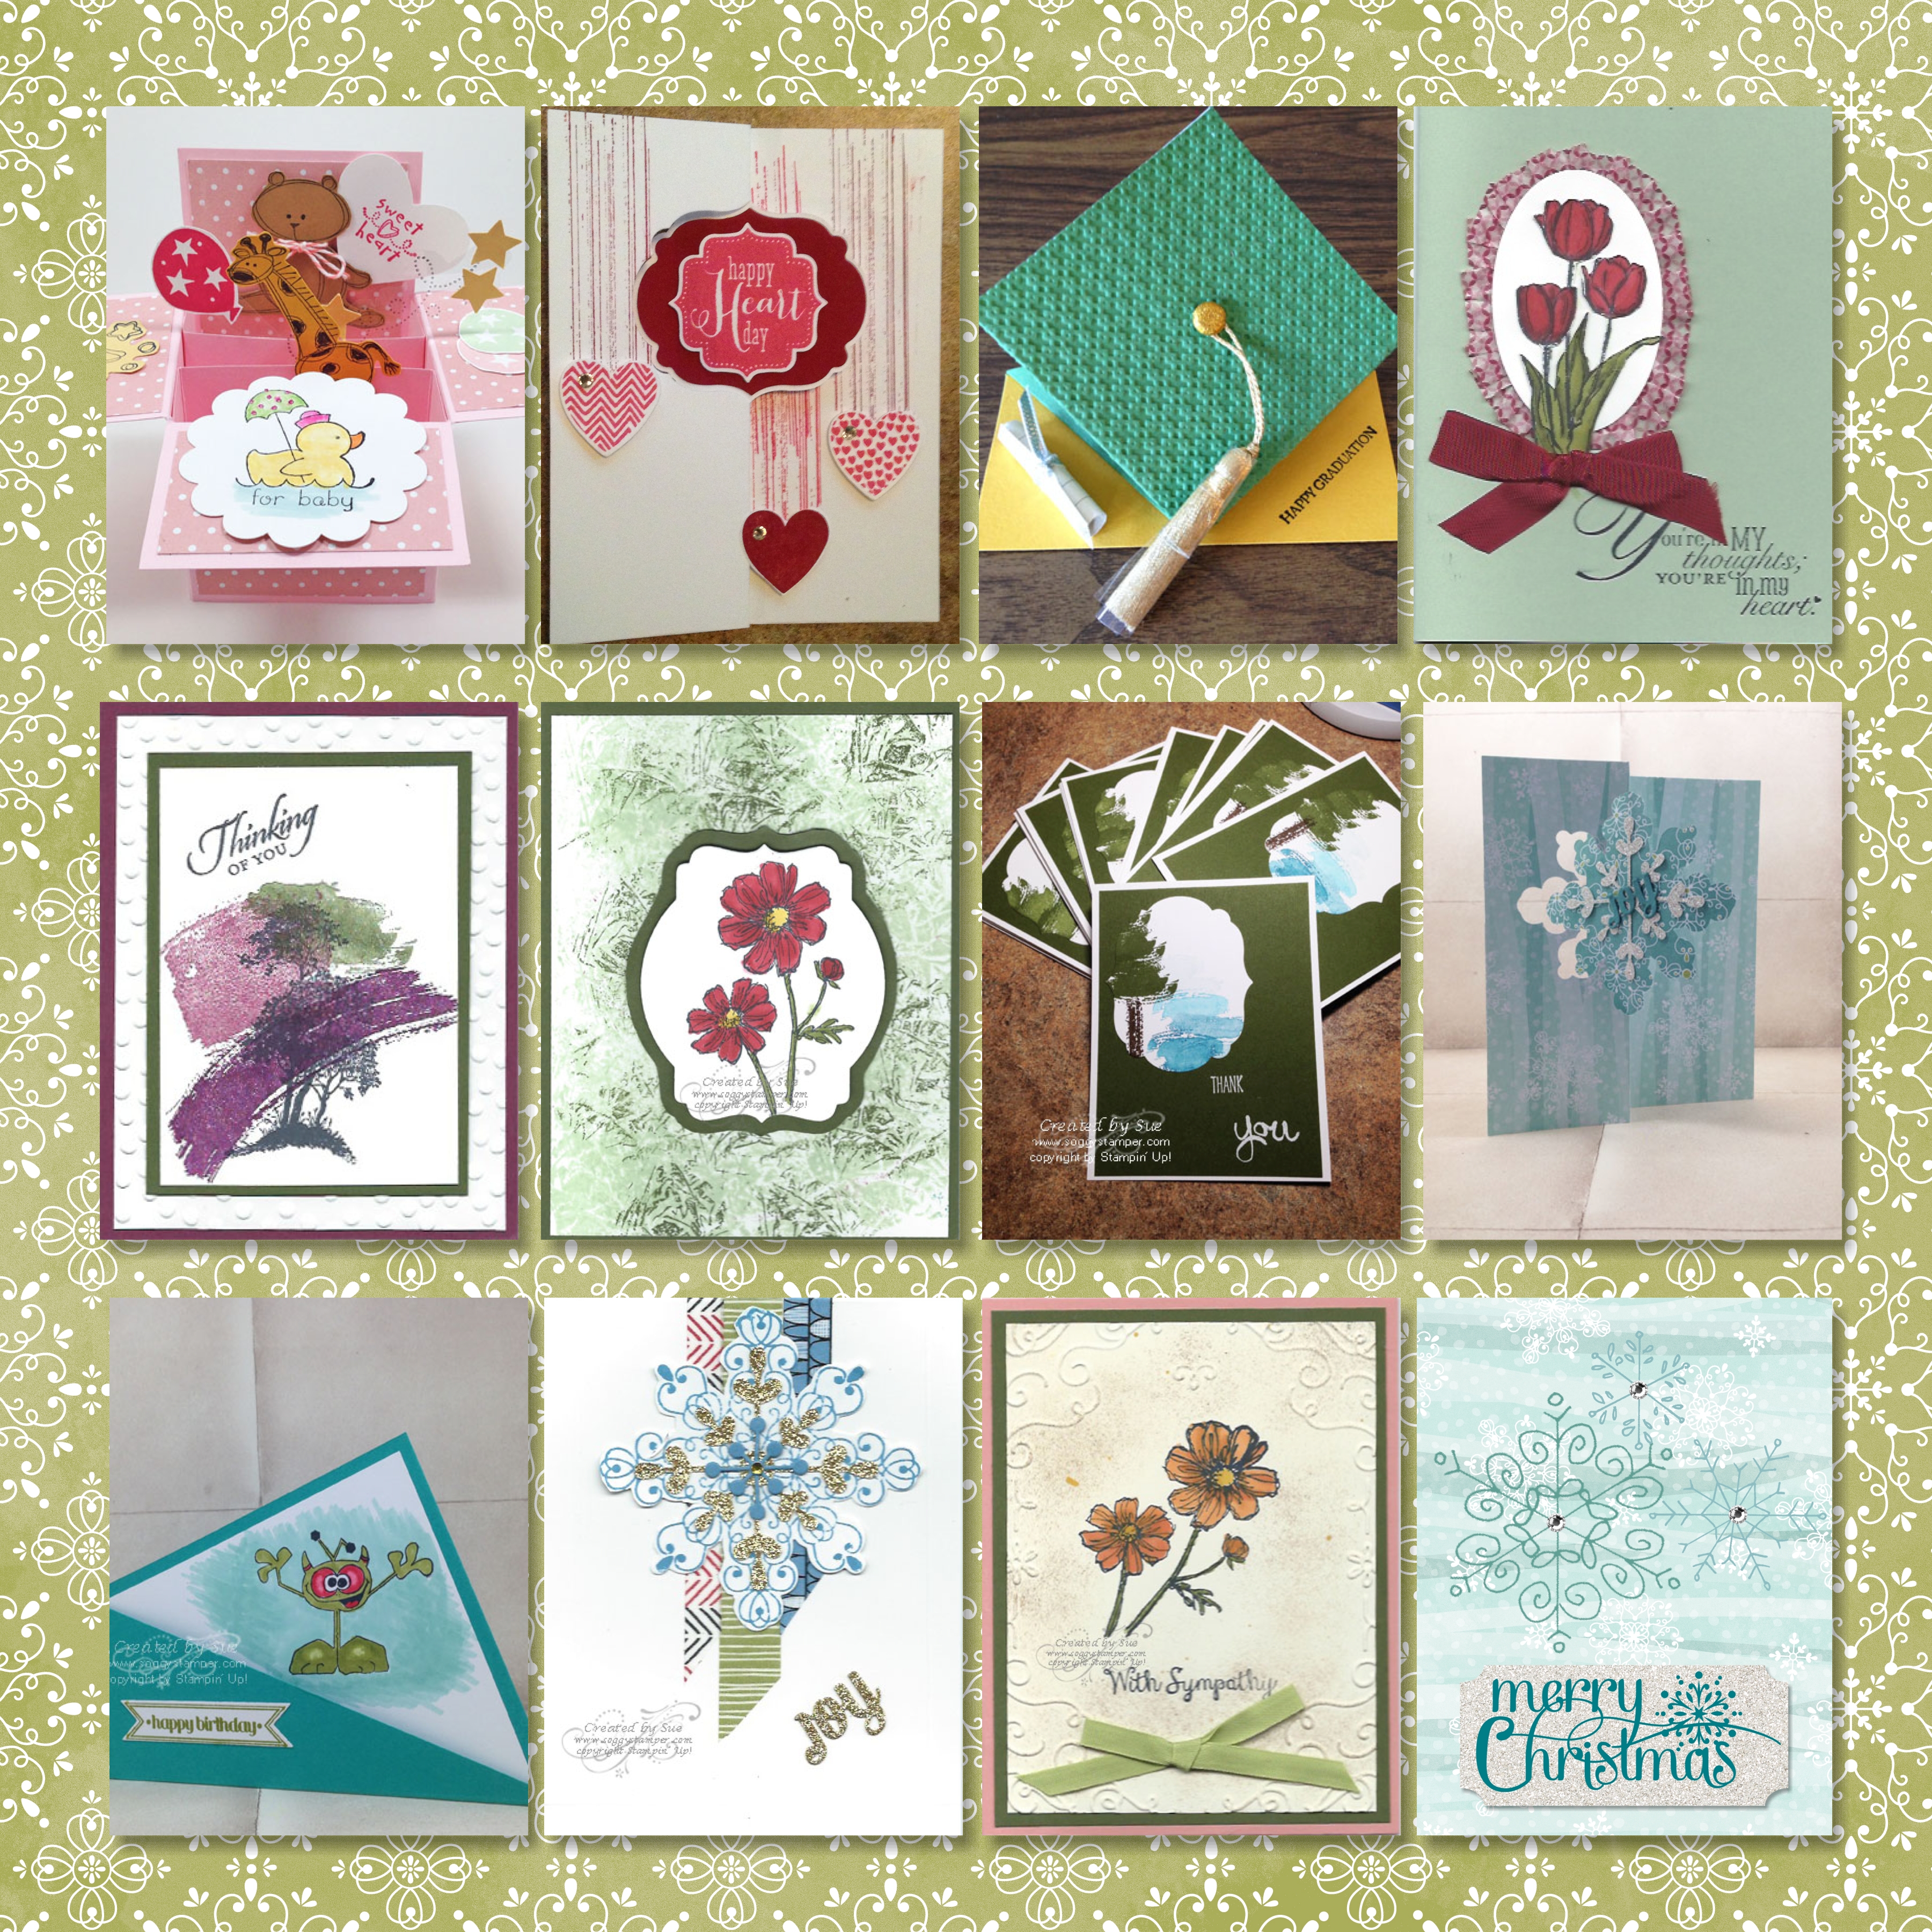
However, the Sweet Days of Autumn bundle is useful for quick greeting cards. I made this card in about 5 minutes and I think you will be able to as well.

SUPPLIES USED
- Copper Clay Cardstock [CS] (161721) 8 1/2″ x 5 1/2″ scored and folded at 4 1/4″
- Basic Beige Cardstock [CS] (164511) 5 1/4″ x 4″ for inside of card
- Sweet Days of Autumn Designer Series Paper [DSP] (166498) 5 1/4″ x 4″
- Natural Tones Linen Thread (164071) about 36″
- Sticker from Sweet Days of Autumn coordinating sticker sheet
- Stampin’ Seal (152813)
- Mini Glue Dots (103683)
INSTRUCTIONS
- Fold Copper Clay CS in half for card base.
- Adhere the DSP to card front with Stampin’ Seal
- Apply the label from the sticker sheet
- Fold the linen thread into thirds and tie a bow.
- Use a mini glue dot to adhere to bow to the card front.
- Stamp a greeting on the Basic White cardstock if desired and adhere to inside of card.
- For your convenience, I have a shopping cart ready with these supplies in my online store. Click here to access the shopping cart. Thank you for your business.