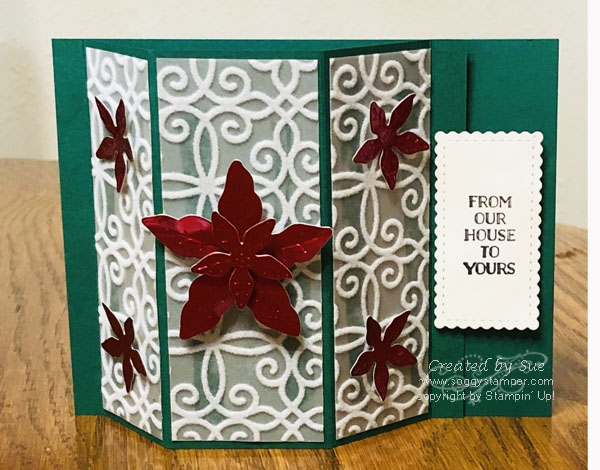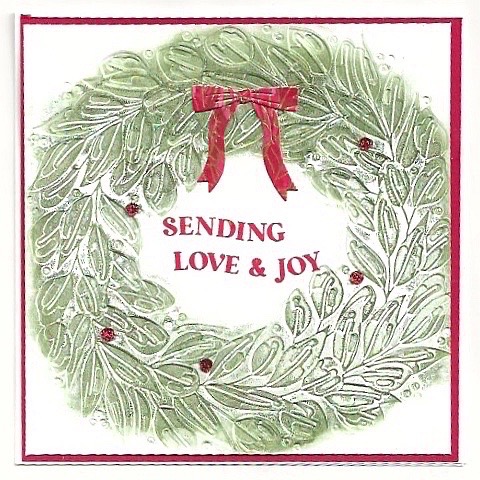
I created this beautiful debossed traditional wreath card using the Traditional Wreath 3D embossing folder that is a part of the stunning Traditions of Christmas Suite (165877) found on pages 21 – 27 in the September – December 2025 Mini Catalog. This is a large embossing folder that creates a 6″ x 6″ square card if you use the whole wreath.
I stumbled onto this design while I was playing with the embossing folder and inked up the embossing folder with ink before embossing a piece of cardstock. Inking the depressed side of the folder results in the background being colored with the raised portions being mostly white. Then I sponged the ink into the depressed portions of the debossed side and came up with the above image. I love the way it turned out. For texture and interest on the bow, I die cut it out of one of the designs of the beautiful Traditions of Christmas Specialty Designer Series Paper.
Supplies needed for this beautiful debossed Traditional Wreath card
- Traditional Labels Bundle (165865)
- Christmas Greenery Dies (165870)
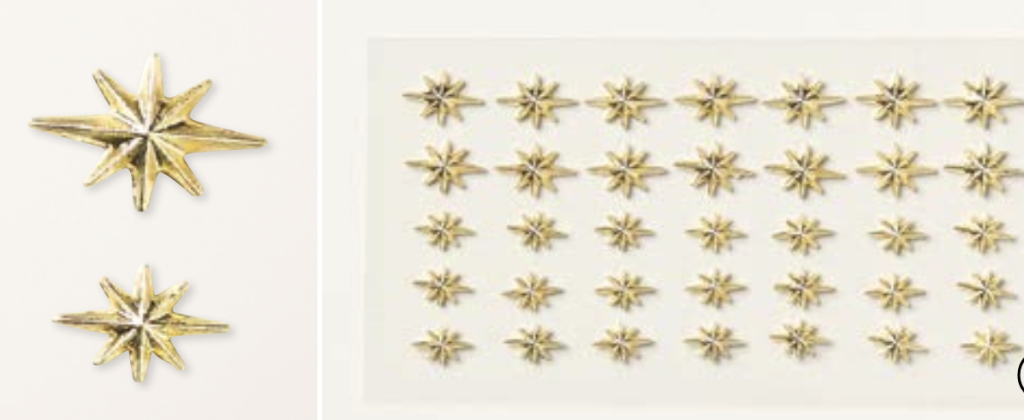
- Traditional Sparkling Sequins (165875)
- Basic White Cardstock (166780) 6″ x 12″ scored and folded at 6″, 5 3/4″ x 5 3/4″
- Real Red Cardstock (102482) 5 7/8″ x 5 7/8″
- Traditions of Christmas Specialty Designer Series Paper (167364) scrap of the solid red/gold
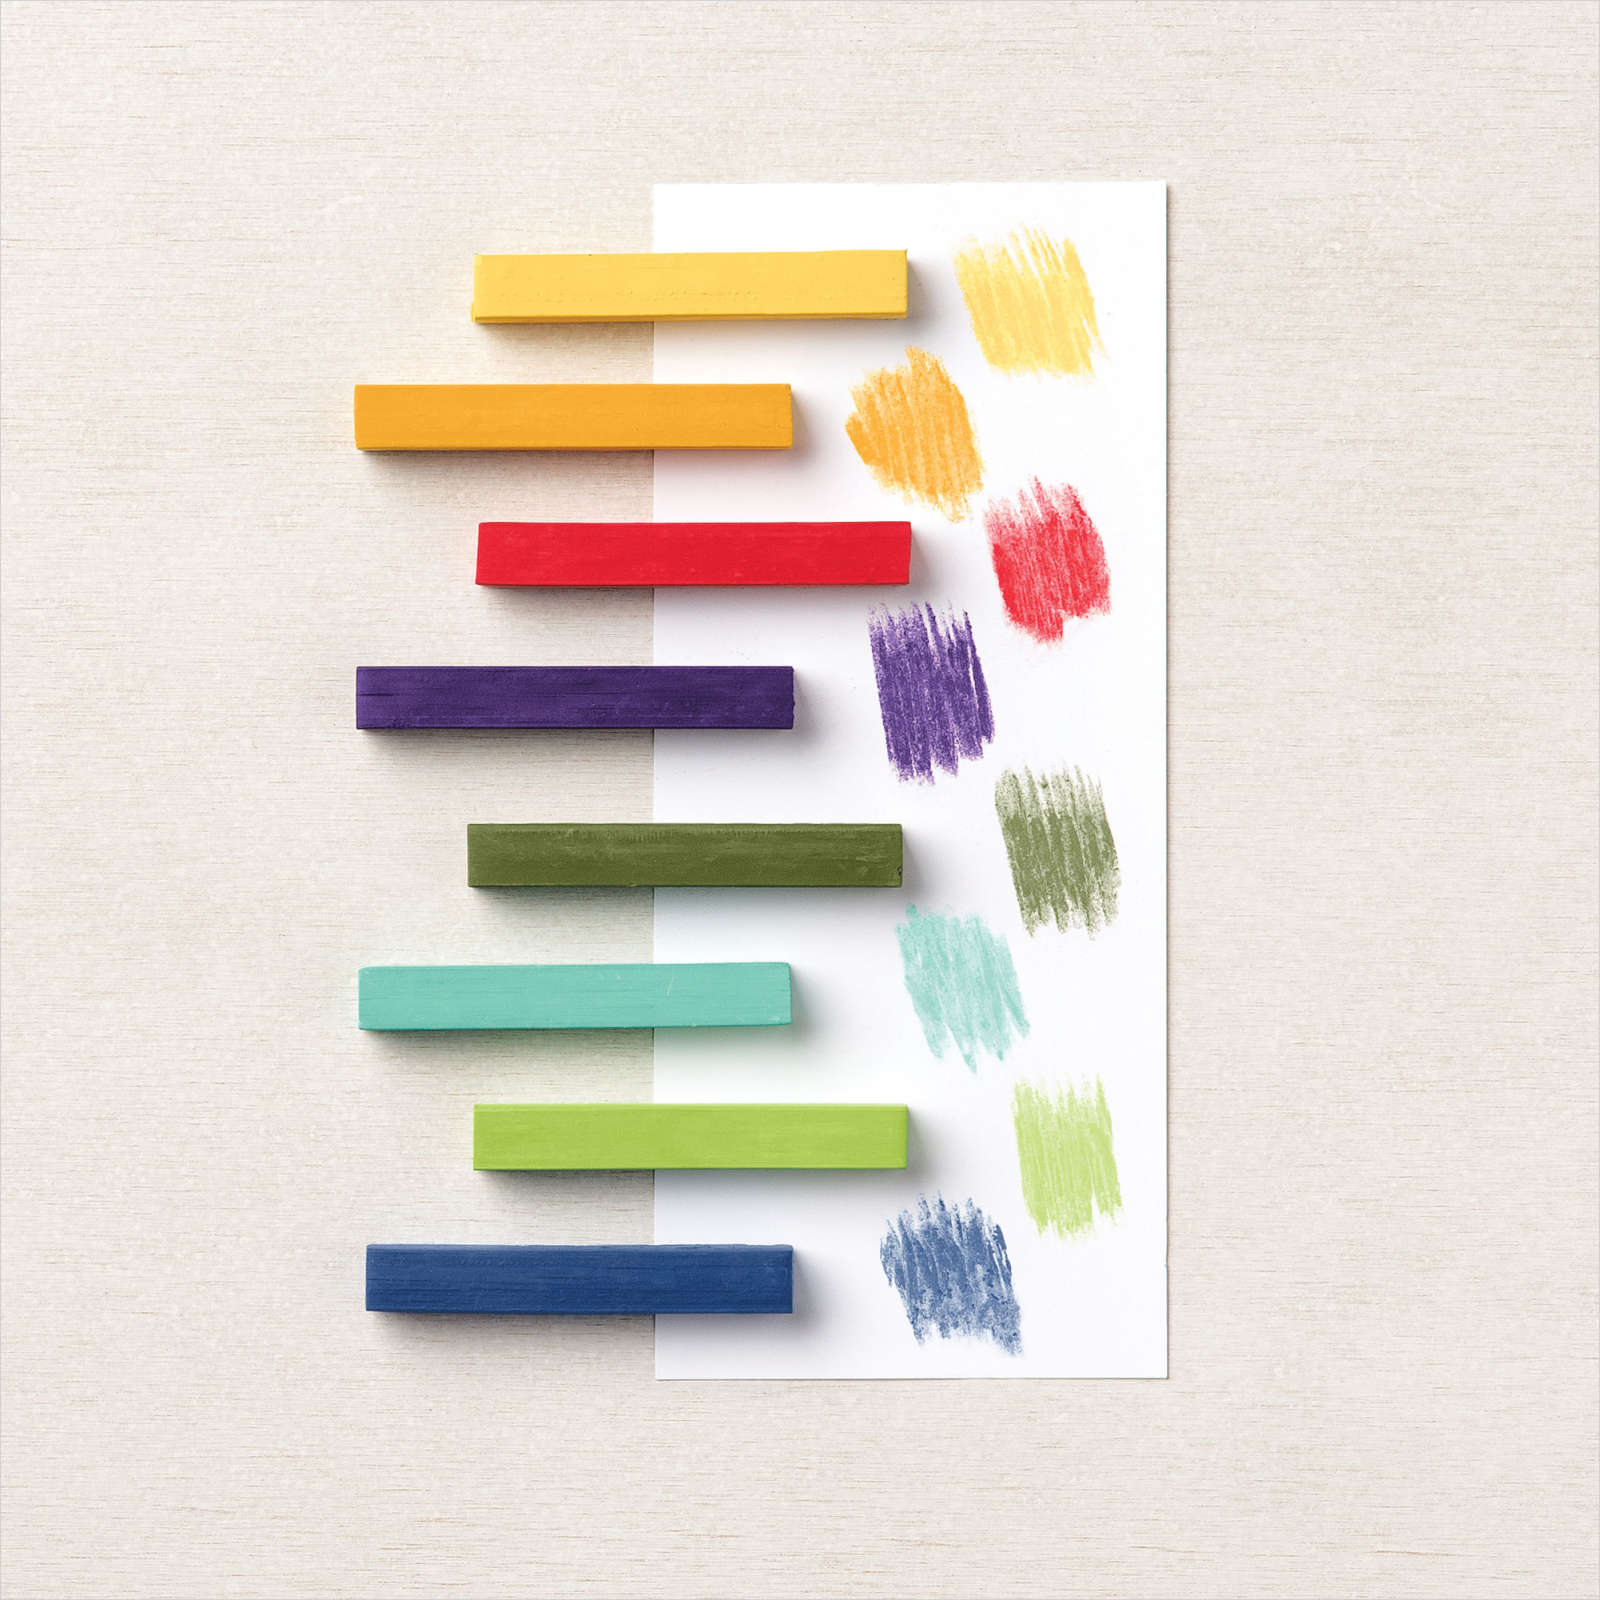
- Real Red Classic Stampin’ Pad (147084)
- Old Olive Classic Stampin’ Pad (147090)
- Traditional Wreath 3D Embossing Folder (165874)
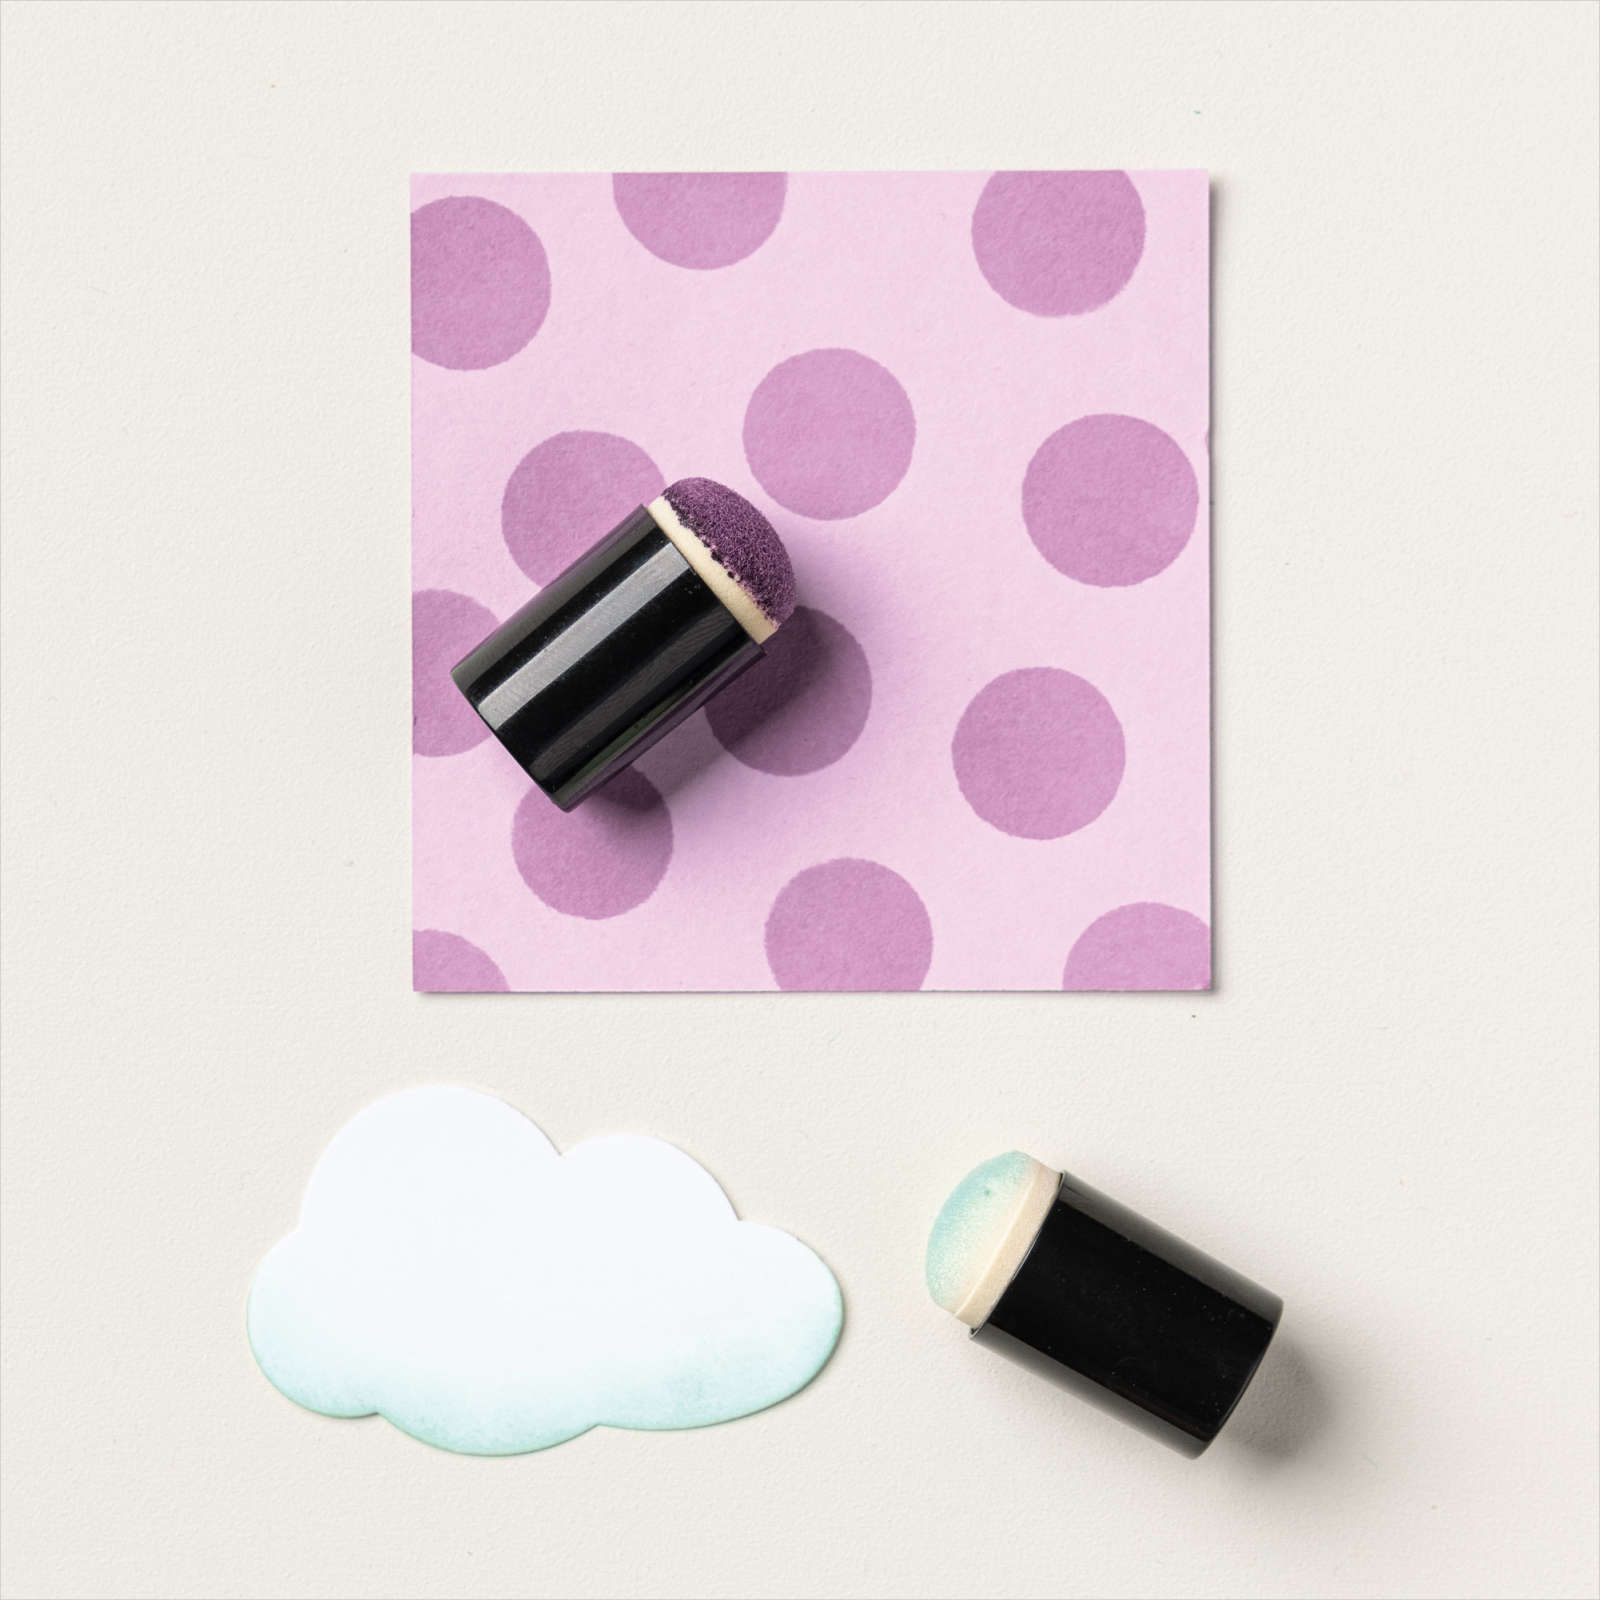
- Sponge Daubers (133773)
- Stampin’ Cut & Emboss Machine 149653)
- Stampin’ Seal (152813)
- For your conveniencelick on this link for a shopping cart filled with these products. You can delete any you already have.
Technique for Beautiful Debossed Traditional Wreath Card
- Sponge Old Olive ink into the depressed side of the embossing folder just in the area of the wreath. Then add Basic White cardstock and emboss with the Stampin’ Cut and Emboss machine.
- Adhere the layers with Stampin’ Seal
- Use the bow die from the Christmas Greenery dies to cut a bow from the scrap of Traditions of Christmas Specialty Designer Series Paper. (I love the gold foiling!) Apply to wreath.
- Stamp greeting with stamp from the Traditional Labels stamp set with Real Red ink.
- Add Traditional Sparkling Sequins.
Since this card is 6″ x 6″, it will be difficult to buy an envelope to fit. Here is a tutorial to make an envelope from designer series paper or lightweight cardstock.