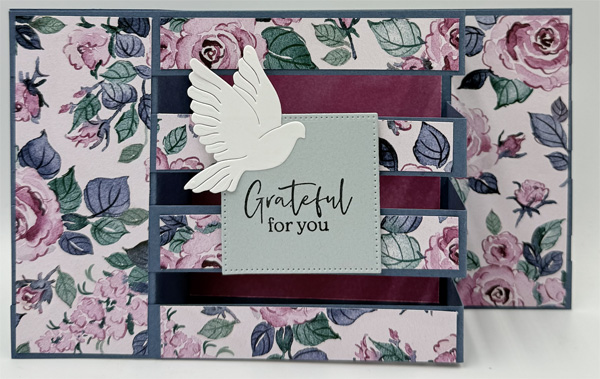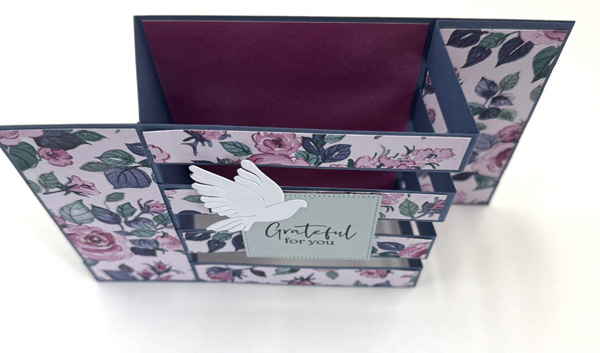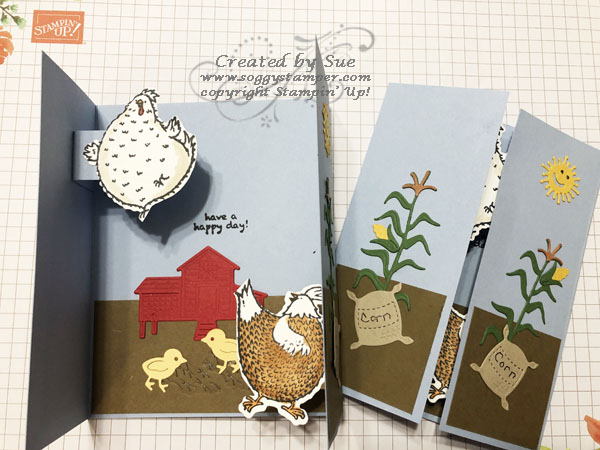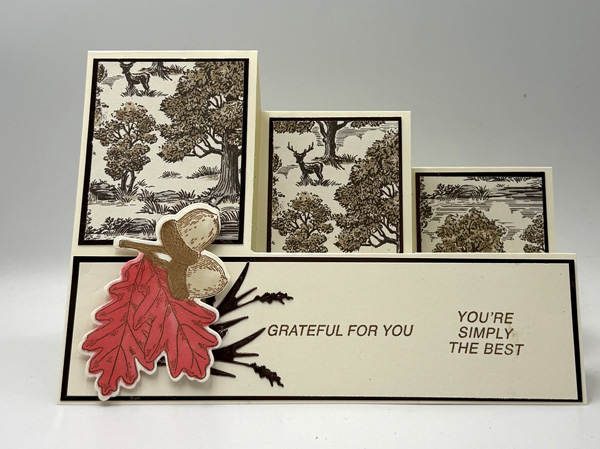
I love this 5″ x 7″ beautiful Autumn Toile Side-step card! While I was not very excited about the Autumn Toile Designer Series paper (165882) at first, I find I have used it more and more and love the cards that are the result. Part of what makes this card so beautiful is the gorgeous Earthen Toned Metallic Paper (165901). I used it as a layer behind the dsp layers and the shine adds an elegant touch. I stamped, colored, and die-cut the focal point with one of the images in the Amber Autumn Bundle (165893).
Supplies used for the Beautiful Autumn Toile Side-step Card
- Amber Autumn Bundle
- Autumn Toile Designer Series Paper – 1 piece 2 1/8″ x 2 5/8″, 2 pieces 2 1/8″ x 2 7/8″
- Earthen Toned Metallic Paper – 1 piece 2 3/8″ x 2 7/8″, 2 pieces 2 1/8″ x 2 7/8″, 1 piece 1 7/8″ X 6 7/8″
- Very Vanilla Cardstock – 7″ x 10″ for card base, 1 piece 1 3/4″ x 6 3/4″, scrap for focal image
- Blender Pens – Light Poppy Parade, Light Crumb Cake, Light Pecan Pie
- Ink – Pecan Pie Classic Ink Pad
- Paper Trimmer and Stampin’ Cut & Emboss Machine either large or mini
- Multipurpose Liquid Glue
- For Your convenience I have put these items in a shopping cart on my online store. You can remove any item you already have. Thanks for ordering from me. An order of $60 or more during the month of October will get a free Gift with Purchase.
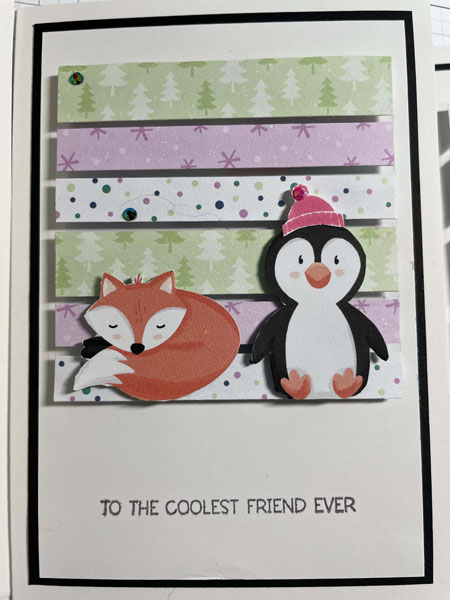
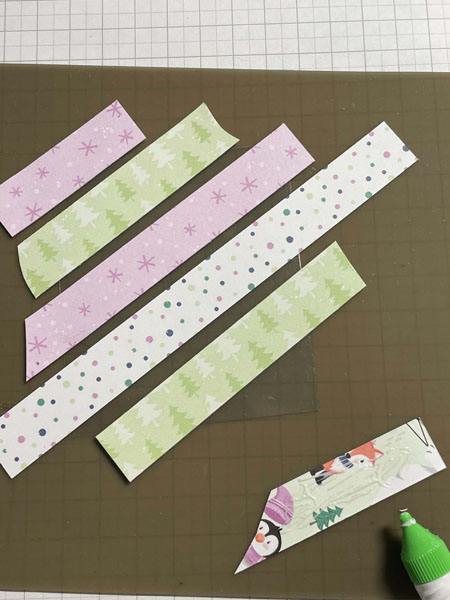
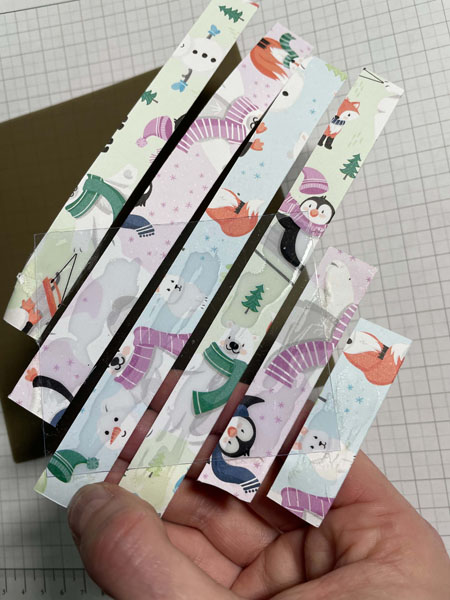
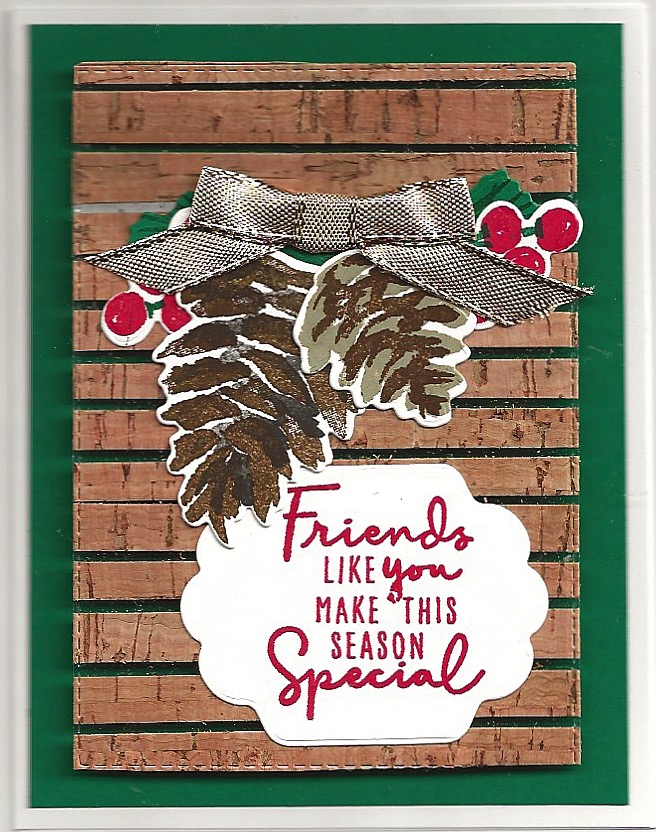
I got the instructions originally from Craftykarendesigns 5 years ago and created this gorgeous Christmas card.
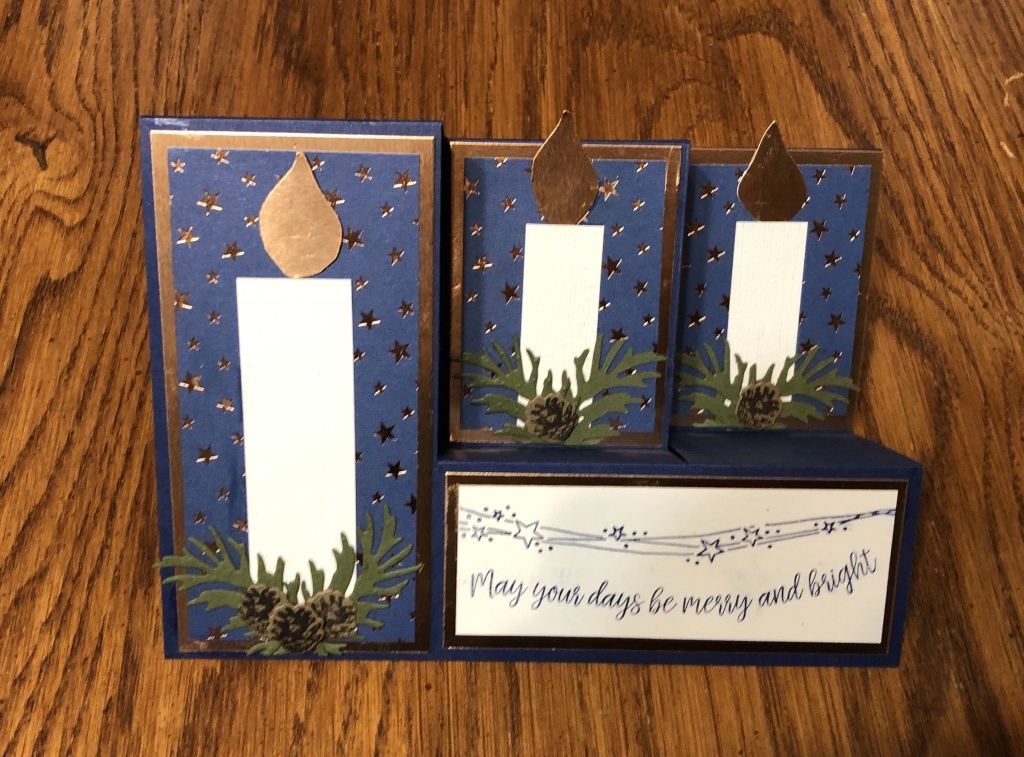
I modified them a bit for this post for clarification. While the scoring, cutting, and folding are a bit fussy, you will love the end result. You can download the directions here.