
In honor of this remarkable day, I am doing a post of 12 cards I have shared this past year, 13 little tips, and 14 stamping tools to help your creativity.
12 Cards
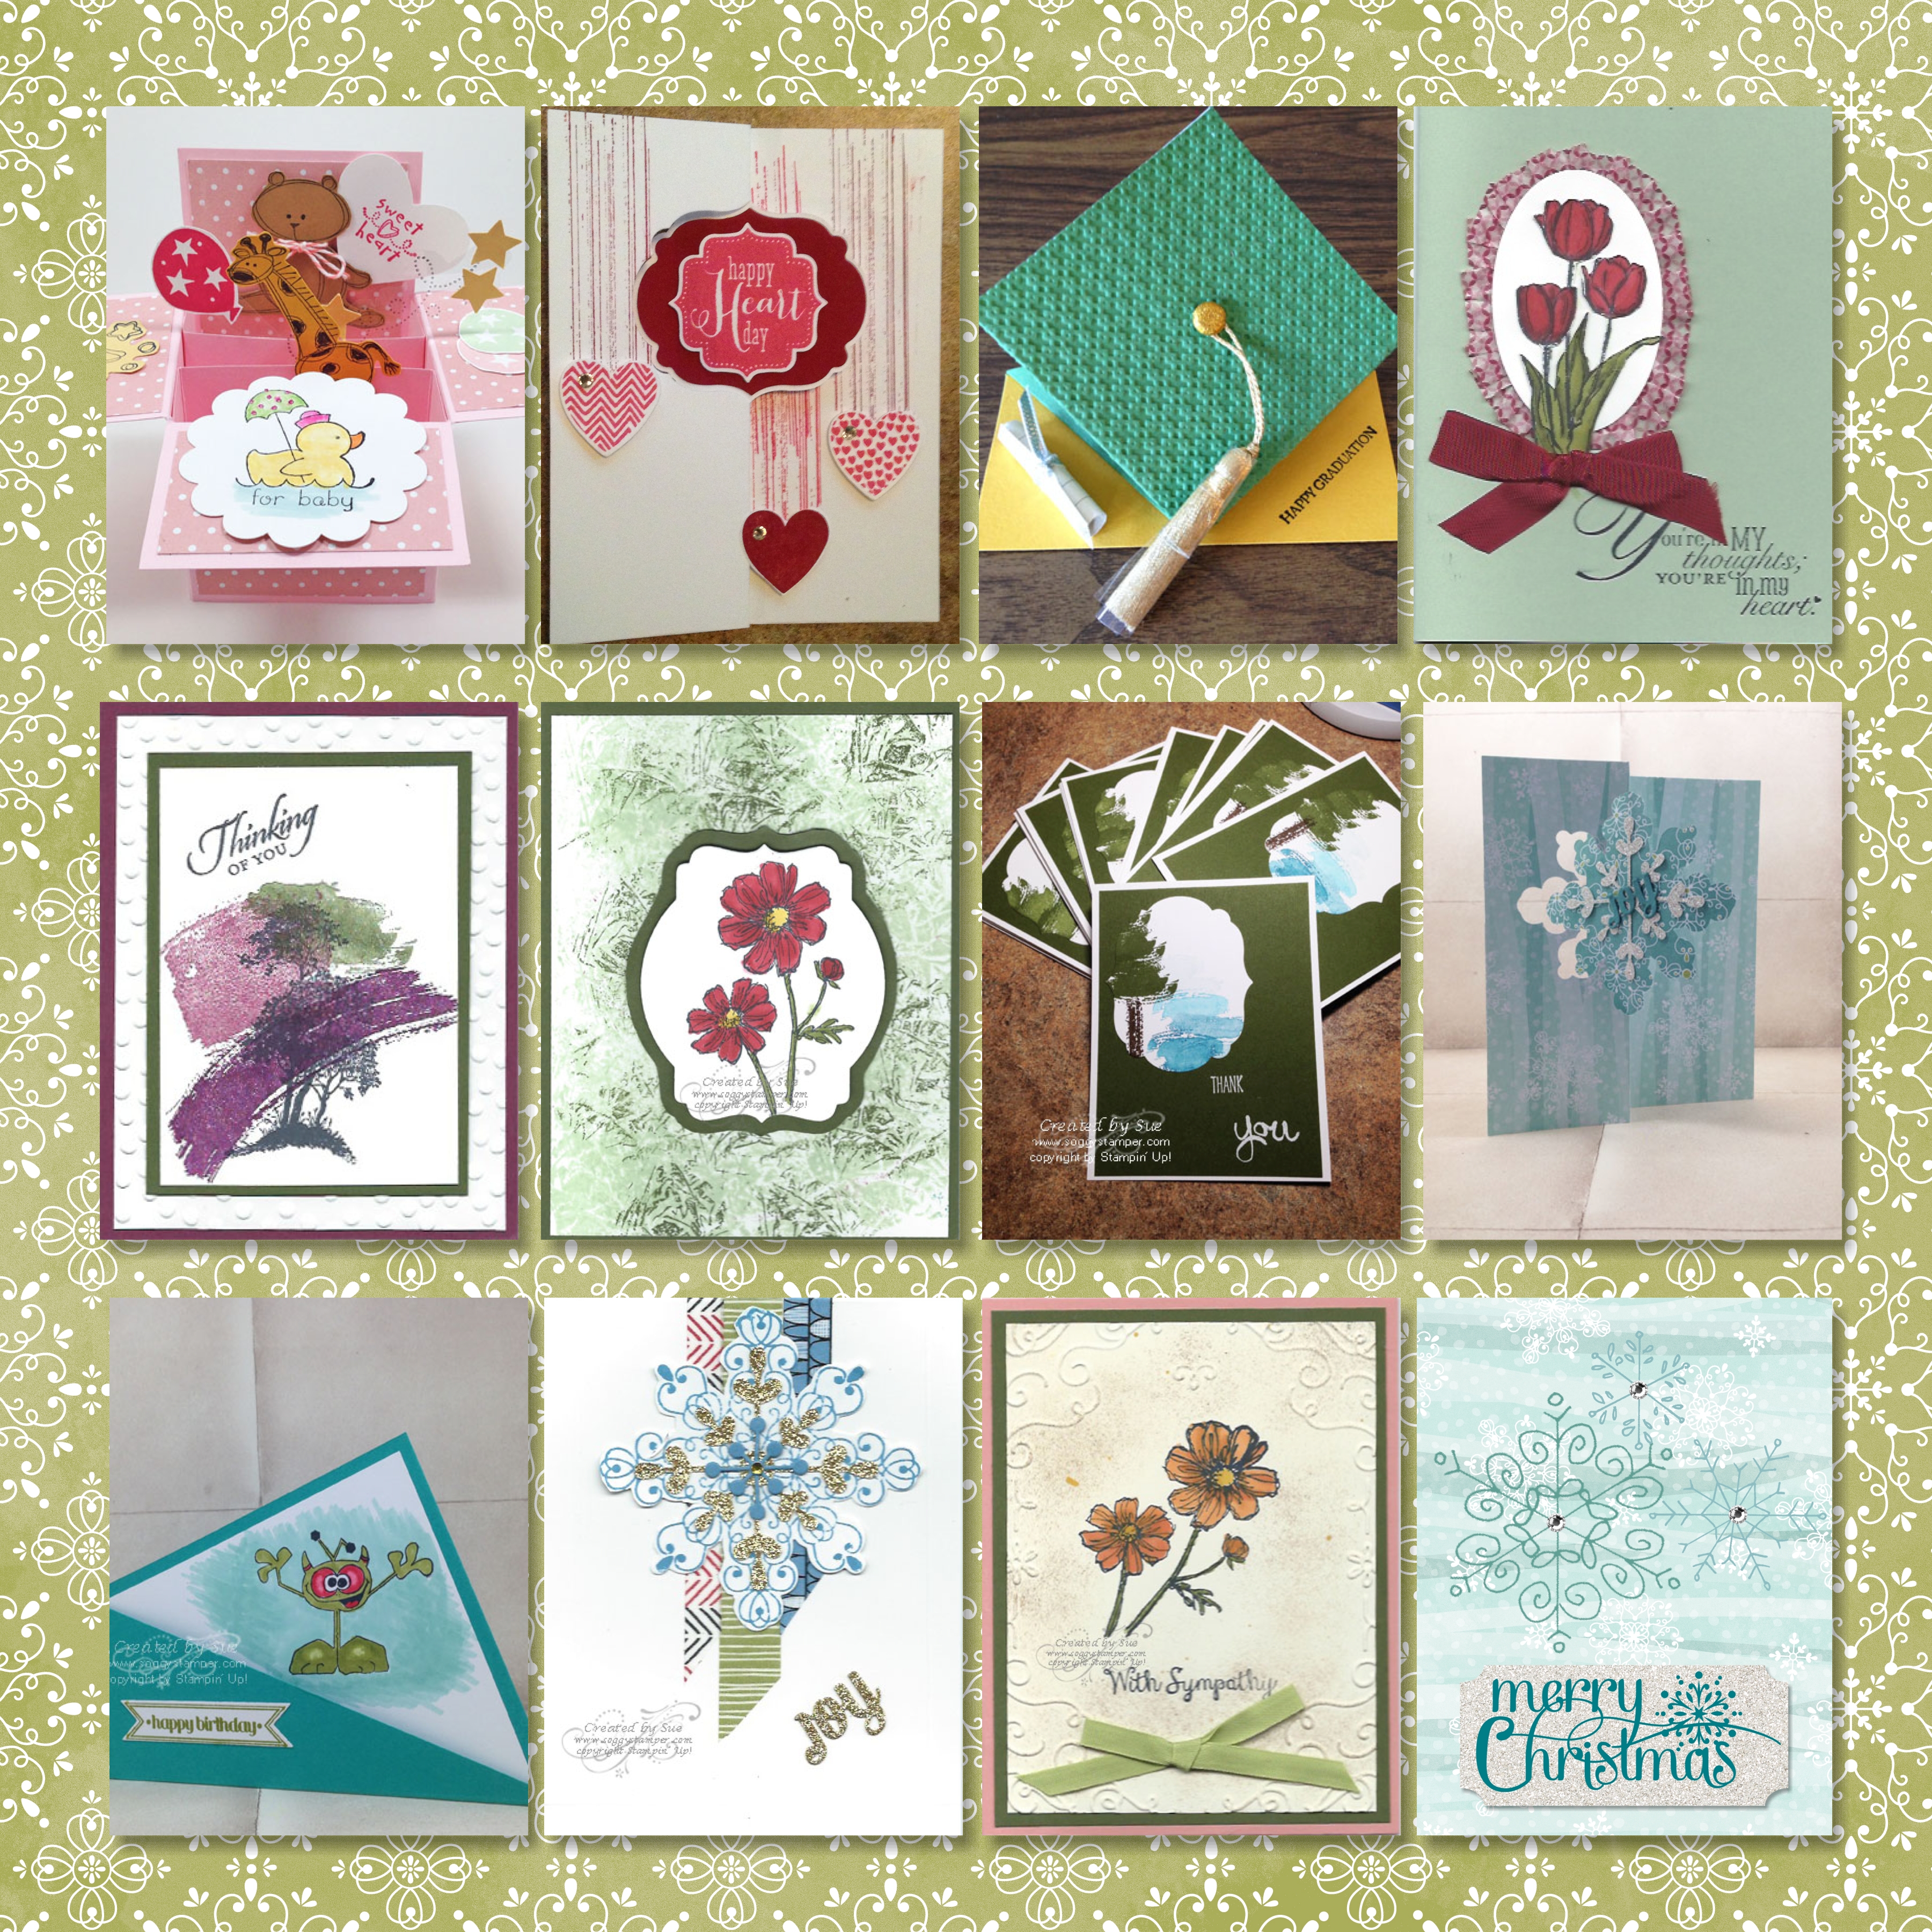
I couldn’t figure out how to share 12 thumbprints of cards with links to the full size without taking up a lot of space. Instead, I created this scrapbook page with MDS. I went back through my posts this year and chose a card I had posted from each month. Here is the page.
13 Stamping Tips
- Store your cardstock scraps in our 6″ x 8″ cello bags, one bag for each color. Write the color on the front with a marker and store the scraps in the same place you store the full-size cardstock. If the scrap is too big for the bag, trim it down to 8 1/2″ x 5 1/2″ for a card base.
- When tying a ribbon around a card front, place a glue dot on the card where the knot will be. Tie the first part of the knot and push it onto the glue dot. This will keep the knot tight while you tie the rest of the bow.
- When cutting out cardstock with finely detailed thinlits, place either waxed paper between the cardstock and the die or put about 6 layers of used dryer sheets between the cardstock and the die. This will help you get the cardstock out.
- When removing a cap off a Blendabilities, especially the brush end, hold the marker away from your work. This will help prevent splatters on your work. I learned this the hard way. 😛
- Be sure to store all markers horizontally so the ink doesn’t run to one end.
- Roll baker’s twine around the core of an empty ribbon spool that is no wider then 5/8″ and store in an empty embellishment container.
- Place a sheet of magnetic material in the lid of a stamp box and store the coordinating framelits/thinlits in with the stamp set.
- When you purchase a stamp set, write the name of the catalog it appears in, the date you bought it, and the purchase price on the cover. This will help if you decide to sell the set leter.
- Seal your wood blocks with varathane before mounting the stamp. This helps prevent the wood staining.
- Put a couple of glue dots on your clear mount stamps to help them stay on the blocks.
- When cleaning clear mount stamps, twist them on the cleaning pad instead of scrubbing them back and forth. The scrubbing back and forth breaks the static cling seal.
- Always stamp an image first then cut it out with a punch or die. This eliminates worrying about stamping it straight. Whenever possible stamp greetings on a separate layer and punch them out instead of directly on the card base for the same reason.
- When you fold a card base in half and the two sides are slightly off, just trim the edges a little.
14 Tools to Make Stamping Creativity Easier
- Big Shot Die-Cutting Machine (113439) – There is so much you can do with this machine. When Stampin’ Up! first started selling them, I wasn’t sure I would get much use from the Big Shot because I thought it was strictly for scrapbooking. I rarely do traditional scrapbooking. However, I soon learned of all the possibilities of the Big Shot for card making.
- Embossing folders – I love dry embossing and did some using a stylus and light box (but usually against a window). This was a rather tedious process. With embossing folders a quick turn through the Big Shot and you have a wonderful dry embossed card front.
- Dies, thinlits and framelits – Oh my goodness how much these reduce ‘fussy cutting’! And now more and more stamp sets have matching thinlits. Yay!
- Simply Scored (122334)- This scoring tool is great when you have to score a lot of card bases or want perfectly parallel lines.
- Gift Box Punch Board (135863) – What an easy way to make gift boxes from cardstock or designer series paper. You can make a variety of sizes, the largest being a 4″ cube, in a matter of minutes. No adhesive is needed. I am able to get a knitted stocking cap into the 4″ cube box.
- Transfer Adhesive Sheets (133722) – These sheets are especially perfect for adhering detailed die-cuts to your work. You lift up the top covering, place your die cut onto the sticky surface which is a layer of very tiny adhesive dots, Replace the cover, and rub well. Then you can peel off the die cut. The adhesive is on the back. These transfer sheets can be used repeatedly as only the adhesive dots actually used by the die cut are removed.
- Adhesive Remover (103684) – This eraser-like piece of rubber removes adhesive that ends up in the wrong place.
- Dental floss – Dental floss on a stamping table??? Yes! You have just put down a layer of cardstock using SNAIL adhesive and discover that it isn’t as straight as you thought it was. Instead of using your fingers to lift the layer, slide floss under the layer and neatly pull it down to break the adhesive seal without ruining your layers.
- Reinkers – Reinkers are not just for reinking your stamp pads. They can be used to die ribbons, color glimmer paper, color the Simply Pressed Clay, and are used in a variety of thechniques.
- Embossing Buddy (103083) – The embossing buddy is essential to keep stray grains of embossing powder at bay but can be also used to reduce stickiness when Snail adhesive sneaks over the edge of ribbons when you use SNAIL to adhere your ribbon.
- Heat & Stick Powder (100625) – This powder works like embossing powder but stays sticky on the surface so you can adhere glitter to a stamped image.
- MDS (130646) – MDS is Stampin’ Up’s digital design program. With this program, you can create cards, scrapbook pages, and 3-D items without having to haul out stamps, paper, and inks. You can email the card directly to the recipient or print it out to mail. The images and paper downloads do not retire so they are always available for your use. If you like only certain designs of a designer series paper, you can print out multiple copies of that pattern and not be having to order several packages of a dsp just to get enough of the design you like. The thing I like most about MDS is that there is not clean up when you have to stop creating. You just save your project and close down your computer. :o)
- Silicone Craft Sheet (127853) – This 6″ x 6″ Silicone Craft sheet is a must if you are working with hot glue but also is great when you are running SNAIL along the back of a ribbon to adhere it to your project. The SNAIL that hangs over the narrow ribbon is easily rubbed off the craft sheet. The size of the craft sheet is perfect for the limited space most stampers have on their stamping space.
- Stampin’ Pierce Mat (126199) – Maybe you aren’t into paper piercing on your projects but this mat is a necessity when stamping with the new photopolymer stamps. It provides the cushioning needed for good images with the photopolymer stamps that don’t have foam cushions.
There you have it! I’m sure you could add to both my tip list and my great tools list. I’d love to hear any additions you can think of. Post them in a comment below.