 B.J Peters a fellow demonstrator recently shared a card with this type fun fold on the Alaska Achievers Monthly Blog Hop. I love fun folds and immediately wanted to make my own book fold card. I used her cutting and scoring directions which I share below.
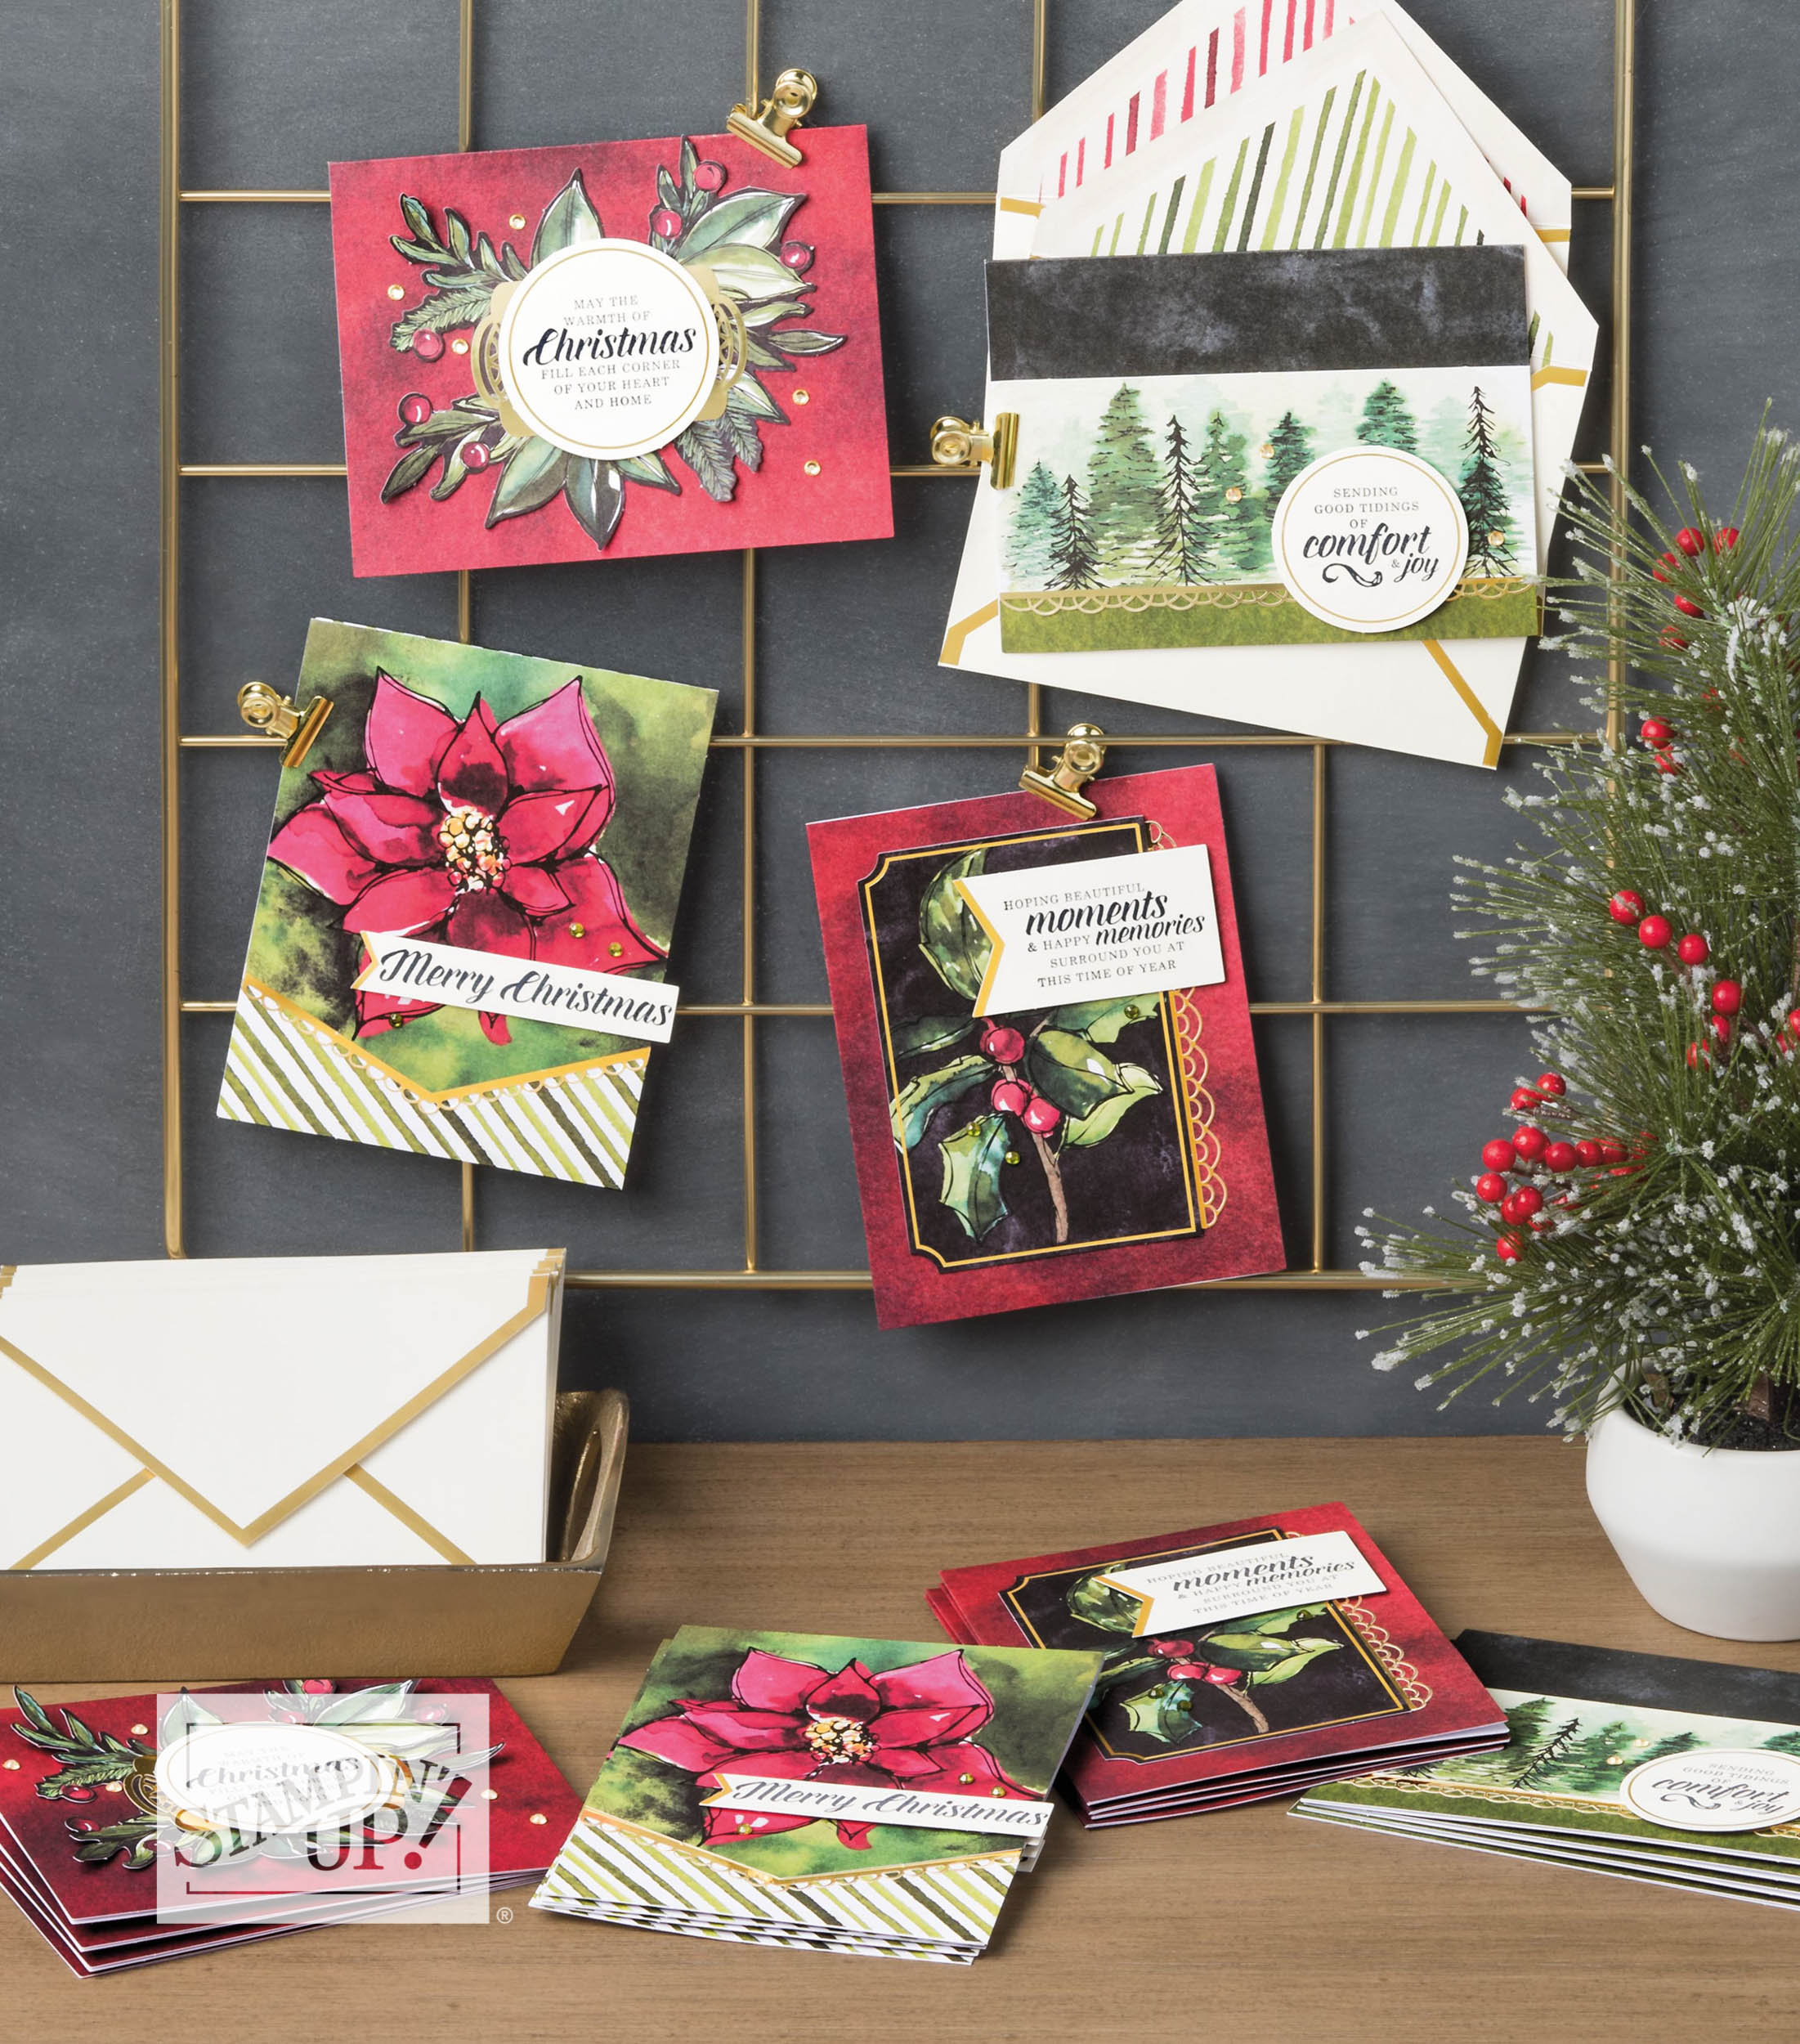
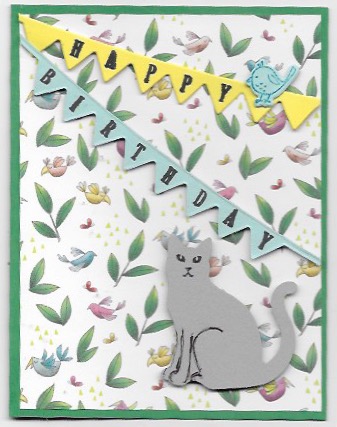
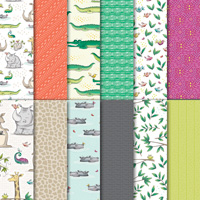
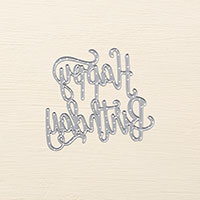
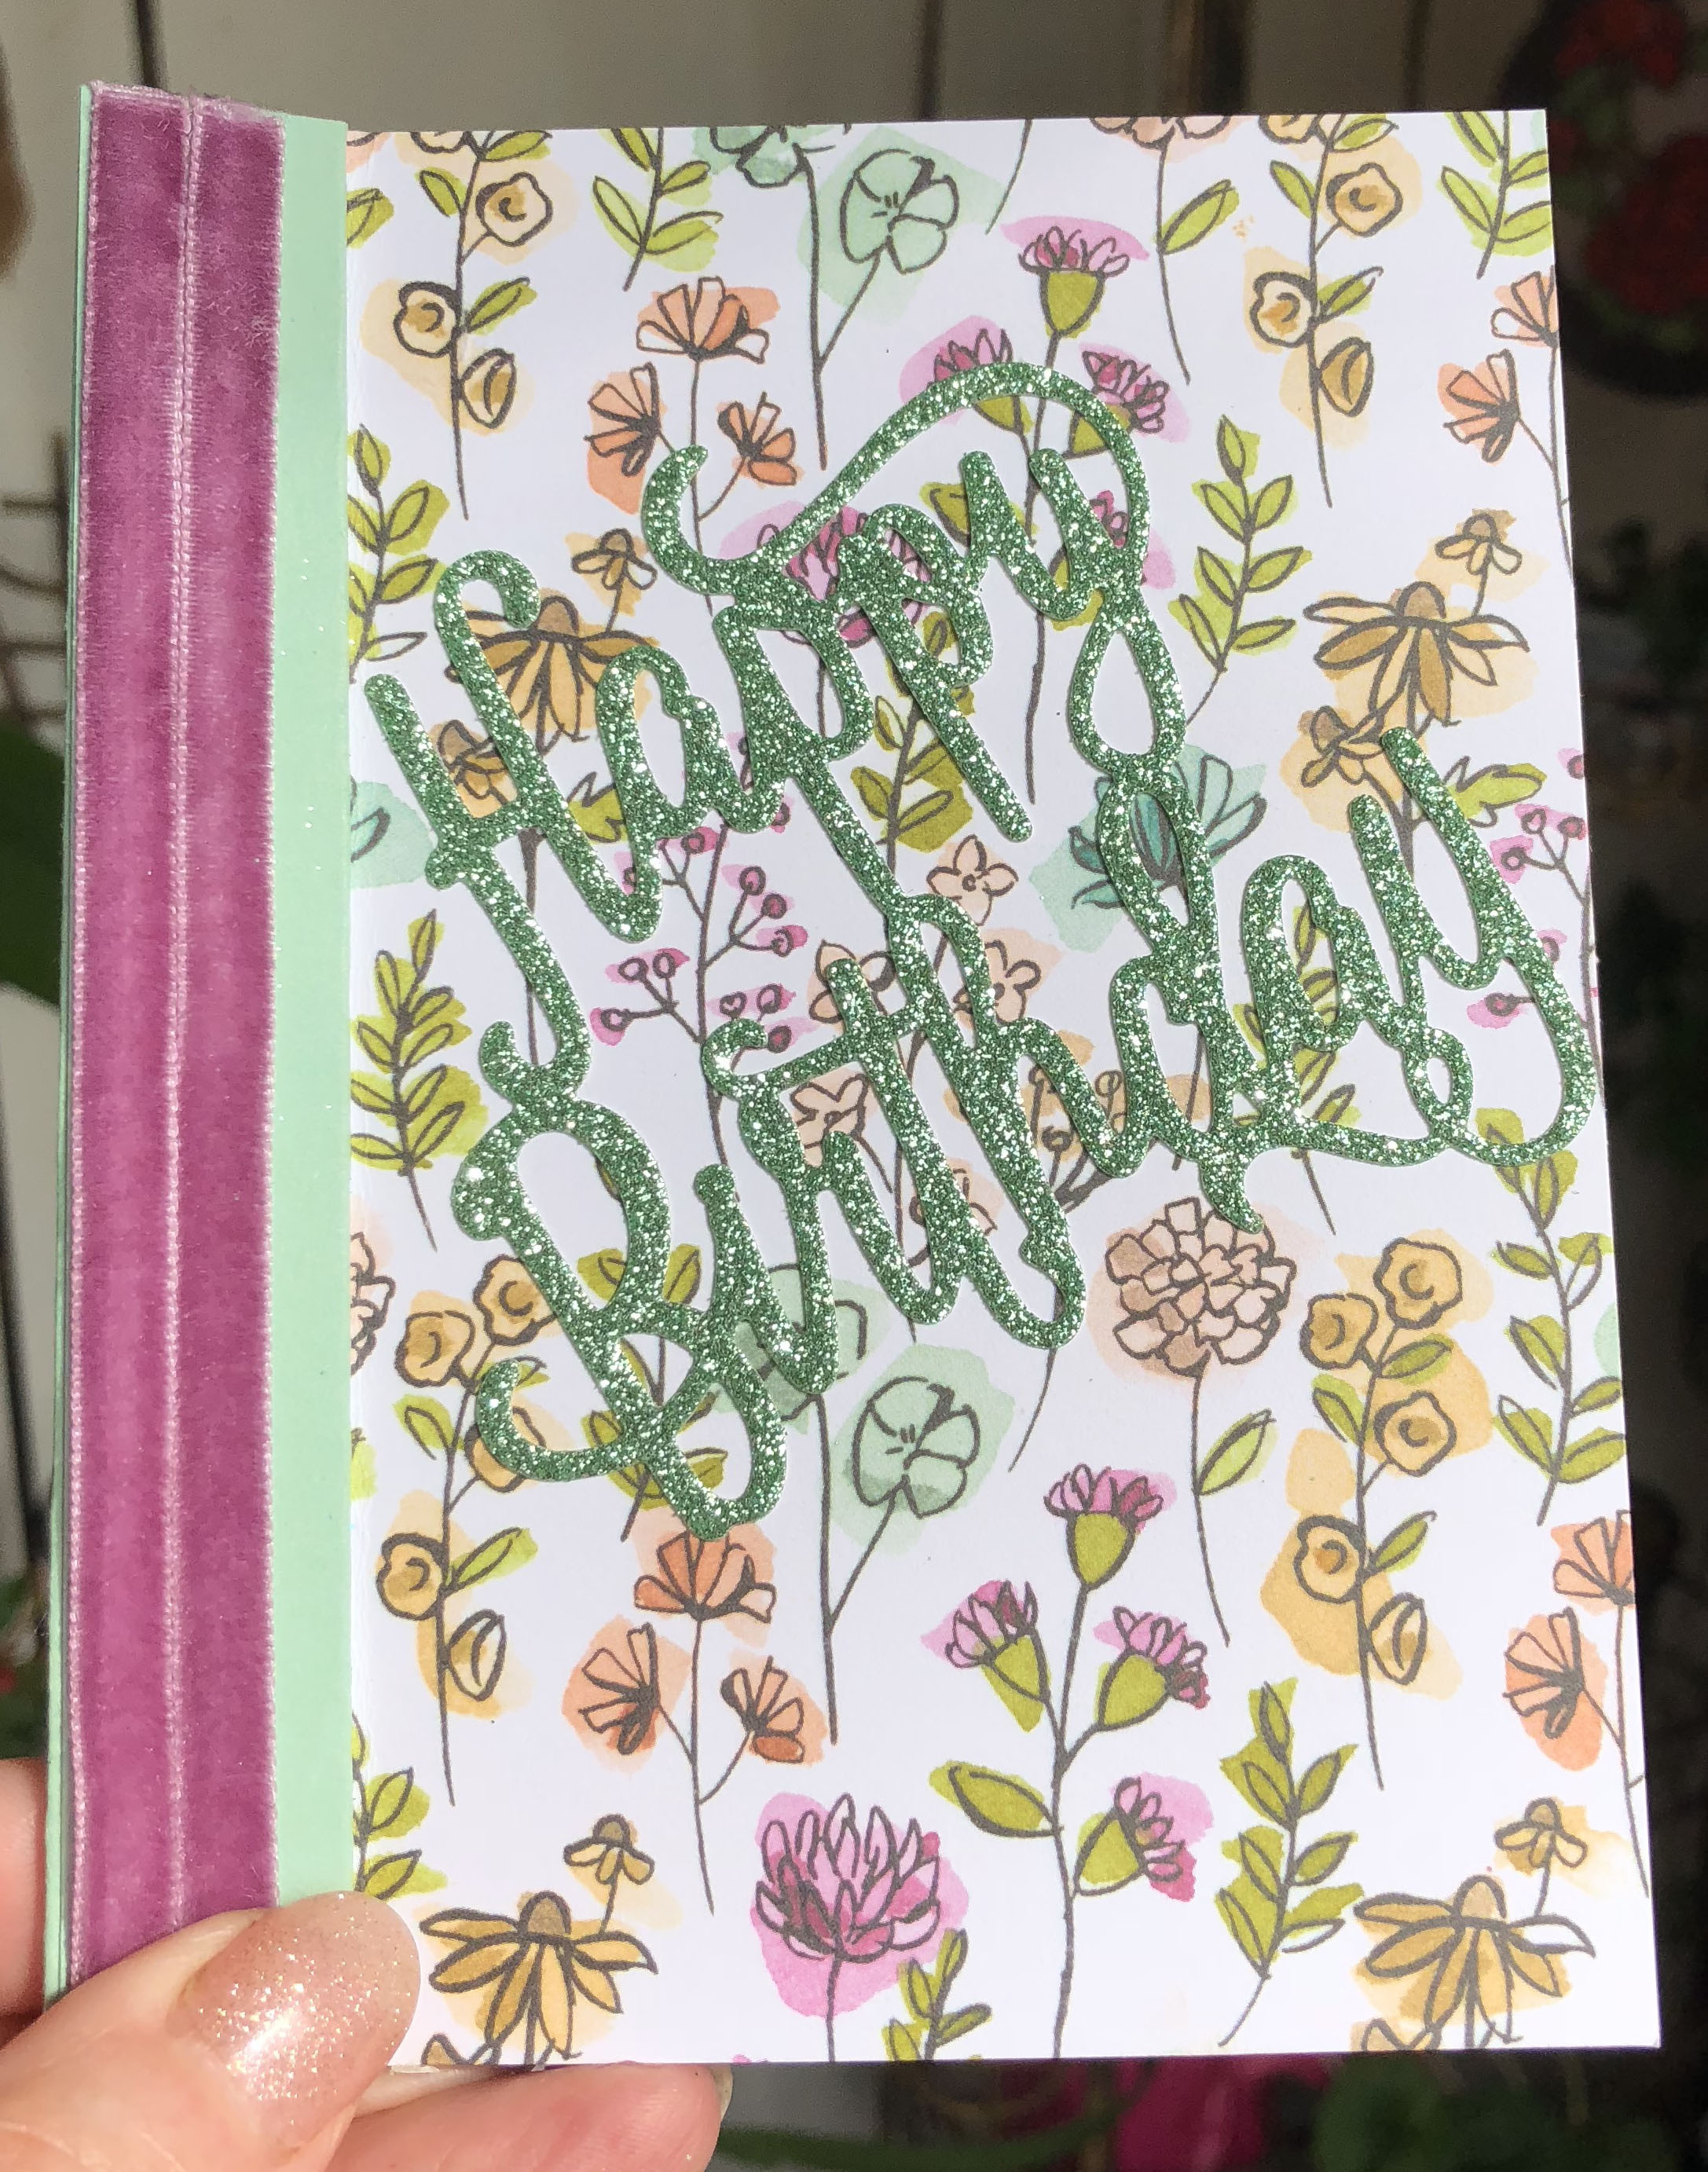
The supplies for this card all come from the Share What You Love Early Release “Gotta Have It All Bundle (149526) except for the Whisper White cardstock and a retired glimmer paper. I used one of the patterns from the Share What You Love Specialty Designer Series Paper which is currently part of the bundle but will be available June 1 to order individually. This dsp is cardstock weight and comes in a package of 24 sheets, 4 sheets of 6 double-sided designs. Four of these designs have a beautiful pearled surface to the images. I used a retired glimmer paper (probably from an Occasions catalog last year) for the Happy Birthday die-cut because the color goes so well with the Mint Macaron cardstock. I added two strips of Rich Razzleberry 1/4″ Velvet Ribbon on the spine of the card.
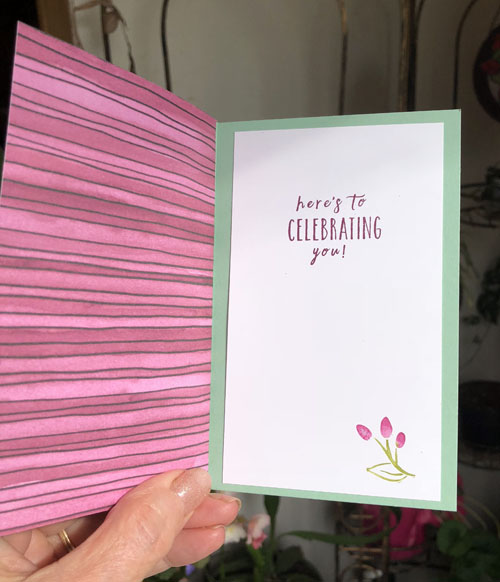 On the inside I stamped a greeting from the Perennial Birthday stamp set in Rich Razzleberry and one of the little flowers from that set in the corner. Here are the measurements:
cardstock for base 5 1/2″ x 7 1/4″ scored at 4 1/4″, 5″, 5 3/4″, 6 1/2″
dsp 4 1/4″ x 5 1/2″
inside stamping layer 3″ x 5 1/8″
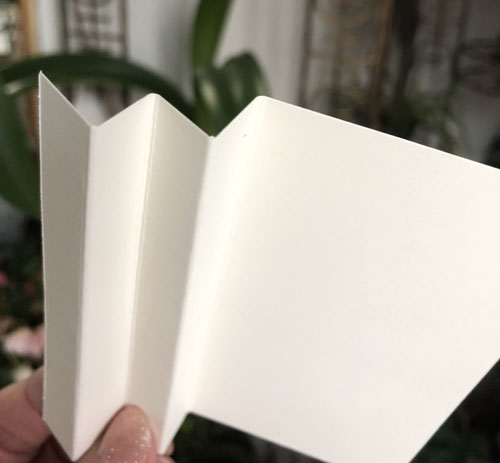 Fold on the score lines as shown. The piece of dsp goes in the mountain fold between the two valley folds. Adhere all the folds together with the dsp adhered in the folds as well. Contact me if you have questions. You can order the supplies I used by clicking on the links below.

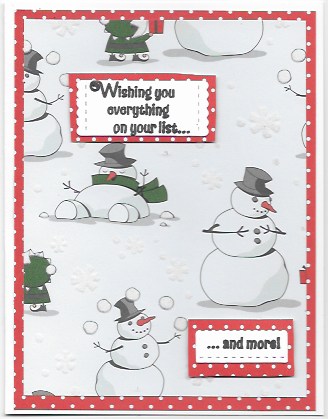
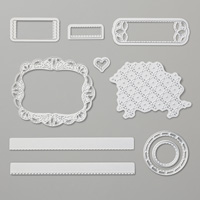
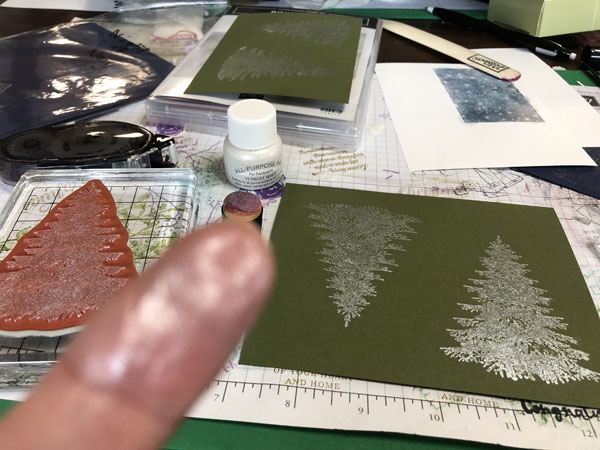
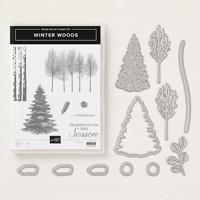
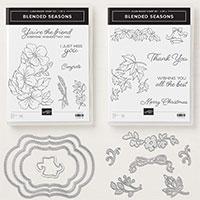
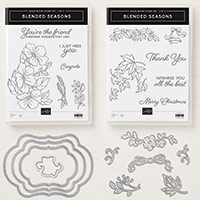
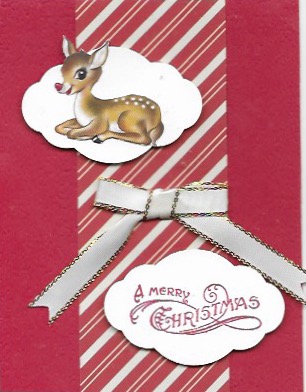
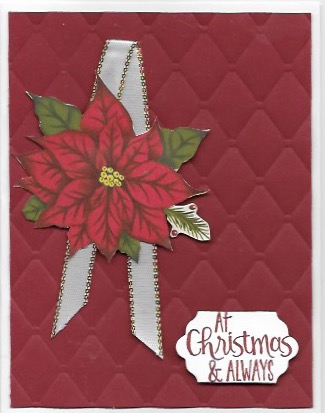
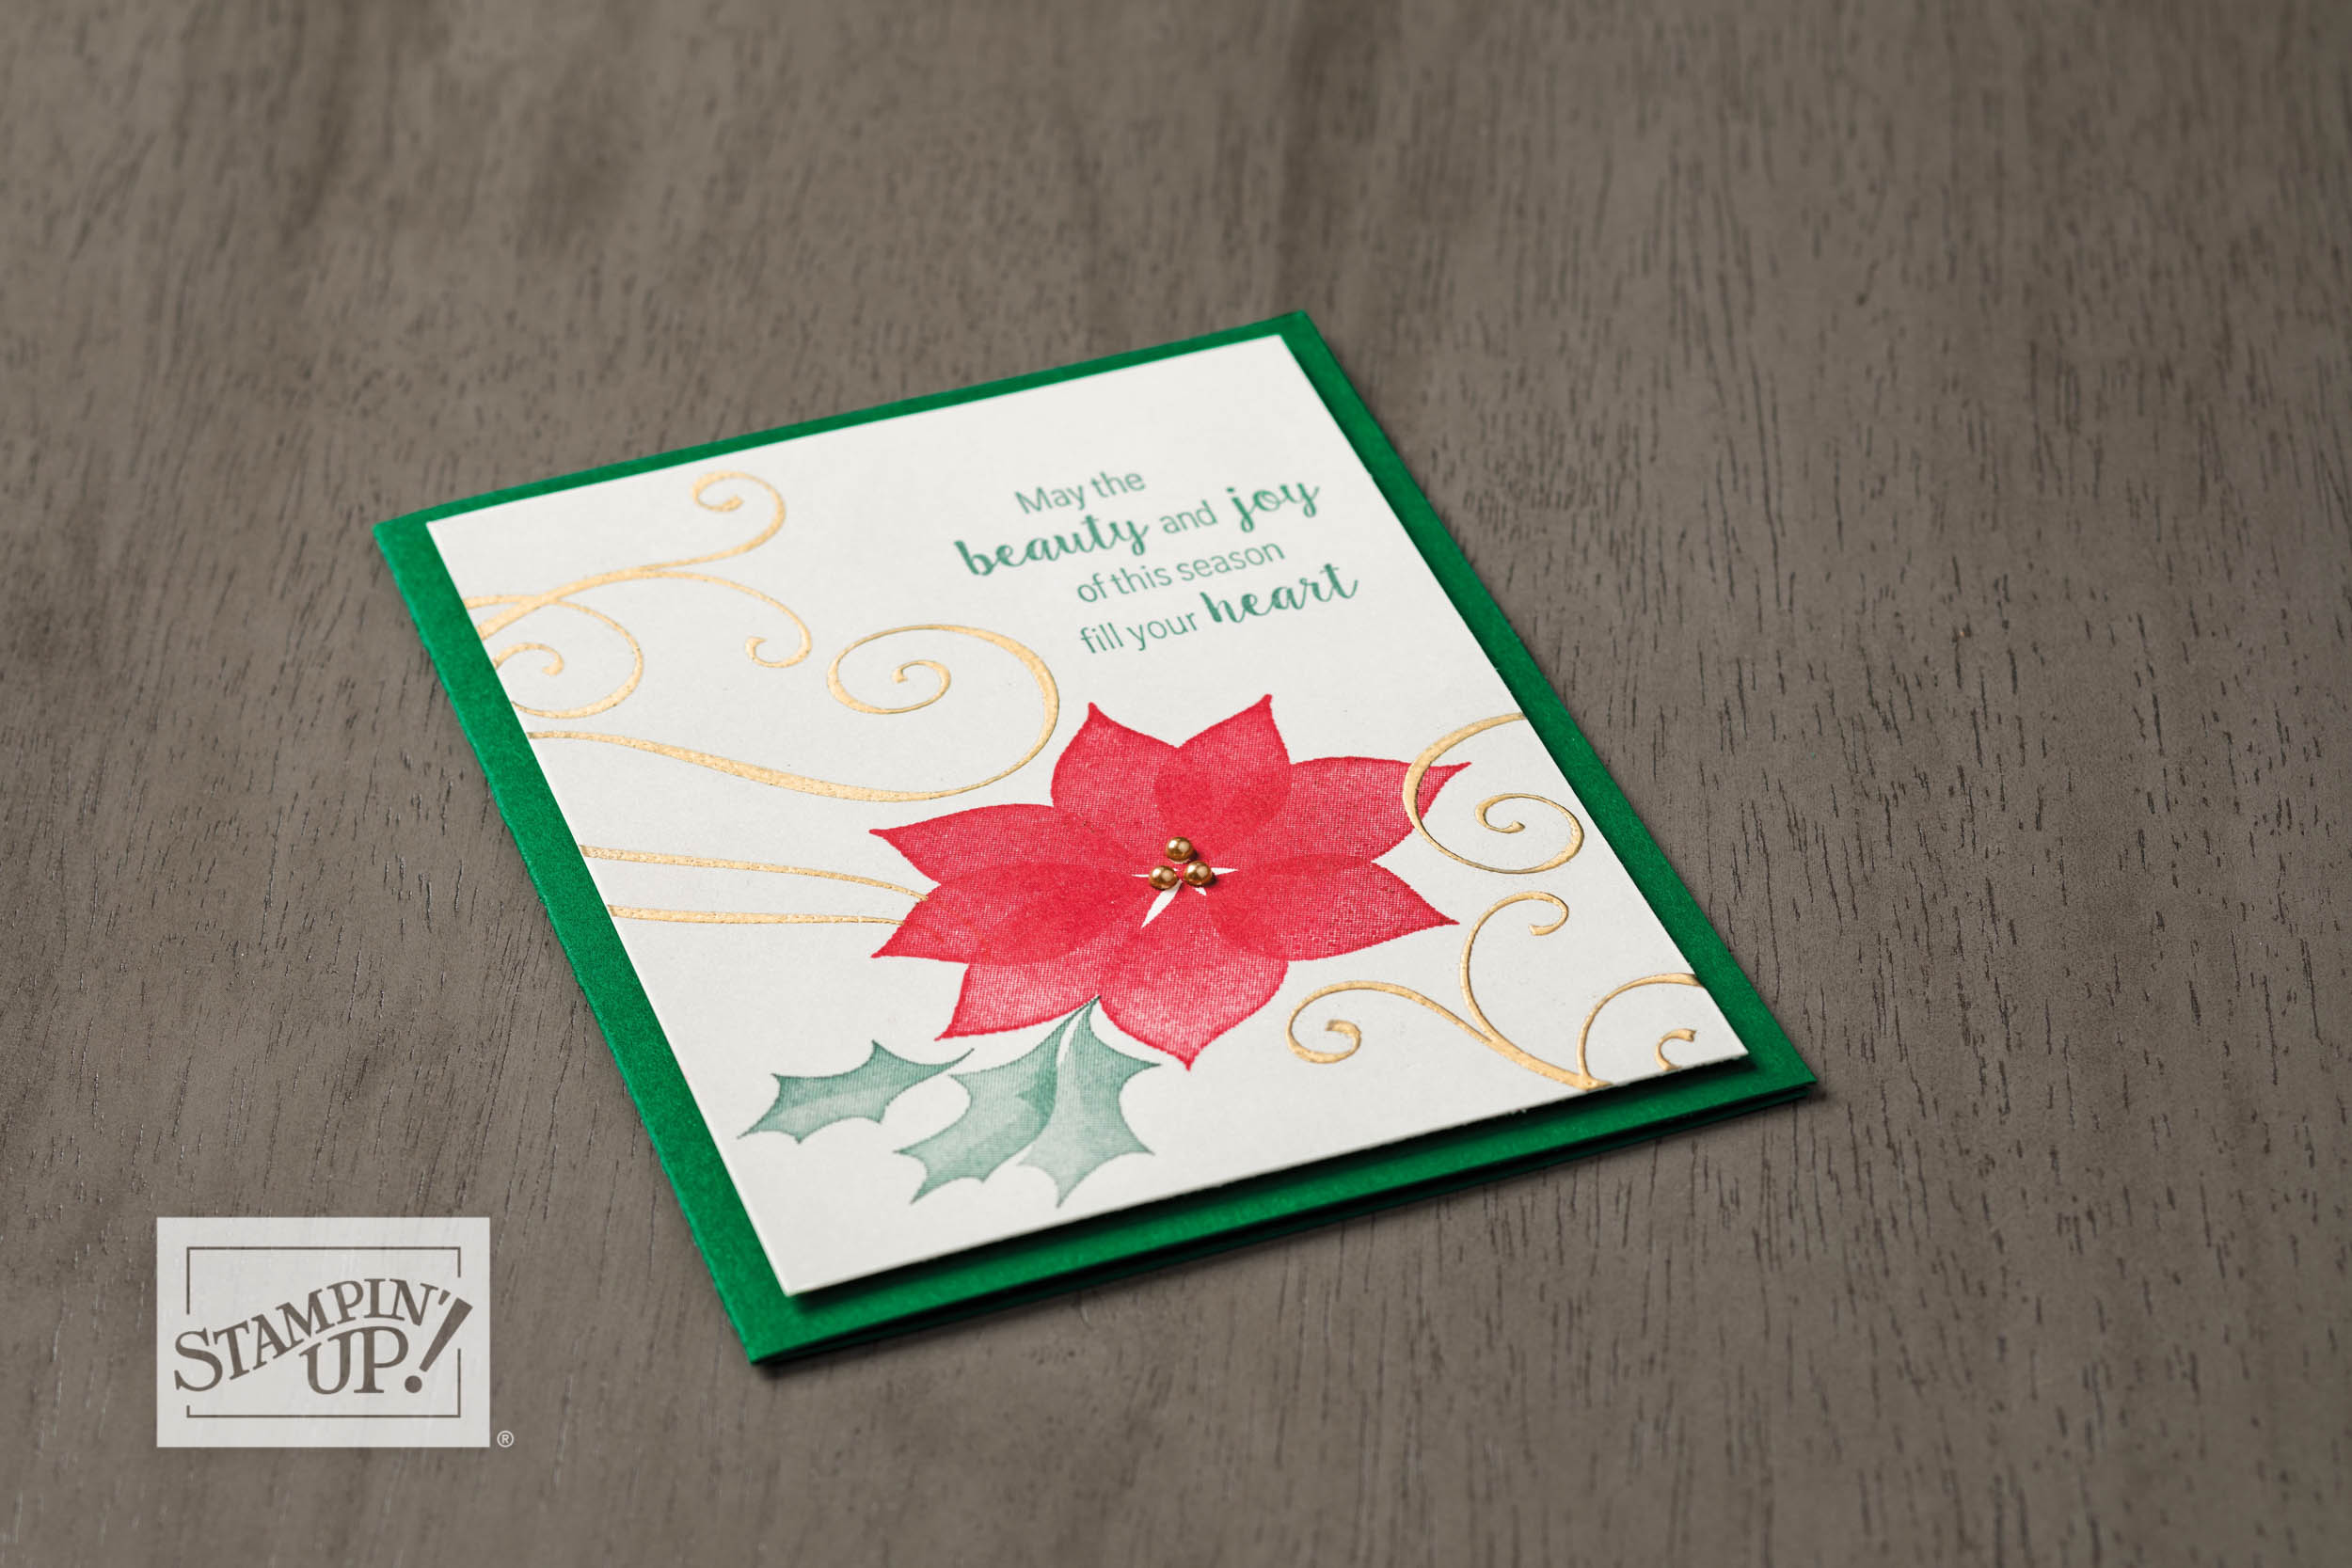
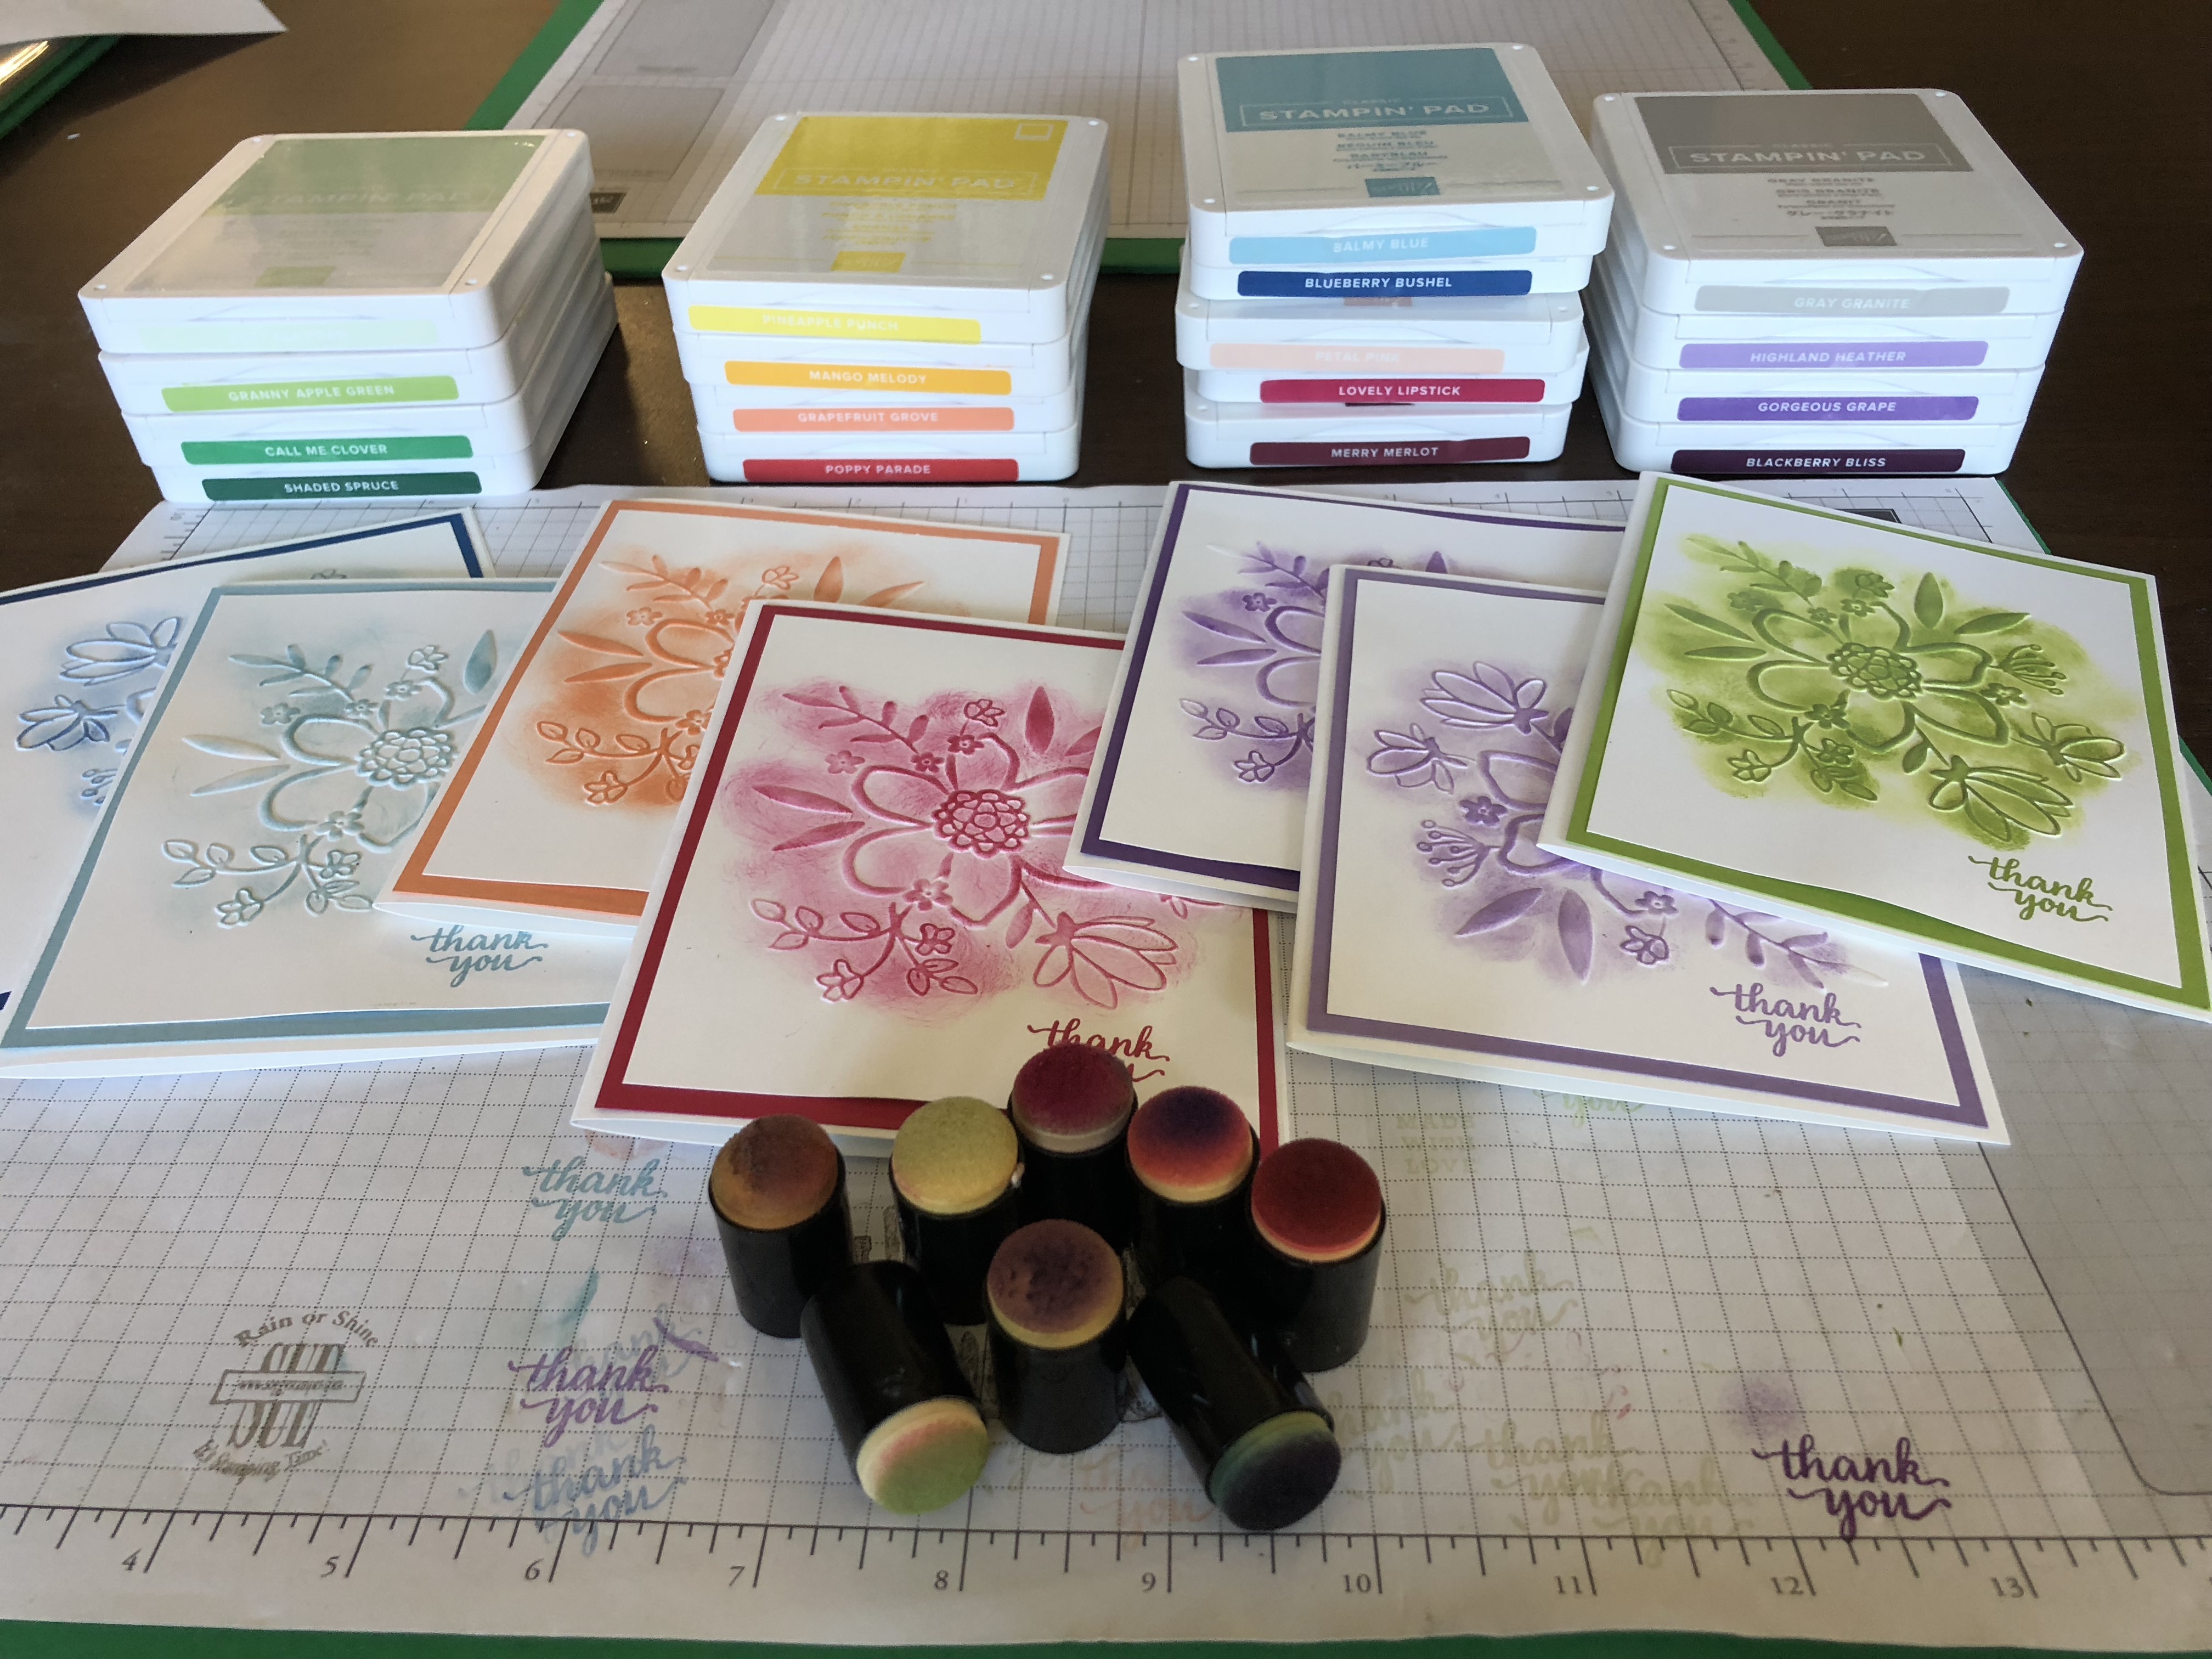
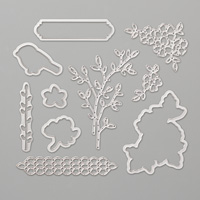
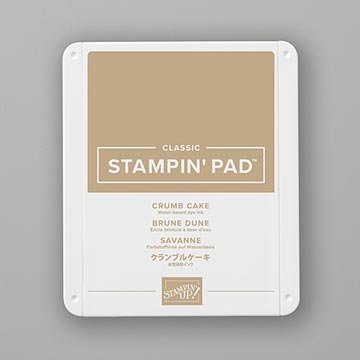
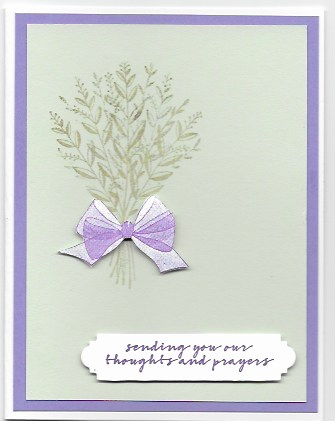 This Wishing You Well stamp set didn’t catch my eye until I started seeing samples created with it. I have fallen in love with this beautiful bow that looks like organdy. This stamp set is one of those DistINKtive stamp sets that were created so that the multistamped effect is actually just one stamp. The best way to ink up this kind of stamp is to sponge the ink on. That way you don’t get blobs of ink on the image. It is hard to see in the photo but after inking up the stamp with the sprigs with Crumb Cake ink, I sponged Champagne Mist Shimmer Paint on the stamp to give it a nice shine. I used the label die from the Petals & More Thinlits Dies and fussy cut the bow. To create this card for yourself, click on the images below to order the supplies I used.
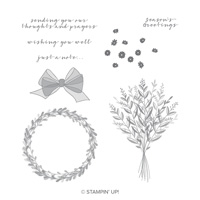


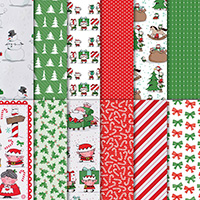


![photo shows 12 Weeks of Christmas N]Announcement](http://www.soggystamper.com/images/2018/09/12-Weeks-of-Christmas-2018-001.jpg)