
I have share two Christmas cards I created with the Snowflake Card Thinlits Dies (135855) here and here. Today I have a third card created with this die.
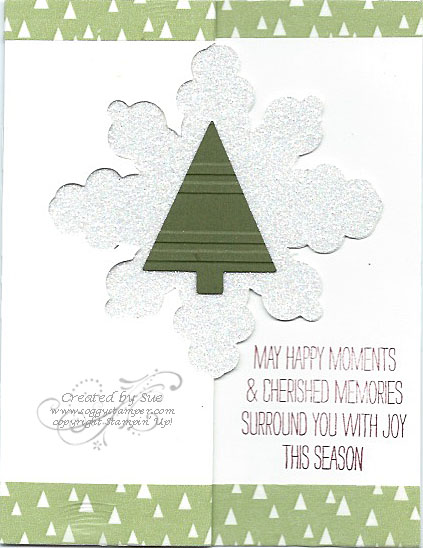
This time I cut out a separate snowflake from Dazzling Diamonds Glimmer paper to glue to the snowflake on the card. Here are the steps for doing this:
- Place a square of glimmer paper that is slightly bigger than the snowflake on the cutting platform and place the Snowflake Card die on top of the square.
- Place the top cutting plate with the edge of the plate lining up with the middle of the snowflake and run it through the Big Shot. The cutting plate only covers the smaller end of the die. This will prevent the other part of the snowflake from being cut.
- There is a score line above and below the snowflake once the die has been run through the Big Shot. Move the framelit over and line up the second fold on top of the score line making sure the points of the snowflake are properly shaped.
- Place the top cutting plate over the middle of the snowflake again covering the bulk of the die and not covering the smaller end that you have already cut. Then run it through the Big Shot.
- You should now have a nicely shaped snowflake to match the snowflake on the card base. You can use this procedure to cut out the large snowflake from the Letterpress Winter stamp set (135145).
For more details about the supplies I used and to order them, click on the links below.


