Category Archives: Techniques

Candle Stamping – My Favorite Technique

Photo of a handstamped candle

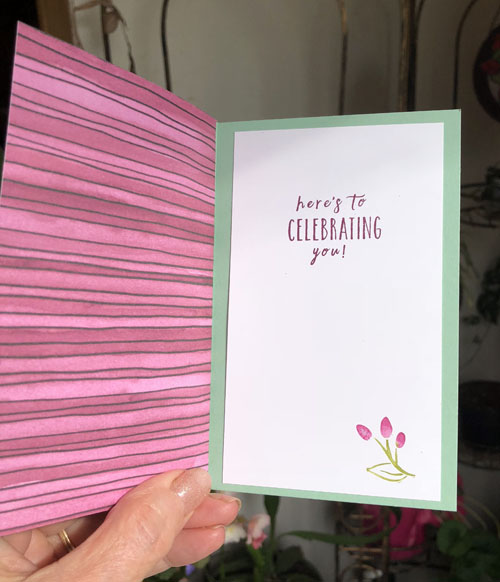
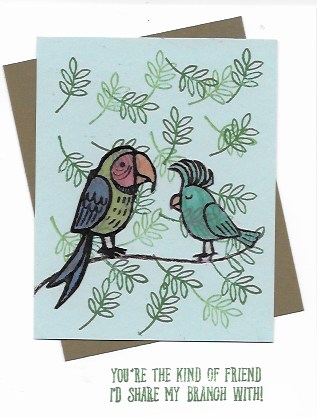
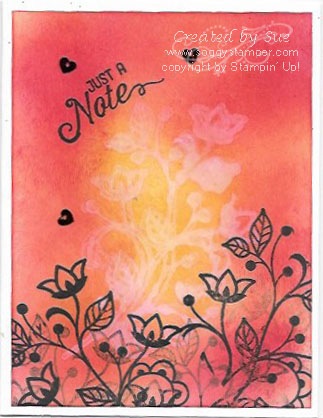
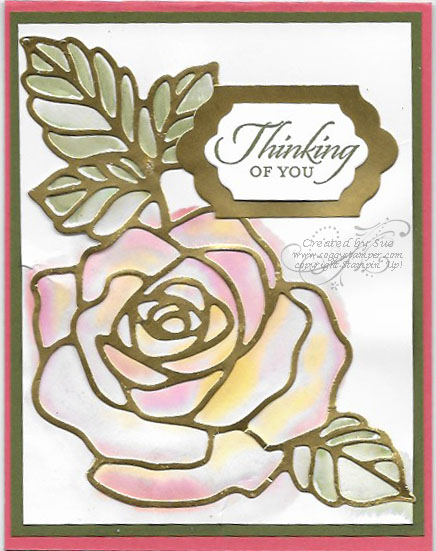
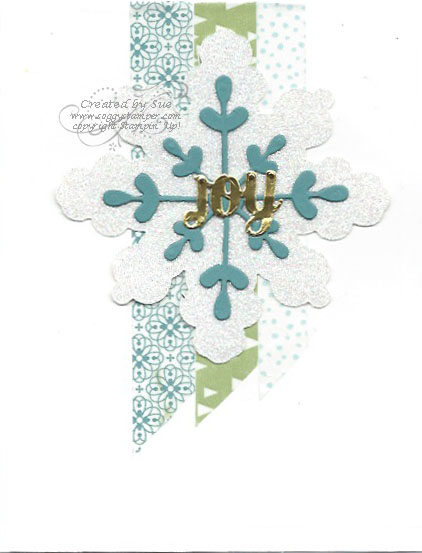
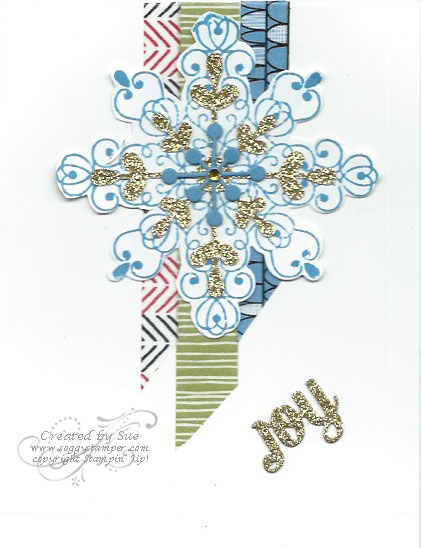
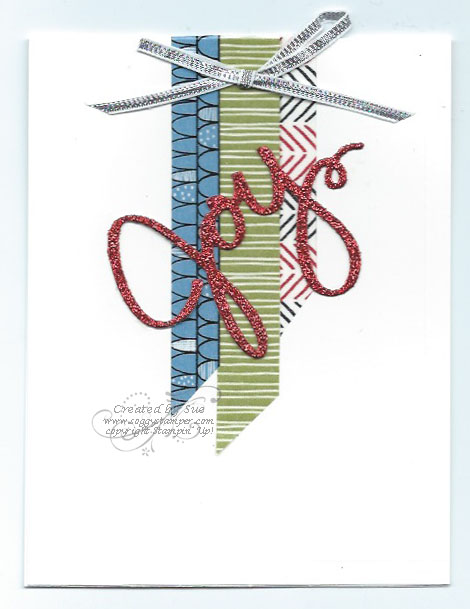
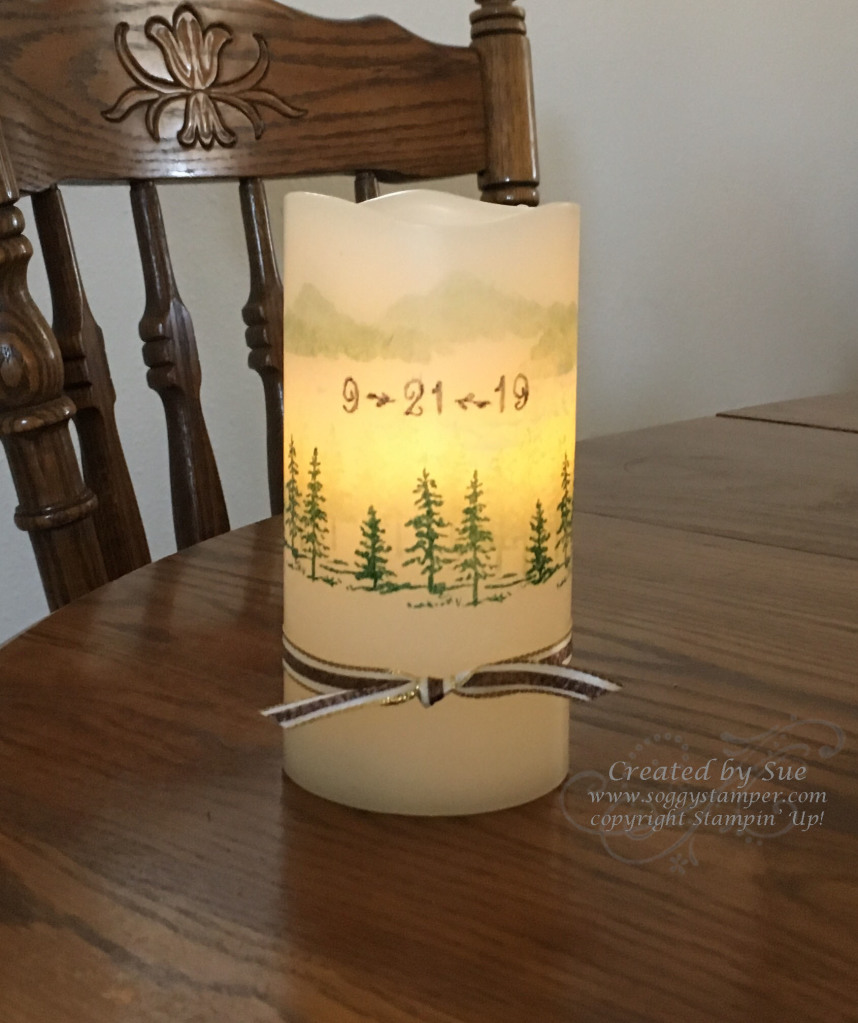
Candle Stamping is my favorite technique! I get such satisfaction from making gifts like this. This particular one is a wedding candle for the daughter of our good friends in Alaska. The bride and groom work for the Forest Service so this candle with the mountains and pine trees is most appropriate. I even stamped their wedding date on the candle.

Here are the directions for the candle stamping technique.

SUPPLIES:

White tissue paper or tissue paper the color of your candle
Wax candle -Be sure they are wax candles. They can be ones you light or flameless. I got this flameless vanilla scented real wax candle at Walmart in a package of four for $19.99.
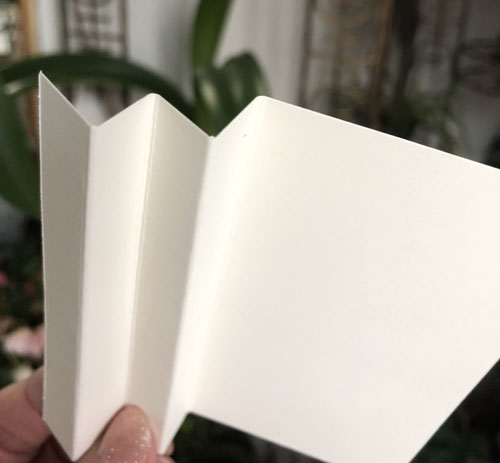
Strip of wax paper long enough to wrap around the candle plus extra for you to hang on to
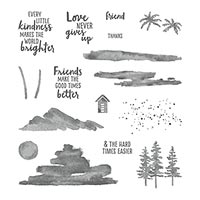
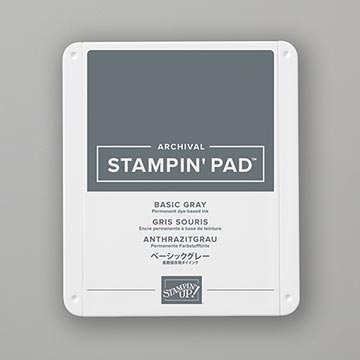
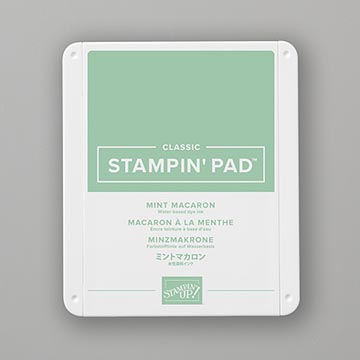
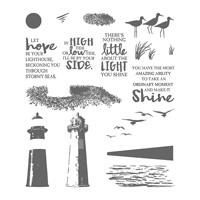
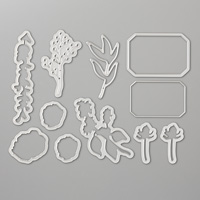
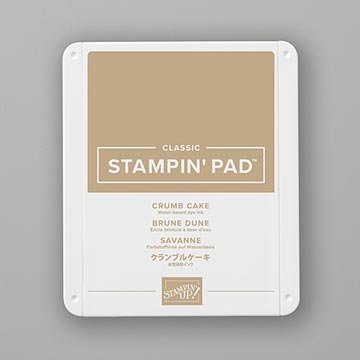
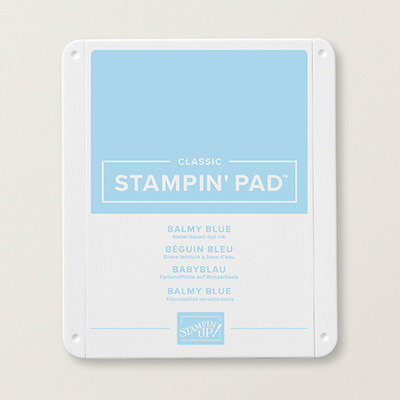
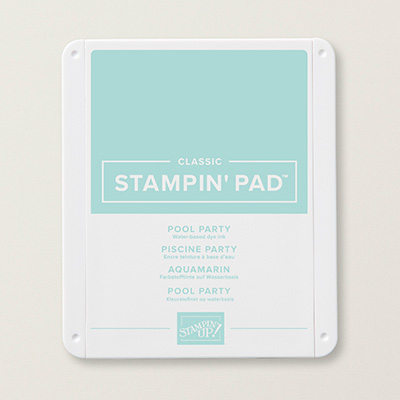
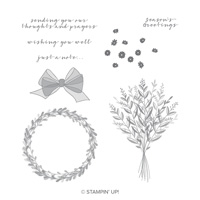
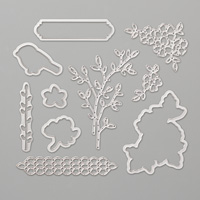
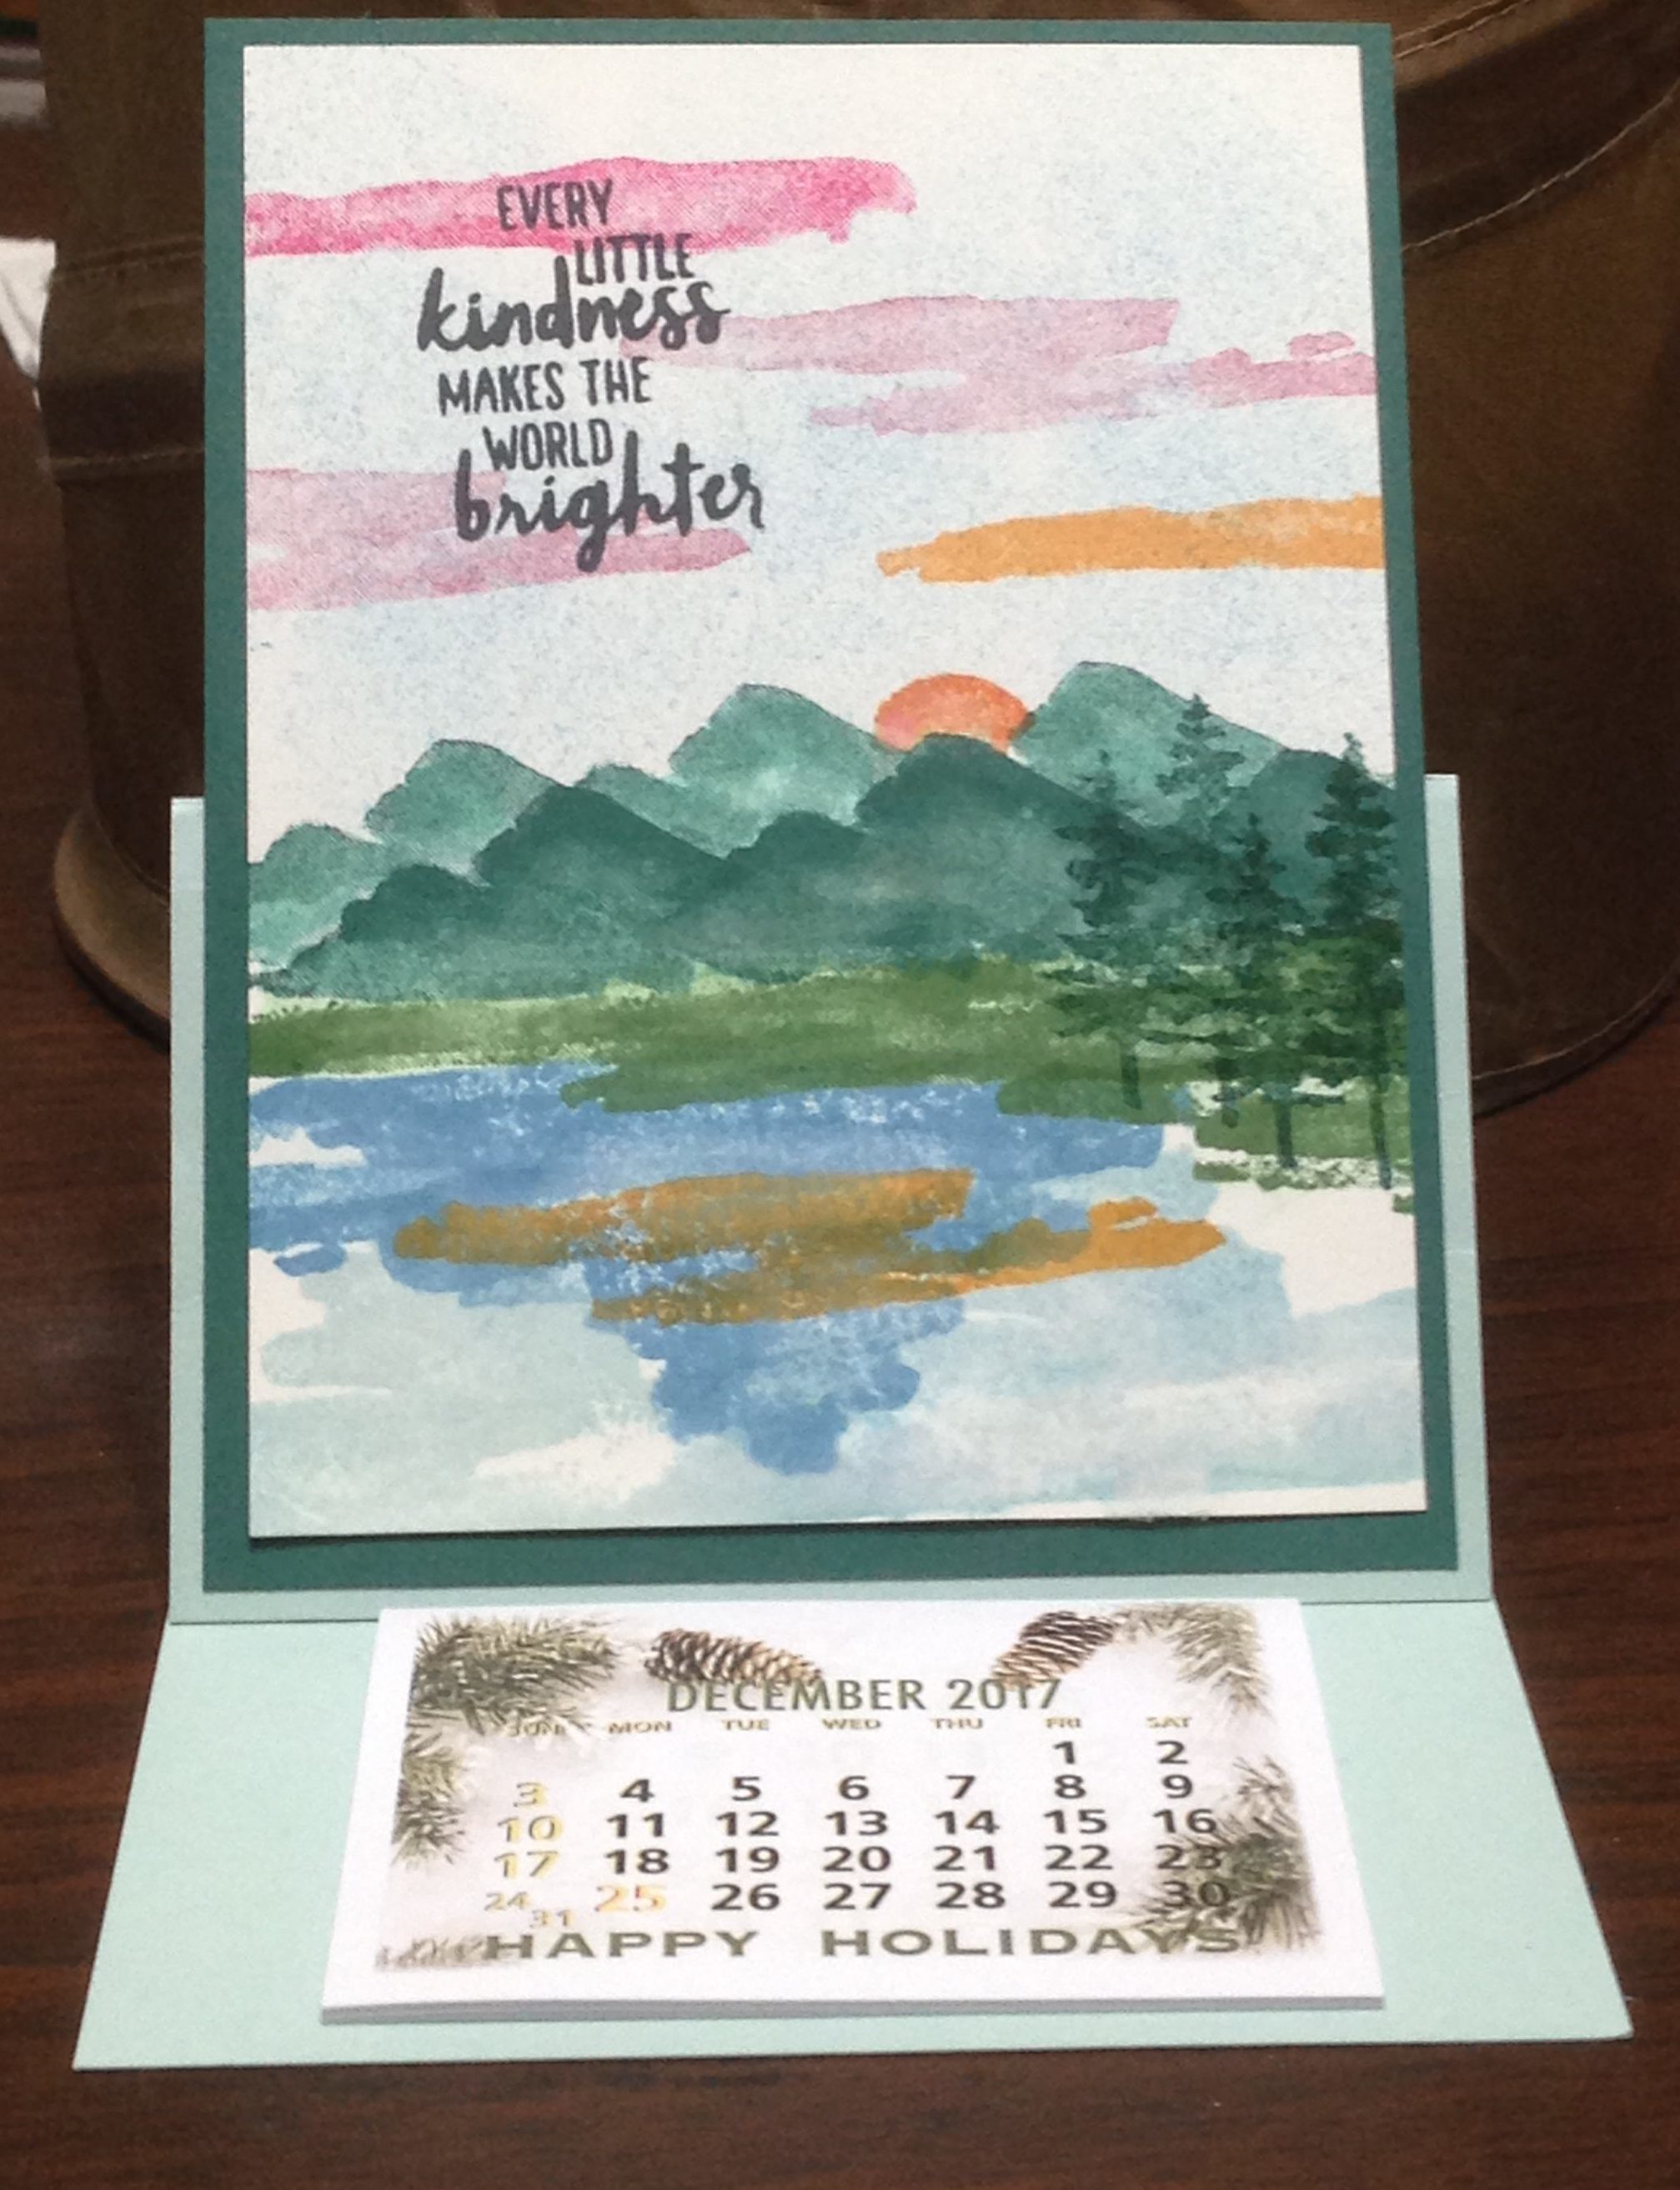
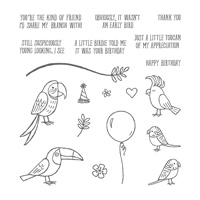
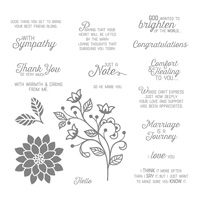
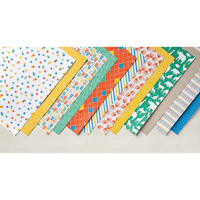
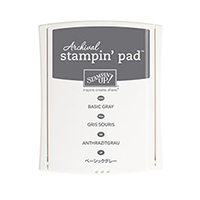
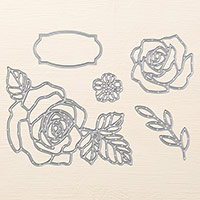
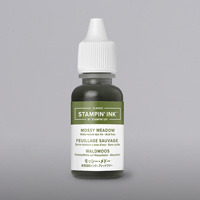
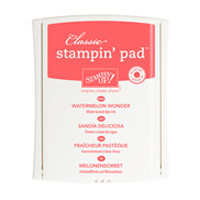
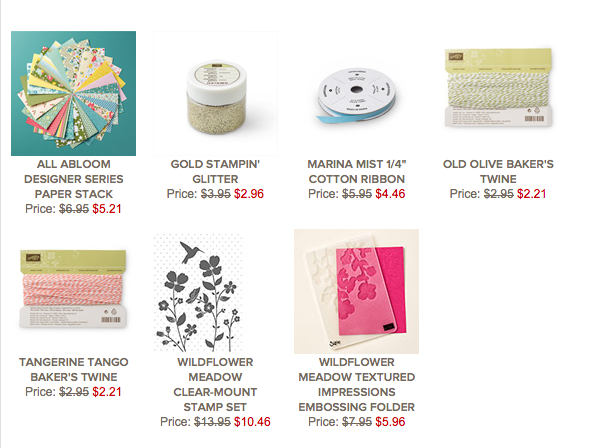
stamps and ink as desired – I used the Let It Ride and Waterfront stamp sets with Basic Gray, Shaded Spruce, and Mint Macaron inks. I applied SNAIL adhesive to one side of Copper Trim, then stuck it to the Gold Metallic-edge Ribbon.
heat tool

INSTRUCTIONS:

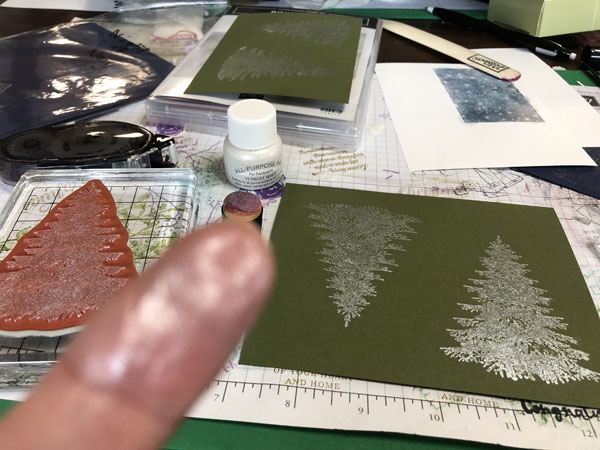
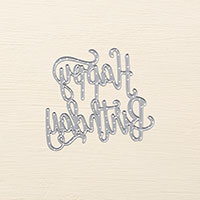
1. Stamp desired images on tissue paper. I have found that line drawings work better than solid ones. The solid ones have so much ink that it wrinkles the tissue paper.
2. Carefully tear around the images leaving as little border around them as possible.
3. Position the images on the side of the candle and then wrap the wax paper around the candle covering the tissue paper. Pull the wax paper tight.
4. Use the heat tool to melt the wax on the paper and on the candle just until the tissue paper is soaked with wax. Melting the wax too much will make an uneven surface to the candle.
5. Remove the wax paper and finish the candle as desired

So that is how easy it is to do my favorite technique – stamping on candles. Click on the images below to find them in my online store.

Using Pigment Sprinkles

My first attempts at using Pigment Sprinkles (149663) was a learning experience. Pigment Sprinkles are a new product in the 2019-2020 Annual catalog found on page 179. They are watercolor crystals in some of Stampin’ Up!’s signature colors and are HIGHLY concentrated. They come in a set of 6 colors, Bermuda Bay, Daffodil Delight, Granny Apple Green, Gorgeous Grape, Mango Melody, and Melon Mambo. The bottles have a screw-on lid and a plastic insert with three holes that are covered with a hinged closure. Mix these crystals with water to make color washes.

I was going for a light blue wash for a sky and a green wash for grass. My first try using Pigment Sprinkles resulted in the green being OK but…oh my…did I ever get too much Bermuda Bay! I punched out a piece of blue painter’s tape to make a circle mask for the sun. That is why the white spot in my ‘sky’.

first try at using Pigment Sprinkles

My second try using pigment sprinkles was a little better as far as intensity of color was concerned. Can you say…green haze over everything? 🙂

second try at using Pigment Sprinkles

On my third try using pigment sprinkles, I put just one tiny clump of Bermuda Bay crystals, spritzed just a little water on the clump and then used an aqua painter to spread the color around. I added another tiny speck of crystals to another spot until I got good coverage. I also added a touch of the Bermuda Bay sprinkles to the Granny Apple sprinkles to change the color of the grass. A tiny touch of Daffodil Delight sprinkles colored the sun after removing the painter’s tape mask. This is what I was going for. I love the final card!

greeting card using Pigment Sprinkles and Inspiring Iris stamp set

So my advice to you is to get these Pigment Sprinkles and play around with them. They are easy to mix to get other shades and colors. Be sure to use watercolor paper or Shimmery White cardstock that will hold up under use of water. Most importantly, add just a touch of sprinkles at first and add more if needed.

Supplies Used:

Stamp SetInspiring Iris (photopolymer – 149268)
Paper (including cutting measurements) –
Bermuda Bay cardstock (131197) 8 1/2″ x 5 1/2″
Watercolor paper (149612) 5 1/4″ x 4″
Whisper White cardstock (100730) 5 1/2 x 4″ for inside
Inks
Tuxedo Black Memento Ink (132708)
Pear Pizzazz Classic Stampin’ Pad (147104)
Gorgeous Grape Classic Stampin’ Pad (147099)
Accessories –
Pigment Sprinkles (149663)
Aqua Painter (103954)
SNAIL Adhesive (104332)
Stampin’ Dimensionals (104430)
Blue Painter’s Tape (to tape off a border)

Thanks for coming by to visit. Grab a cup of coffee or tea and sit a while and browse through my posts. Please leave a comment so I know you have been here.

High Tide Diorama

Diorama card using High Tide stamp setI love some of the sayings in the High Tide stamp set and the grass, sea gulls, and shore bird images. While playing with the light house, I was inspired to make a diorama card. This one is a simple one with only two layers so it can easily be sent in the mail. Enjoy this tutorial!

Directions for Diorama card:
1. Cut two pieces cardstock 5 1/2″ x 4 1/4″. Score the short ends at 1/2″ and 1″. Make mountain folds at 1″ and valley folds at 1/2″ scores.
2. Stamp/decorate one piece for the background on the side of the cardstock that has valley folds at 1″ score line.
3. On other piece use a die to cut an opening in the center of the piece. I used the largest plain square die of the Layering Squares Framelits. The greeting was cut out with the frame from the Frosted Bouquet Framelits.
4. Stamp, color, and cut out desired images to decorate the front of the card and adhere as desired.
5. Apply Multipurpose Liquid Glue to the ends just to the 1/2″ score line and glue the front to the back. I recommend the liquid glue over using Tear & Tape as you can briefly adjust the placement to get the edges lined up.
6. Stamp or write a greeting on the back. This lays flat and fits into a medium envelope/invitation size envelope for mailing.

Order supplies you need to make my card for yourself by clicking on the images below to be taken to my online store. When ordering use U42UER4K and I’ll send you a free gift.

Wishing You Well

Handmade card created with the Wishing You Well stamp setThis Wishing You Well stamp set didn’t catch my eye until I started seeing samples created with it. I have fallen in love with this beautiful bow that looks like organdy. This stamp set is one of those DistINKtive stamp sets that were created so that the multistamped effect is actually just one stamp. The best way to ink up this kind of stamp is to sponge the ink on. That way you don’t get blobs of ink on the image. It is hard to see in the photo but after inking up the stamp with the sprigs with Crumb Cake ink, I sponged Champagne Mist Shimmer Paint on the stamp to give it a nice shine. I used the label die from the Petals & More Thinlits Dies and fussy cut the bow. To create this card for yourself, click on the images below to order the supplies I used.

Loving the Frost White Shimmer Paint

photo shows my messy work area


Yes, I am in love with all the Shimmer Paints reintroduced in the 2018 Holiday Catalog on pg.38! Stampin’ Up! sold them several years ago and I bought several bottles of the Frost White Shimmer Paint when they were retired. I am so excited that they are once again offered.

This photo is the beginning of making swap cards for On Stage in Orlando when Stampin’ Up! will end a year of celebrating their 30th anniversary with a huge party. I have sponged Frost White Shimmer Paint onto the evergreen tree stamp from the Winter Woods stamp set and then stamped it on Mossy Meadow cardstock. I’m making 32 identical cards for this swap so have stamped it 32 times pus a couple extra for good measure. The next step will be to cut them all out with the corresponding die.

When making a large number of the same card, you do it assembly line style. You cut all the card bases, cut all of a second layer, stamp all the images and cut out those needed to be cut out, tie all the bows you might be using, and stamp your greeting on all the top layers of the card front before putting everything together. Then you assemble all the cards step by step. This is a much more efficient way to do it. And now with the Stamparatus (146276), you can position your stamps on the plates once and put each piece of cardstock to be stamped into position, ink the stamp and stamp it then remove the cardstock and put the next piece in without having to move the stamp. It’s much faster!

I will share the finished card with you in a couple of days. Be sure to come visit again! You can order the Winter Woods bundle by clicking on the images below.

New Fancy Fold with Share What You Love DSP

B.J Peters a fellow demonstrator recently shared a card with this type fun fold on the Alaska Achievers Monthly Blog Hop. I love fun folds and immediately wanted to make my own book fold card. I used her cutting and scoring directions which I share below.

The supplies for this card all come from the Share What You Love Early Release “Gotta Have It All Bundle (149526) except for the Whisper White cardstock and a retired glimmer paper. I used one of the patterns from the Share What You Love Specialty Designer Series Paper which is currently part of the bundle but will be available June 1 to order individually. This dsp is cardstock weight and comes in a package of 24 sheets, 4 sheets of 6 double-sided designs. Four of these designs have a beautiful pearled surface to the images. I used a retired glimmer paper (probably from an Occasions catalog last year) for the Happy Birthday die-cut because the color goes so well with the Mint Macaron cardstock. I added two strips of Rich Razzleberry 1/4″ Velvet Ribbon on the spine of the card.

Inside view of the book fold cardOn the inside I stamped a greeting from the Perennial Birthday stamp set in Rich Razzleberry and one of the little flowers from that set in the corner. Here are the measurements:

cardstock for base 5 1/2″ x 7 1/4″ scored at 4 1/4″, 5″, 5 3/4″, 6 1/2″
dsp 4 1/4″ x 5 1/2″
inside stamping layer 3″ x 5 1/8″

photo shows how to fold the score linesFold on the score lines as shown. The piece of dsp goes in the mountain fold between the two valley folds. Adhere all the folds together with the dsp adhered in the folds as well. Contact me if you have questions. You can order the supplies I used by clicking on the links below.


Waterfront Sunset

easel calendar card created with Waterfront stamp setThe secret artista in me has been released with this Waterfront stamp set! I love, love, love using the various stamps to create this water-colored look using the stamps in this set. No, I’m not really an artist, the stamps and the wonderful Stampin’ Up! inks make it look like I am an artist. Eh…maybe a stamper really is an artist, just not one who draws the images. Anyway, I’m thrilled with the results of my stamping tonight.

Since January is the beginning of a new year, I wanted to hold a class where we made an easel card with a mini calendar on it. To make an easel card, cut a piece of cardstock 4 1/4″ x 11″ and fold it in half. Then fold the front of the card in half again with a mountain fold. Glue a 5 1/2″ x 4 1/4″ piece of cardstock to just the section of the card front that is farthest from the center fold. Put a button, bow, or popped up label on the bottom of the inside of the card to hold the easel open. Decorate the front however you want.

For this card I used Soft Sky for the card base. Then I stamped a 3 3/4″ x 5″ piece of Whisper White cardstock with my scene using a variety of inks. I did mask the mountains when I stamped the setting sun. I used Tranquil Tide for the mountains and the pine trees. The grass was Garden Green. I used Marina Mist and Soft Sky to stamp the water and sponged Soft Sky on the sky. The sun was stamped with Tangerine Tango. The clouds were stamped with Sweet Sugarplum, Melon Mambo, and Peekaboo Peach. I also stamped some Peekaboo Peace on the water.

This layer was then adhered to a 4″ x 5 1/4″ layer of Tranquil Tide and then to the card base. I really urge you to purchase the Waterfront stamp set and release your inner artist. The stamp set also has images to make a tropical waterfront. You can purchase the supplies I used for this card by clicking on the images below to go to my online store. When you order, use the January host code and I’ll send you a small Thank You gift.

Another Stained Glass Technique Card

handmade card created with Bird Banter stamp set and Stained Glass TechA few days ago I shared a card I made using the “Stained Glass” technique and Petal Palette stamp set. You can see it here if you missed that post. Today I am sharing a card I made with the same “Stained Glass” technique and Bird Banter stamp set.

The last time I used black embossing powder for the ‘leaded’ part of the stained glass. Then I realized that Stampin’ Up! retired that powder a couple of years ago. Oops! Not to worry though. Since it takes ink a while to dry on vellum paper, I stamped the images with Tuxedo Black Memento ink and immediately added clear embossing powder. This works pretty well.I used Fast Fuze Adhesive to adhere the birds to the card front since the Fast Fuze does not show through the vellum.

I purchased this set mainly because one of the sentiments goes like this: “A little birdie told me it was your birthday….obviously, it wasn’t an early bird!” I am a great procrastinator and my modus operandi is to get the birthday card in the mail on the day of the birthday…if I’m lucky. So that greeting will be used a lot. However, I am falling in love with the birds. Stay tuned for more of these birds on cards.

As always, you can click on the images below to be taken to their spot on the shelves of my online store if you want to create this card for yourself. Also, remember that this is Sale-A-Bration time and you get to choose a free item for each $50 of product you purchase. Be sure to use the January host code when you order and receive a thank you gift from me.

Never Too Old to Learn New Tricks

Greeting card using Flourishing Phrases stamp set and sponging

I have been a stamper for almost 20 years and a demo for 16 but can still get excited by new techniques. I created this card using a technique like bleach stamping but used just water on the stamp. I first sponged  cardstock with Real Red, Tangerine Tango, and Crushed Curry inks. Then I misted the detailed image from Flourishing Phrases with water and stamped. That’s it! This is such an easy technique! I’m not sure it has a name but I call it ghosting. Like bleach stamping, it takes a couple minutes to see the end results. I didn’t think I had misted enough water on the stamp so I misted it some more and stamped over the first image. Hence the double image. As the cardstock dried, the white showed through more. Give this technique a try. I think you will love it! To order the supplies I used for this card, just click on the images below.

Hey Chick!

Wiper card using Hey Chick stamp set

When I first saw the Hey Chick stamp set in the Sale-A-Bration brochure, I knew I had to make a wiper card with the set. This SAB set is absolutely darling and the best part of it is that it is FREE when you purchase $50 in product from me before taxes and shipping.

Now the closed card is cute in and of itself but just see what happens when you pull the ends of the card!

Opened wiper card using Hey, Chick stamp set

Giggle! I just love that floppy-maned chicken popping up to wish you a happy day! There are several online tutorials and videos showing how to make a wiper card. I followed Dawn Olchefsky’s  directions on this video  but made the tag a little longer so more of it would stick up. Wiper cards are fun to make but do take a little fussing to get them right the first time you make one.

The new 2017 Occasions catalog became live Jan 4th and that also was the first day of Sale-A-Bration which runs through March 31st. Sale-A-Bration is the exciting time of year when you can choose one of the FREE items from the Sale-A-Bration brochure for each $50 you purchase in Stampin’ Up! products. Contact me if you would like a copy of the 2017 Occasions catalog and the Sale-A-Bration brochure. I love giving them away for just the agreement that I can periodically give you a call to see how I can help you with your creative needs.

Check out this blog and my facebook page frequently to see samples I’ve created with product from these catalogs.

Clicking on the images below will take you to that product in my online store so you can order them if needed.

Rose Garden Thinlit Card

A fellow Stampin’ Up! demonstrator, Patty Bennett, posted this video on how she made a beautiful card using the Rose Garden Thinlits Dies.

I am totally in love with Wink of Stella and had to try this technique for myself. I ordered just the Rose Garden Thinlits Dies, not the whole bundle…bummer! Here is my feeble attempt at this technique.

handmade card using Rose Garden Thinlits Dies

Some things did not work out as well for me as they did for Patty. I used the Multipurpose Liquid Glue to adhere the diecut to Whisper White cardstock. When I wet the cardstock to float the reinker/Wink of Stella mixture on the water, the diecut came unglued in places. I finally had to glue it back down using the Fine-Tipped Glue Pen. My coloring is a lot lighter than Patty’s because I forgot that when watercoloring, the color always dries lighter than when it is wet. Also, as you can see, the Whisper White cardstock would not lay flat even after it dried. So…I am really embarrassed to share this card. But…maybe you can learn from it like I have. Now I wish I had purchased the bundle because I would emboss the rose with gold embossing powder and then do the watercoloring technique. There would have been very little bleeding outside the lines. So note to self: Always order the bundle even if you don’t think you will use a part of it. You never know. This is the second time I didn’t order a bundle, just part of it and had to order the other half at full price.

You can order the supplies used for this card by clicking on the images below. Thanks for visiting my blog.

Sleigh Ride Edgelits Christmas Card

handmade Christmas card using the Sleigh Ride Edgelits and Softly Falling embossing folder

The Sleigh Ride Edgelits (139670) and Jingle All the Way stamp set (wood-139904, clear-139907) ) is one of my favorite bundles (wood -140861, clear-140862) in the new Holiday Catalog. I also love the Softly Falling Textured Embossing Folder (139672) so I combined the three items for this card.

You will be able to order from the Holiday Catalog starting next Tuesday. What? You don’t have a catalog yet? I’d love to send you one. Email me your phone number and best time to call you so we can discuss how you can get this wonderful catalog from me for FREE!

Now on to the details of this card. I used Shimmery White, Gold Foil, and Night of Navy cardstock. To get the background, I inked up the depressed side of the Softly Falling embossing folder, carefully placed my cardstock in the folder without moving it once it touched the ink, and ran it through the Big Shot. I love the look of snow falling from the night sky.

Now get out a piece of paper and make a list of what you want to order come next Tuesday. Don’t forget to contact me if you want a catalog.

Terrific Tuesday…almost.

Yes, today is Tuesday and we do have new Weekly Deals to make the day exciting. However, it is with sadness that Stampin’ Up! has announced that they are discontinuing all Blendabilities and will not be offering them in the near future. Too many of the alcohol markers were drying out even before they were sold due to microscopic holes in the casings. So Stampin’ Up! made the difficult decision to not carry them any longer. They are proud of the quality of their products and could not in good conscience continue to sell a product which couldn’t be depended on. I am proud to be part of a company who is so conscientious about providing the best quality products to their customers!

So now what do you do? Below is a chart to guide you, Not all Blendabilities are defective so if the ones you already have are working fine, continue to enjoy them while they last. All alcohol markers will eventually dry out. That is the nature of these markers.

table about what to do with backordered Blendabilities Now what do we do for coloring in images? I truly loved using my Blendabilities and hope in the near future Stampin’ Up! is able to create a way for us to carry some other brand of alcohol marker. Meanwhile, we can go back to using Blender Pens (102845), our Stampin’ Write markers, and Aqua Painters 103954). You can pick up ink from the markers with the blender pens. Or you can squeeze the lid of a stamp pad to pick up some of the ink on the lid. Then use an Aqua Painter or blender pen to transfer that ink to your image. Alternately you can add a drop or two of reinker to the lid of your stamp pad and the pick it up from there to paint your image.

Enough of the sadness, on to the new Weekly Deals. You can see them below. Just click on the photo to get more details and remember that these prices last only through Monday night so order the ones you want now. Procrastination will cause you to miss out!

screen shot of the Weekly Deals for 3-10-15

Washi Wednesday – Washi Christmas Cards

Handmade Christmas card using All Is Calm Designer Washi Tape and Snowflake Card Thinlits DiesYep…here is another Washi Wednesday with three more cards using washi tape. This first one uses the All Is Calm Designer Washi Tape (135844) to create a series of banners behind the snowflake. I had cut out the Dazzling Diamonds Glimmer paper (135315) with the Snowflake Card Thinlits die and found it lying on my stamping table. I cut the blue snowflake from Lost Lagoon cardstock and the Joy from a Gold Foil Sheet (132622) using other dies from the Snowflake Card Thinlits Dies (135855).

In this post, I described how I cut out the large snowflake from glimmer paper. Since then I actually took the time to watch Stampin’ Up’s video on how to use the die and learned a much easier way to cut out the snowflake:

  1. Place a 3 3/4″ square of cardstock/glimmer paper under the snowflake part of the card base die and run it through the Big Shot.
  2. Remove the cardstock , turn it 90 degrees, and replace it under the die lining up the cut parts with the corresponding parts of the snowflake.
  3. Run it through the Big Shot again. Voila! You now have a perfectly cut snowflake. This is also the way to cut out the large snowflake from the Letterpress Winter stamp set (photopolymer 135145). However, lining up the die to the stamped image is very difficult. I found it much easier to first cut the snowflake shape out and then stamp the image on it. The photopolymer stamp make placement of the image on the die cut much, much easier.

Handmade Christmas card using the Santa and Company Designer Washi tape and Letterpress Winter stamp set Handmade Christmas card using the Santa & Co Designer Washi Tape and Wondrous Wreat Thinlit DiesThese are two more versions of this washi tape Christmas card. The top card shows the result of following the directions above using the large snowflake die from the Letterpress Winter stamp set (135143). I used the Santa and Co. Designer Washi Tape (135843) on this card and the next one. The Joy and the larger snowflake were cut from Gold Glimmer paper (133719) using one of the dies from the Snowflake Card Thinlits Dies as was the Marina Mist smallest snowflake. I love how the various stamp sets and dies work so well together!

The third card is a little less detailed. I used the Santa and Co. Designer Washi tape and added the word ‘joy’ cut from Red Glimmer paper (121790). I added a bow from Silver 1/8″ Ribbon (132137). I don’t know which one I like best. How about you? Leave your choice in a comment below. To order the supplies to make these cards, click on the images below.

Third Time’s a Charm – Snowflake Card Thinlits Dies

I have share two Christmas cards I created with the Snowflake Card Thinlits Dies (135855) here and here. Today I have a third card created with this die.

Handmade Christmas card created with the Snowflake Card Thinlits Dies and using the tree die

This time I cut out a separate snowflake from Dazzling Diamonds Glimmer paper to glue to the snowflake on the card. Here are the steps for doing this:

  1. Place a square of glimmer paper that is slightly bigger than the snowflake on the cutting platform and place the Snowflake Card die on top of the square.
  2. Place the top cutting plate with the edge of the plate lining up with the middle of the snowflake and run it through the Big Shot. The cutting plate only covers the smaller end of the die. This will prevent the other part of the snowflake from being cut.
  3. There is a score line above and below the snowflake once the die has been run through the Big Shot. Move the framelit over and line up the second fold on top of the score line making sure the points of the snowflake are properly shaped.
  4. Place the top cutting plate over the middle of the snowflake again covering the bulk of the die and not covering the smaller end that you have already cut. Then run it through the Big Shot.
  5. You should now have a nicely shaped snowflake to match the snowflake on the card base. You can use this procedure to cut out the large snowflake from the Letterpress Winter stamp set (135145).

For more details about the supplies I used and to order them, click on the links below.