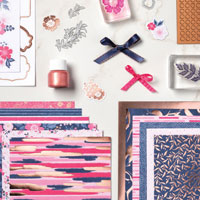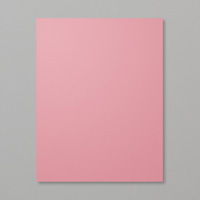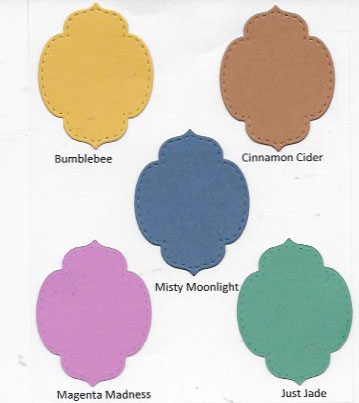
I’m excited to introduce you to the beautiful new 2020-2022 In Colors! Every year Stampin’ Up! introduces a set of five new colors to be used the next two years. This keeps our color palette fresh and current with the design industry without having to change the complete color palette. The new 2020-2022 In Colors are Bumblebee, Cinnamon Cider, Misty Moonlight, Just Jade, and Magenta Madness. As you can see in the card above, the colors complement each other magnificently! Check out swatches of them in the photo above.
Now let me show you how these beautiful colors work in a card.
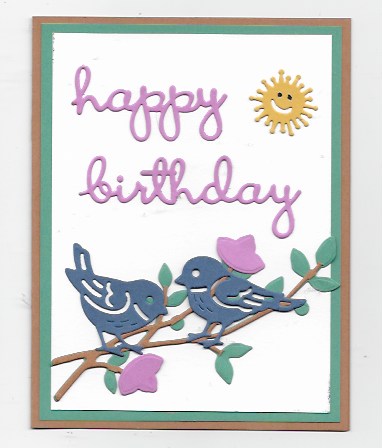
Supplies for card
Ink :
Black Stampin’ Write Marker (100082)
Cardstock [CS]:
Cinnamon Cider (153078) * 8 ½” x 5 ½” scored at 4 ¼” and folded to make card base plus scrap for branch
Just Jade (153079) * 5 ¼” x 4” plus scrap for branch
Misty Moonlight (153081) * scrap
Bumblebee (153077) * scrap
Magenta Madness (153080) scraps for greeting and flowers
Whisper White (100730) 5” x 3 ¾”
Accessories:
Poppy Moments Dies (151594)
Well Written Dies (151816)
Birds & More Dies (152721) *
Multipurpose Liquid Glue (110755)
Paper Snips (103579)
Paper Trimmer (152392)
*Available to order June 3!
Instructions
- Die-cut with appropriate dies two Misty Moonlight birds, one Just Jade branch, one Cinnamon Cider branch, two Magenta Madness flowers, Magenta Madness Happy Birthday and one Bumblee sun using the flower center die from Poppy Memories Dies.
- Adhere Just Jade and Whisper Whte layers to card front.
- Cut the leaves off the Just Jade branch and glue to the Cinnamon Cider branch. Also glue the flowers on.
- Adhere the die-cut pieces to card front.
- Add eyes to the Bumblebee sun.
Which of these new In Colors is your favorite? Leave your answer below in a comment. If you live in the United States and don’t have an active demonstrator, Id love to be your demonstrator. Contact me if you would like your own catalog.