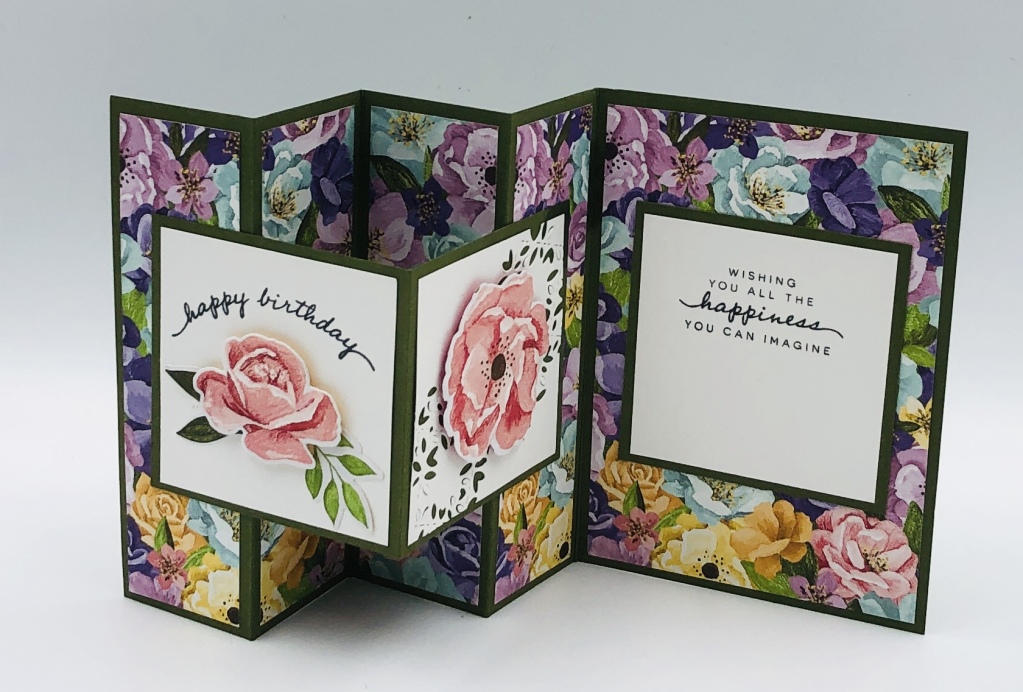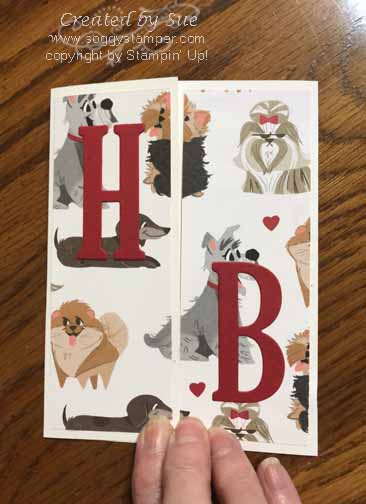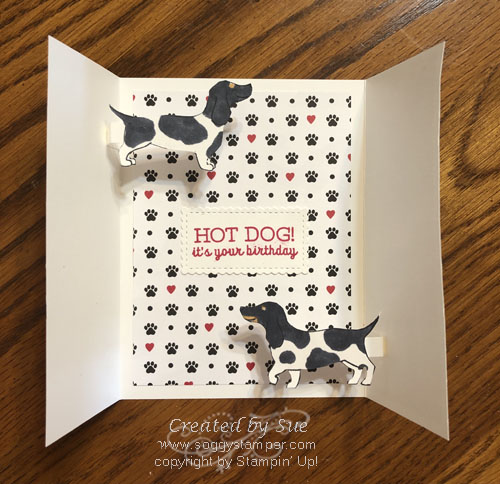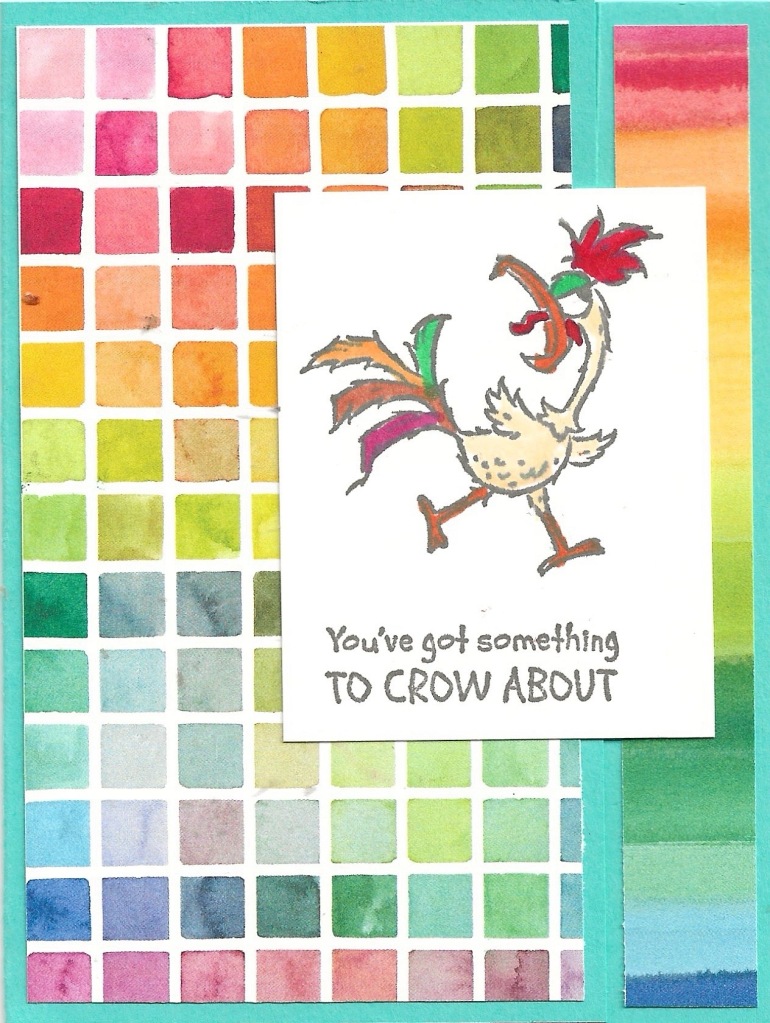
This so simple back fold card makes me smile and it was so easy to make. I used the Full of Life Designer Series Paper and the retired Hey Chuck stamp set to create a graduation card for the son of very special friends. On the inside I will hand write our sentiments. I demonstrated this card tonight on my Facebook Live on my Soggy Stamper Facebook page. The replay of the video is further down in this post. I promised I would post the measurements and scoring dimensions for the card so here goes.
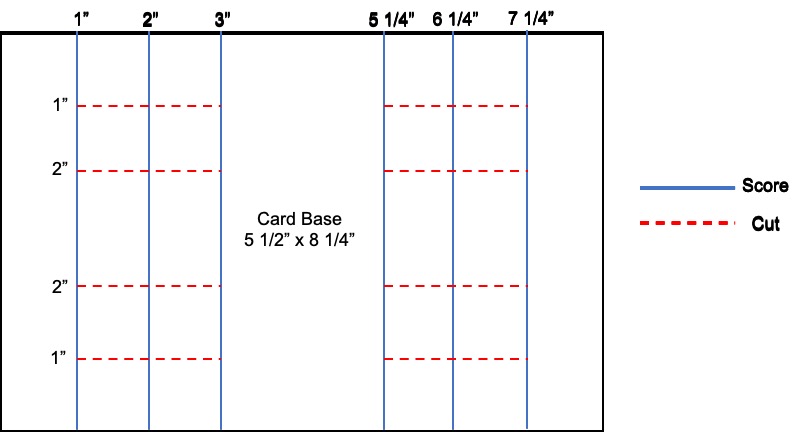
Cutting and Scoring Measurements
- Hey Chuck stamp set – retired
- Summer Splash Cardstock (163797)- 7 1/2″ x 5 1/2″ scored at 3 1/4″ and 6 1/2″
- Basic White Cardstock (159276) 5 1/4″ x 3″ for inside, 3″ x 2 1/4″ for label
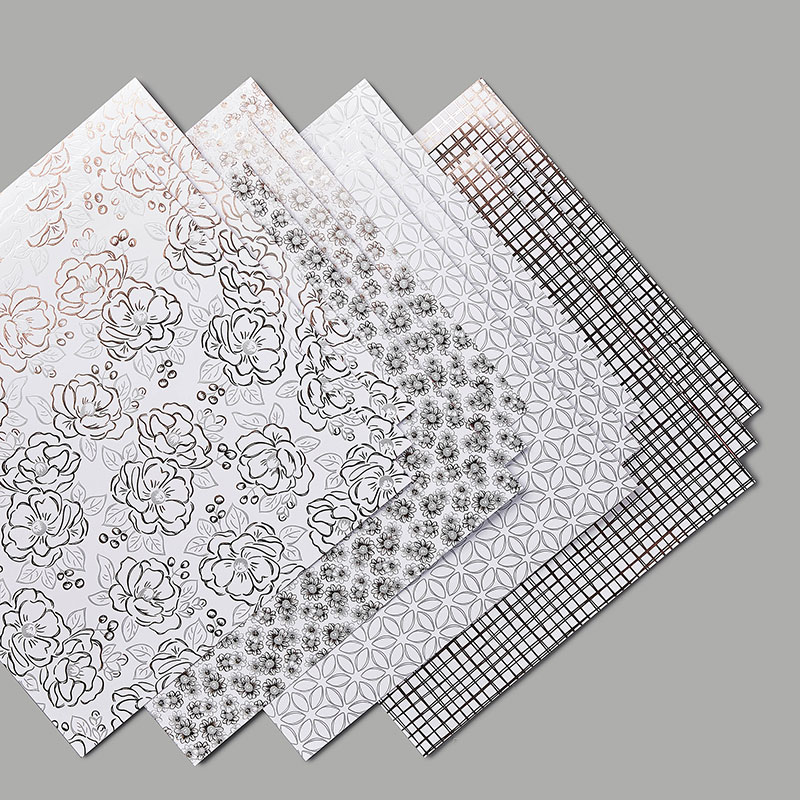
- Full of Life 6″ x 6″ Designer Series Paper (163357) 5 1/4″ x 3″, 5 1/4″ x 3/4″
- Click here for a shopping cart with all the needed supplies. You can remove any you already have.
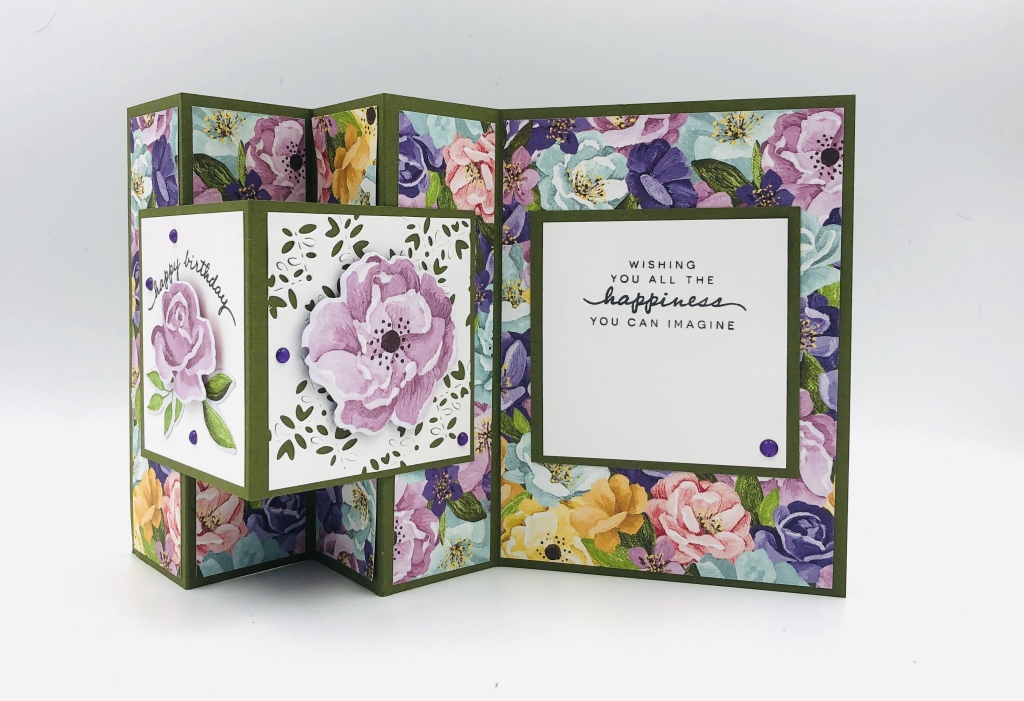
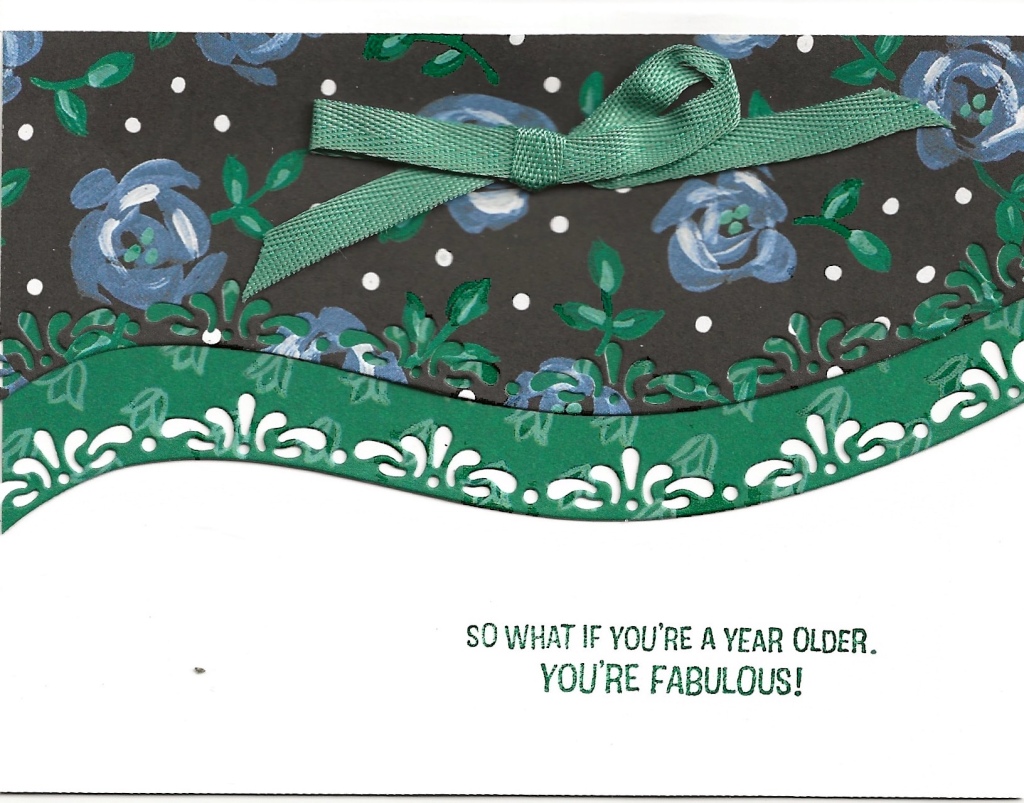
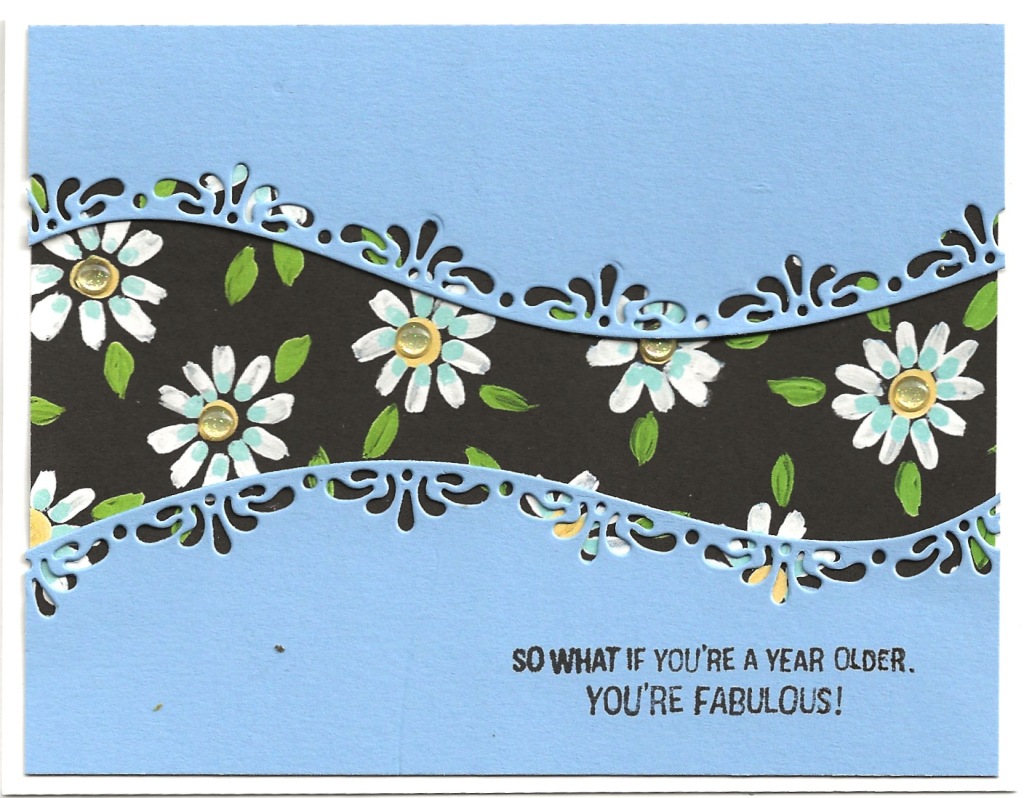
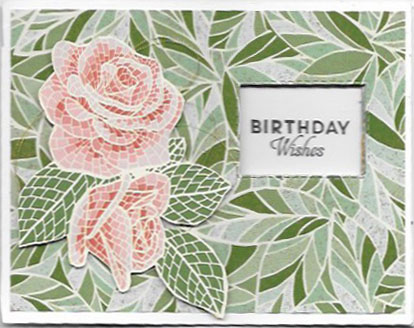
Alternative Card for So Simple Fold Back Card
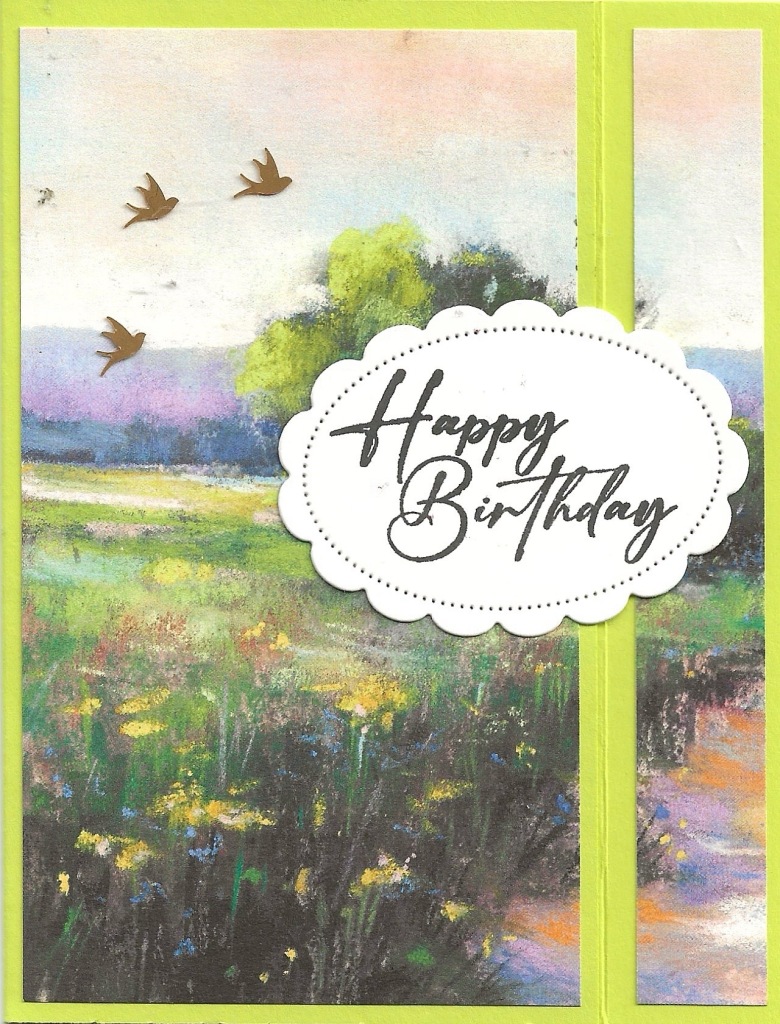
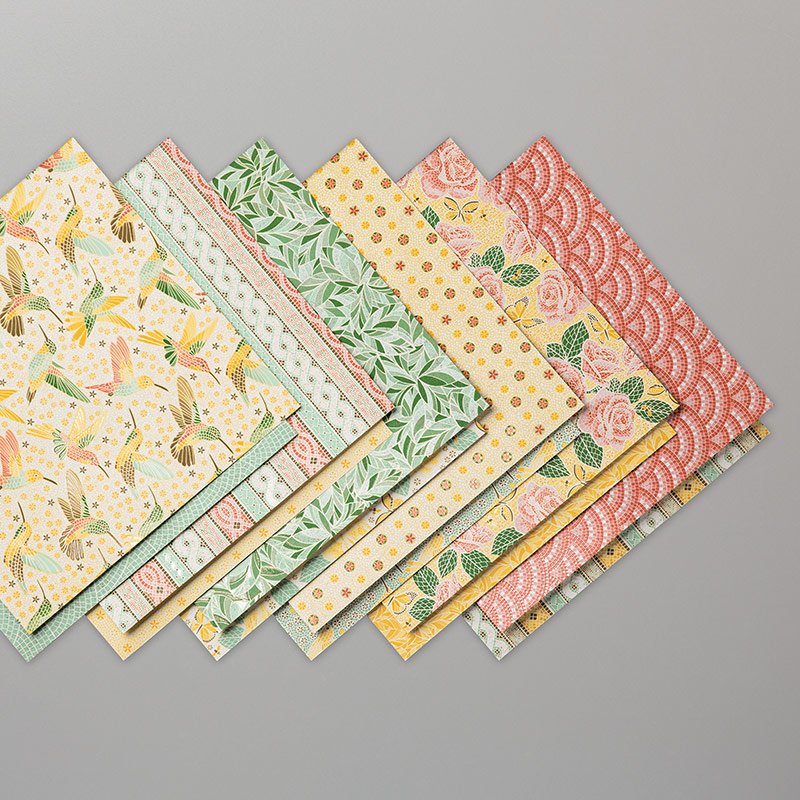
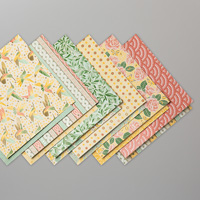
For this card I used Meandering Meadow Designer Series Paper (162735), Lemon Lime Twist Cardstock (144245) and Basic White Cardstock. I used the Unbounded Love Bundle (163384) for the greeting. The cutting measurements and scoring dimensions are the same. I added three brushed Brass birds (162743) for some bling. To order these supplies click here.
When you have gathered up your supplies to make this so simple fold back card, stamp along with my video.