Bonus Days are about to end. There are only 3 days left to get in on this Bonus Days promotion! For each $50 you spend in July, you get a coupon for $5 off on purchases in August. Surely you have items on your wish list that you can order now to get these coupons. Shopping in my online store is easy. Just click on the ‘Shop 24/7’ button to get into my store. Do it now before you forget since Bonus Days are about to end.
When you place your order, you will receive an email from Stampin’ Up! with a coupon code, or two, or three depending on how big your order is. Be sure to keep these codes in a safe place as you will need them to redeem your coupons when you place your August order.
In addition to getting a $5 coupon for each $50 you spend in July’s Bonus Days, you also get to fill in a space in my Customer Appreciation form. For each $50 you spend you fill in a space. Then when you have all the spaces filled, you email me the form after choosing $45 worth of product. I’ll place the order for you totally free…I even pay the taxes and shipping! Check it out!
My first attempts at using Pigment Sprinkles (149663) was a learning experience. Pigment Sprinkles are a new product in the 2019-2020 Annual catalog found on page 179. They are watercolor crystals in some of Stampin’ Up!’s signature colors and are HIGHLY concentrated. They come in a set of 6 colors, Bermuda Bay, Daffodil Delight,Granny Apple Green, Gorgeous Grape, Mango Melody, and Melon Mambo. The bottles have a screw-on lid and a plastic insert with three holes that are covered with a hinged closure. Mix these crystals with water to make color washes.
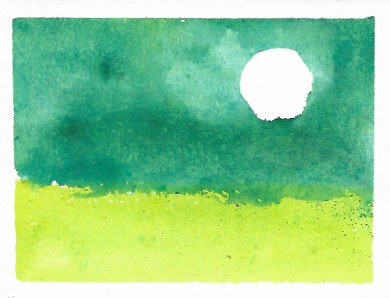
I was going for a light blue wash for a sky and a green wash for grass. My first try using Pigment Sprinkles resulted in the green being OK but…oh my…did I ever get too much Bermuda Bay! I punched out a piece of blue painter’s tape to make a circle mask for the sun. That is why the white spot in my ‘sky’.
My second try using pigment sprinkles was a little better as far as intensity of color was concerned. Can you say…green haze over everything? 🙂
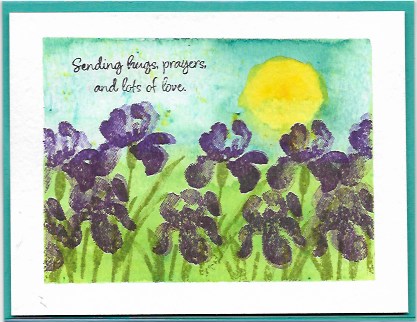
On my third try using pigment sprinkles, I put just one tiny clump of Bermuda Bay crystals, spritzed just a little water on the clump and then used an aqua painter to spread the color around. I added another tiny speck of crystals to another spot until I got good coverage. I also added a touch of the Bermuda Bay sprinkles to the Granny Apple sprinkles to change the color of the grass. A tiny touch of Daffodil Delight sprinkles colored the sun after removing the painter’s tape mask. This is what I was going for. I love the final card!
So my advice to you is to get these Pigment Sprinkles and play around with them. They are easy to mix to get other shades and colors. Be sure to use watercolor paper or Shimmery White cardstock that will hold up under use of water. Most importantly, add just a touch of sprinkles at first and add more if needed.
Thanks for coming by to visit. Grab a cup of coffee or tea and sit a while and browse through my posts. Please leave a comment so I know you have been here.
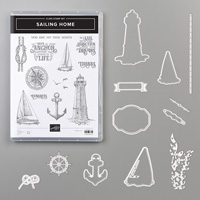
Now it’s time for you to order this great Sailing Home Bundle so you can create cards for a variety of occasions. Click on the photos below to find the products I used in my online store. Thanks for stopping by to visit.
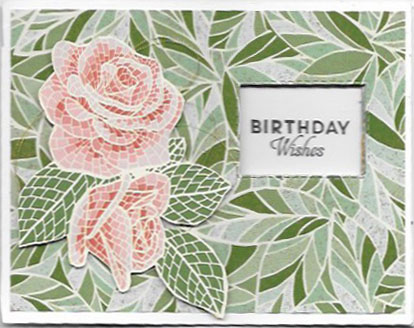
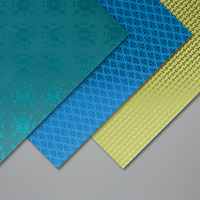
Here is another Peekaboo slider card. This time I used the stunning Mosaic Mood Specialty Designer Series Paper (149478) we received at OnStage this spring. The designs on this paper lend themselves to cutting out images from them. Unfortunately, there are no dies to match so you have to hand cut the images. Check out this wonderful paper.
Here is the inside of this Mosaic Mood Peekaboo Slider Card. The dsp on the inside is the reverse side of the dsp on the front. I cut the roses out of another design of this Mosaic Mood designer series paper.
I have one more peekaboo slider card up to my sleeve. I’ll post it later this week. Then I promise I will move on to other things. Thanks for stopping by. I’d love to have you leave a comment so I know you have been here.
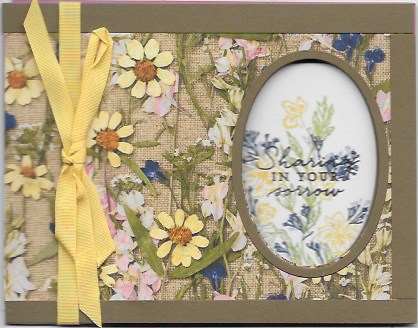
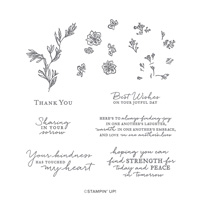
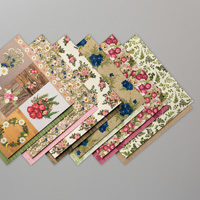
Here is the second Peekaboo Slide Card I have created. (if you missed it, my first card can be seen here.) In this sample, I used the beautiful Pressed Petals Specialty Designer Series Paper (149500) and the coordinating Path of Petals stamp set (149283) to make a sympathy card for a friend who recently lost her husband.
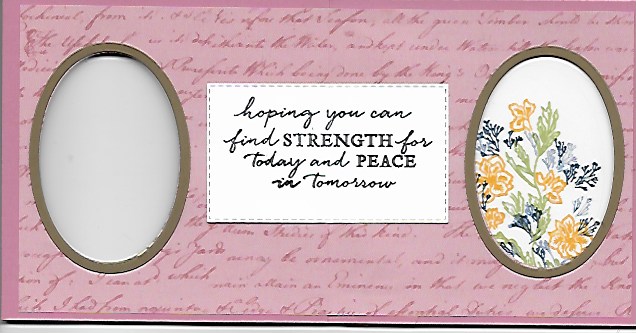
Check out the inside of this second peekaboo slide card:
If I had planned ahead, I might have oriented the card with the fold at the top instead of the side so the verse would fit inside the window. Since I didn’t, I slid in a bouquet of flowers and put the verse on a label. The dsp is the reverse side of the pattern I used on the front of this second peekaboo slide card.
To order the supplies I used for this card, click on the images below. Not shown are the Layering Oval Dies which are not available at the moment and the cheerful yellow retired ribbon.
Thanks for stopping by to visit. I urge you to get a cup of tea or coffee or maybe a glass of wine depending on the time of day and browse through my blog. I’ll be sharing another peekaboo slide card later this week so come back to visit soon. I’d love to have you leave a comment below so I know you have been here.
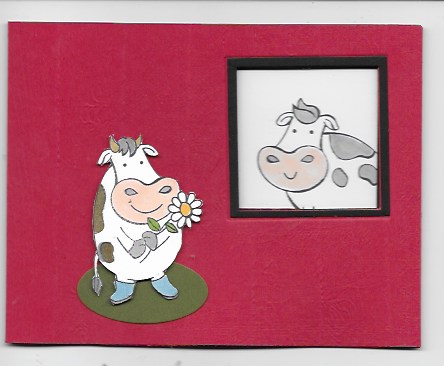
I had such fun making this darling Over the Moon Peekaboo Slider Card! It is my sort-of CASE of Cindy Brumbaugh”s Peekaboo Slider Card using the Over the Moon stamp set (149331) found on page 32 in the new 2018-2020 Annual Catalog. I followed her video with a few variations. Since I don’t have the retired Hardwood background stamp any longer I used the Pinewood Planks embossing folder for the walls of the barn. I also decided to have a square window instead of a round one.
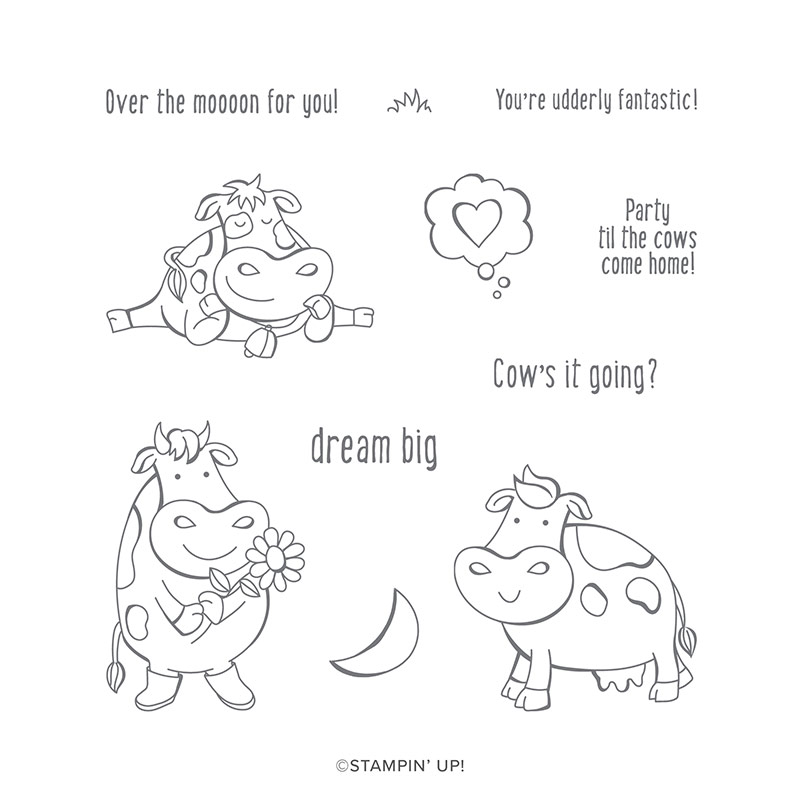
These silly cows in the Over the Moon stamp set make me smile. I will be using them often. Just look at the cute sayings that come with the set!
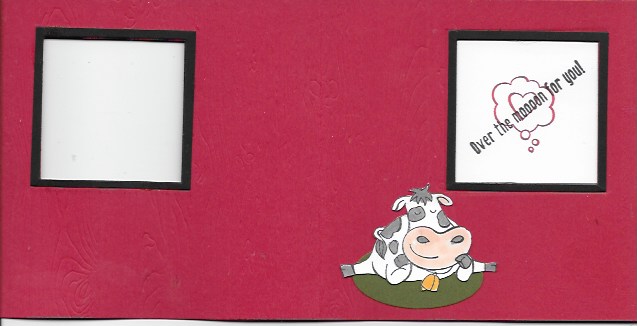
While the front of this peekaboo slider card is darling, but the real surprise is when you open the card! Look at what appears.
The image of the cow in the window disappears and the greeting slides into the window. This is so cool!
This card style has been used to create a wide variety of cards and is such fun. It looks complicated but once you have done it, making more cards like it is a piece of cake. I am going to make a series of posts using this style card so check back often.
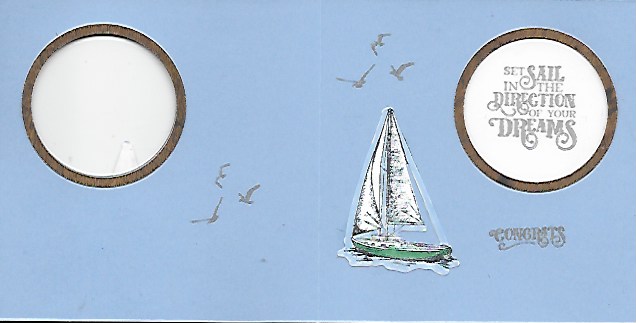
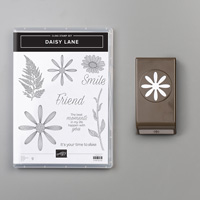
This Sunday I am teaching a class on cards that move. I’ll be teaching how to make a slider card using the Sailing Home Bundle (149457), a wiper card using the Daisy Lane bundle (151118), and a shaker card using the Petal Labels Dies (149635) and Pressed Petals Specialty Designer Series Paper (149500). The class fee is $25 and you need to RSVP today to get a seat. I am also offering the tutorials for this class for $5 per card. me if you would like the tutorials.
To order the supplies I used for each card, click on the images below.
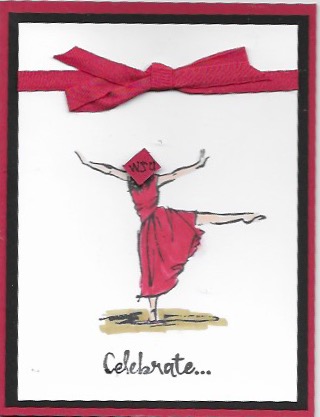
I love this Beautiful You Graduation card! I got the idea from a Pinterest post by Sharon Armstrong who had also seen it on Pinterest. One of our granddaughters graduates from Ballard High School in Seattle tomorrow and I needed to make her a card. I love the freedom expressed by the lady in the image and imagine Chloe feels the same way. It is a tradition to write the name of the college you will be attending on the graduation cap so Chloe’s says WSU for Washington State University.
The measurements for this Beautiful You Graduation card are as follows: -Real Red Cardstock 8 1/2″ x 5 1/2″ for card base and 3/8″ x 3/8″ piece for graduation hat – Basic Black Cardstock 5 1/2″ x 4″ – Whisper White Cardstock 5″ x 3 3/4″
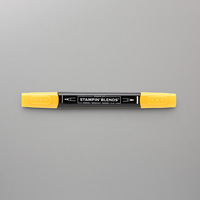
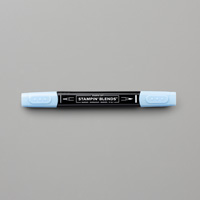
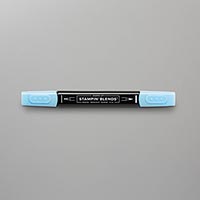
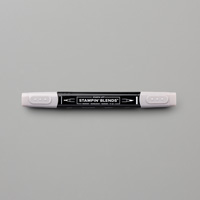
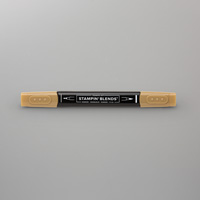
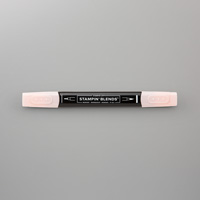
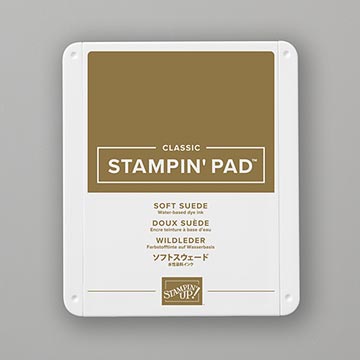
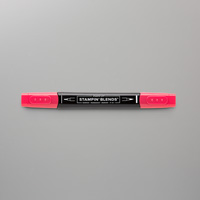
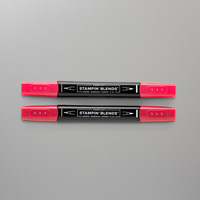
The image of this Beautiful You Card was stamped with Memento Ink and is colored with Real Red and Light Soft Suede Stampin’ Blends.
Supplies for the Beautiful You Graduation Card:
If you need anything to make this Beautiful You Graduation card, click on the images below or visit my online store.
You have only 3 hours left to subscribe to my Soggy Stamper Newsletter to receive a special offer. At 11 am Pacific Time I will be posting to my mailing list a Limited-Time Free Shipping Offer exclusively for my subscribers. I’m sure you would love to have free shipping on your first order from the new 2019-2020 Annual Catalog. However, you have to be a subscriber to receive this offer. Subscribers to the mailing list receive a monthly newsletter filled with full tutorials of stamping projects and information that enhances their creative skills on the first Tuesday of each month. In addition they receive a shorter email each of the other Tuesdays with a cute project and information about upcoming classes and Stampin’ Up! specials. You have only 3 hours left to subscribe. Don’t miss out…subscribe now by filling out the box on the sidebar.
There are only 24 hours left to subscribe to my mailing list in order to receive a special offer. At 11 am Pacific Time tomorrow I will be sending a Limited-time Free Shipping to the subscribers on my mailing list to celebrate the new 2019-2020 Annual Catalog. I’m sure you would love to get free shipping on your first order but…you have to be a subscriber to The Soggy Stamper Newsletter to receive this offer. You have only 24 hours to get subscribed so do it now. Fill out the box on the sidebar.
To celebrate the new 2019-2020 Annual Catalog I am offering a Limited Time Free Shipping Offer to my mailing list subscribers. You must be subscribed to my mailing list by 11 am Wednesday to get in on this offer. Fill out the form in the sidebar. Besides the limited-time free shipping offer, you will receive a monthly newsletter with a couple of tutorials and other information to enhance your stamping skills, and other shorter weekly emails with a tutorial and information to keep you informed of the classes I offer and Stampin’ Up! promotions. Remember this is a Limited-time Free Shipping Offer. Sign. Up. Now. On. The. Right.
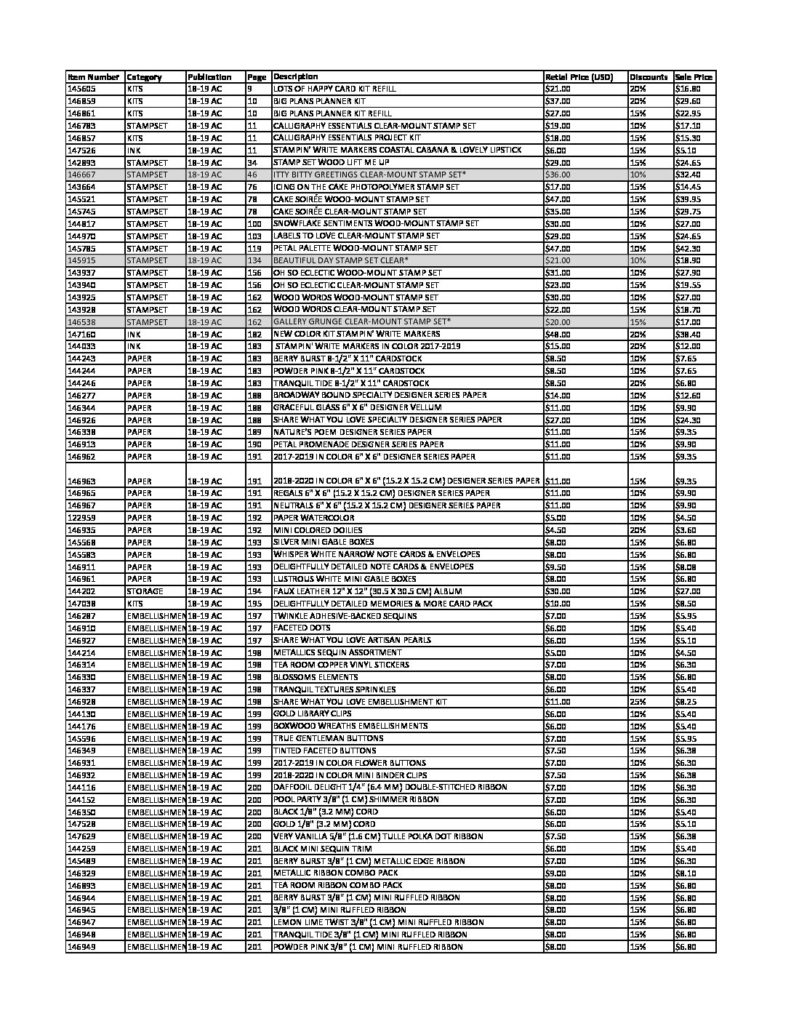
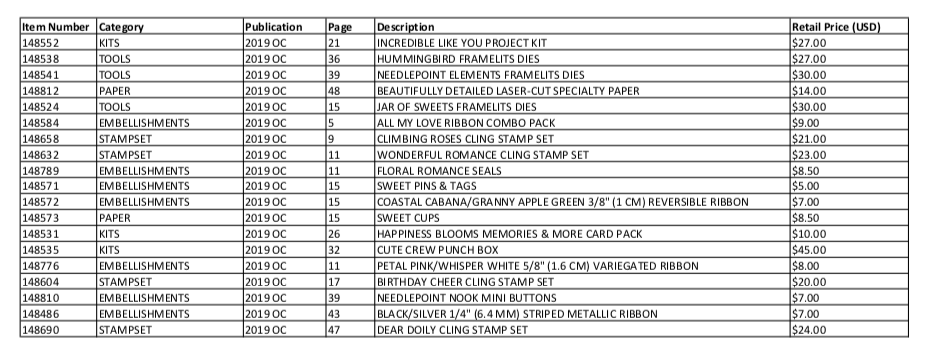
Stampin’ Up! just announced that there will be up to 30% off on selected retiring products beginning now until June 3 or as long as supplies last. Check out the lists below and order immediately to take advantage of this sale.
2018-2019 Annual Catalog
Occasions Catalog
Ready to get up to 30% off selected retiring products? Place an order!
Make up your order list and then head over to my online store to place your order and get up to 30% off selected retiring product. Remember that for each $50 in product you spend in my online store, you can fill out a line on my Customer Appreciation form found here. When the form is completed, email it to me and get free product up to $45 in value.
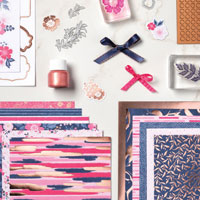
This will be the Last Everything Is Rosy Card I share with you. The sales period for this wonderful May promotion of the Everything Is Rosy Product Medley (150059) ends this Friday. If you haven’t got your medley yet, what are you waiting for? Check out this blog post from last week to see everything you get in this Everything Is Rosy Medley. I calculated what each item if bought separately would cost and added it all up. Your purchase to buy everything in this medley would be about $100! However you can get it for only $80. That is almost a 20% savings. To sweeten the deal, I’ll send you five tutorials for cards to make with this medley when you order it from me. Order it from my online store or contact me.
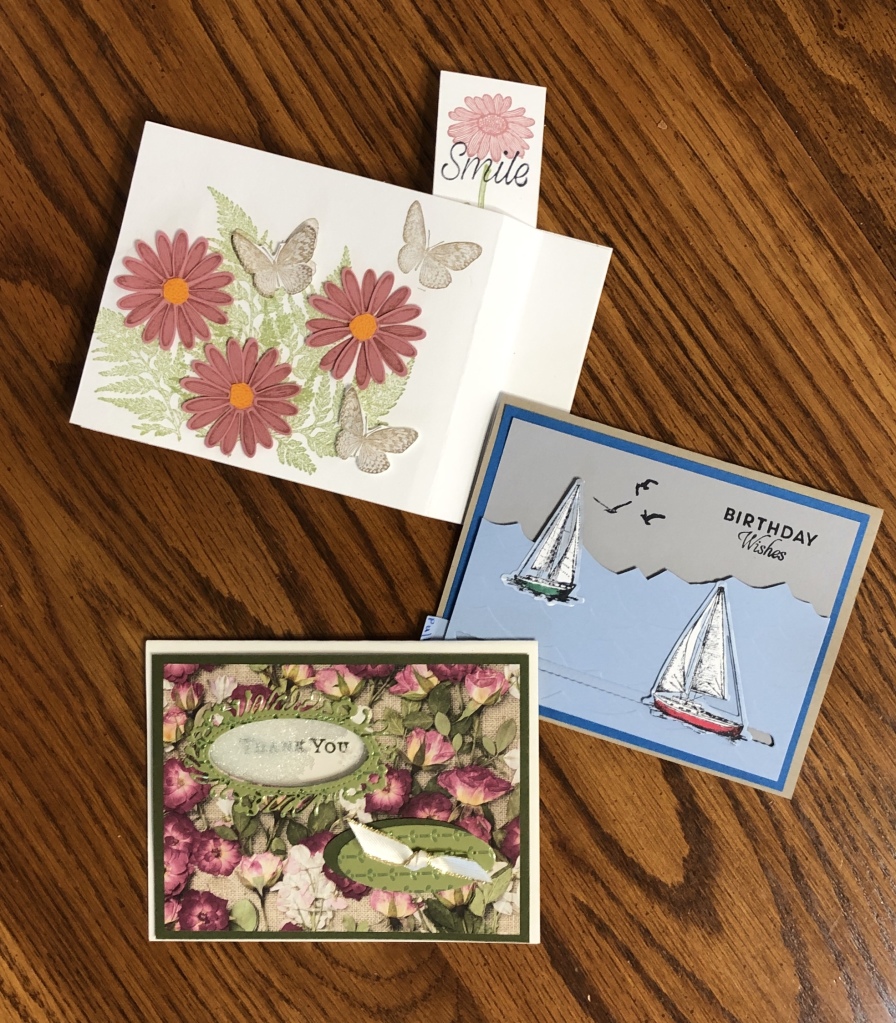
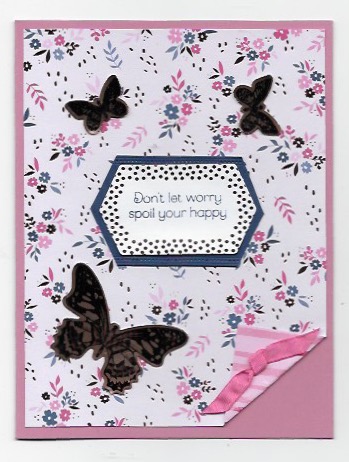
Now on to my Last Everything Is Rosy Card. Here are the details:
Supplies
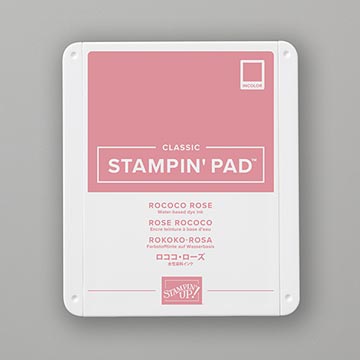
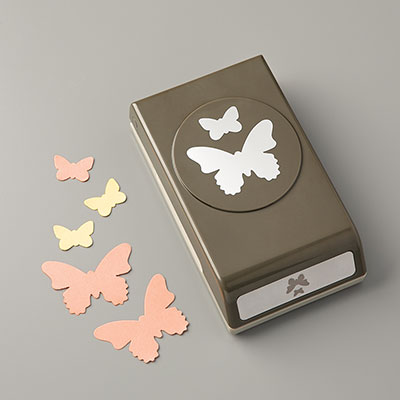
Stamp Sets: Everything Is Rosy (photopolymer)*, Butterfly Wishes (149345) [will be available June 4] Inks: Memento Ink, Stazon Black Ink Paper: Rococo Rose Cardstock [one of the new 2019-2020 In Colors] 5 1/2″ x 8 1/2″; Night of Navy Cardstock scrap; 6″ x 6″ Designer Series Paper Stack – small floral print* 4″ x 5 1/4″; Rose Gold Foil Sheet* scraps Accessories: Butterfly Duet Punch (148523), Printed Die cuts*, Melon Mambo 1/4″ Ruched Ribbon*, Stampin’ Dimensionals, SNAIL Adhesive, Mini Glue Dots, Paper Snips
Instructions
Fold the Rococo Rose cardstock in half to form the card base.
Adhere the dsp to the card front with SNAIL adhesive folding up the bottom right corner to show the reverse side of the dsp. Put a glue dot under the folded up corner to hold it in place.
Stamp two smaller butterflies and one of the larger one in a row on the rose gold foil sheet with Stazon ink. Give it a minute to dry and then punch them out with the butterfly punch. Attach them to the card front with Stampin’ Dimensionals.
Stamp the greeting on the label with the gold dots with Memento ink. Adhere it to your scrap of Night of Navy cardstock with SNAIL. Trim around the label with the paper snips to form a narrow mat for the label. Adhere it to the card front with Stampin’ Dimensionals.
Tie an over-hand knot in the ribbon and attach it to the folded back corner with a glue dot.
I hope you enjoy making this Last Everything Is Rosy Card for yourself. To order the supplies I used, click on the images below and you will be taken to their location in my online store.
Order your supplies now! Some of the supplies won’t be available until June 4.
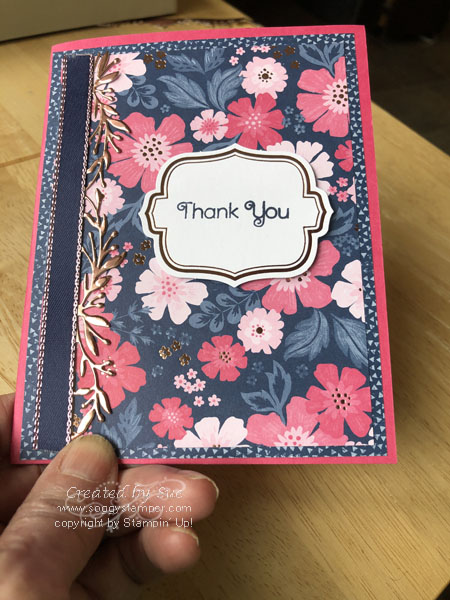
This Everything Is Rosy Thank You Card has my favorite color of gold…rose gold. I created this card using the Everything Is Rosy Product Medley that is only available through this Friday.
SUPPLIES for Everything Is Rosy Thank You Card
Stamp Sets: Everything Is Rosy (photopolymer) * *Is part of the Everything Is Rosy Product Medley
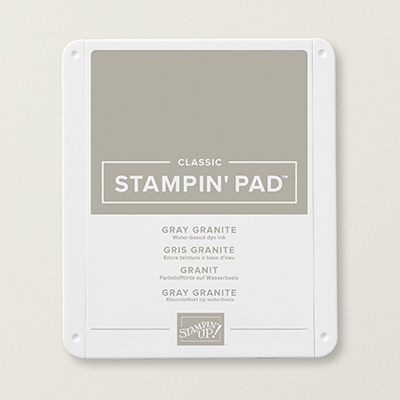
Ink: Night of Navy Classic Stampin’ Pad (147110)
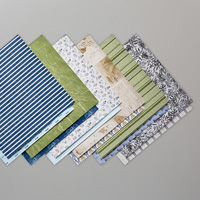
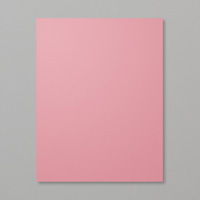
Paper (including cutting dimensions): Melon Mambo Cardstock [CS] (115320) 5 1/2″ x 8 1/2″ [card base] 6″ x 6″ Designer Series Paper Stack [DSP]* -Navy Blue/Dotted White 4″ x 5 1/4 -Floral/Navy Blue Background 3 3/4″ x 5″ Foil Sheets – Rose Gold * 1″ x 5″ Whisper White Cardstock [CS] (100730) 4″ x 5 1/4″
Accessories: Night of Navy/Rose Gold 3/8″ Metallic-Edge Ribbon* 5″ Everything Is Rosy Dies* leafy border” Printed Diecuts* -Eoaw Fols-edged Label -small flowers Bone Folder (102300) SNAIL Adhesive (104332) Die-cutting Maching Paper Trimmer
INSTRUCTIONS for Everything Is Rosy Thank You Card
1. Fold the
Melon Mambo CS in half to make card base. Burnish the fold with the bone
folder.
2. Adhere
the Navy/dotted white dsp to card front with SNAIL.
3. Adhere
the floral dsp to card front.
4. Place
the leafy die with the points of the leaves along one edge of the 1” rose gold
foil strip. Run it through the die-cutting machine.
5.Run SNAIL adhesive along one side of the ribbon
and adhere it to the solid part of the foil die-cut. Then adhere to left side
of card front.
6. Stamp ‘Thank
You’ on the label with Night of Navy ink. Adhere it to the card with Stampin’
Dimensionals.
7. Adhere
the Whisper White CS to the right-hand side of the inside of the card with
SNAIL. Adhere the flower die-cut to the lower right corner with a bit of SNAIL.
Like this Everything Is Rosy Thank You card? Visit my blog post hereto see another card I have created using the product in the Everything Is Rosy Product Medley. You have only through Friday to purchase this wonderful medley of products. Then it will no longer be available. Head over to myonline storeand get the medley for yourself. I’ll send you tutorials for five projects using the Everything Is Rosy Product Medley as a thank you for buying it from me.
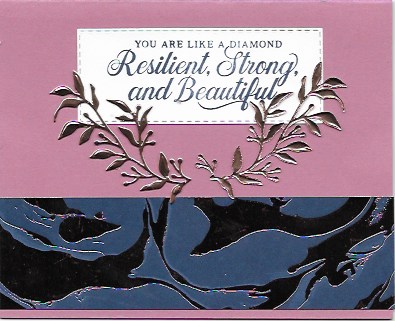
I have been having fun with the Everything Is Rosy Product Medley. I am a sucker for things shiny and gold and the Everything Is Rosy Product Medley is filled with shiny and gold accents! Here is one of the cards I have created with this medley.
Details of the Fun with Everything Is Rosy Product Medley Card
The card base is one of the new 2019 – 2021 In Colors, Rococo Rose cardstock (150882 – available June 4) cut to 8 1/2″ x 5 1/2″ . I cut a 5 1/2″ x 1 1/2″ strip of the navy with rose gold swirls pattern from the Everything Is Rosy Product Medley specialty designer series paper stack and added it to the bottom of the card front.
On of the things I really like about the Everything Is Rosy Product Medley are the rose gold foil sheets…you get 8 of them 6″ x 6″. I used one of the dies from this medley to cut the leafy branches. To get a mirror image of the die-cut, I cut one of them from the back side of the foil sheet.
The greeting for this card comes from a retiring stamp set, Strong & Beautiful (148732) that is in the Occasions catalog. I stamped it on Whisper White cardstock with Night of Navy ink and cut it out with one of the Rectangle Stitched Framelits Dies (148551). I adhered it to the cardfront and then used one of the retired Multipurpose adhesive sheets to adhere the leafy branches over the label.
Want to See More?
To see more samples using the Everything Is Rosy Product Medley, check back tomorrow for another design. Remember, this is a limited time offer. It will no longer be available after May 31 if it doesn’t sell out sooner. Email me or visit my online store to place your order now. Click on the images below to find the items needed to make this card in my online store.