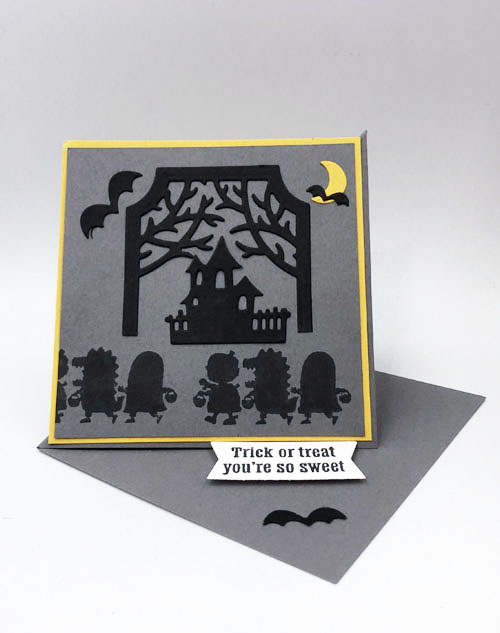
I love this Beautiful Sentimental Park Pop-up Card! I love pop-up cards in general but this one is so pretty and so easy to make. Check out the opened view.
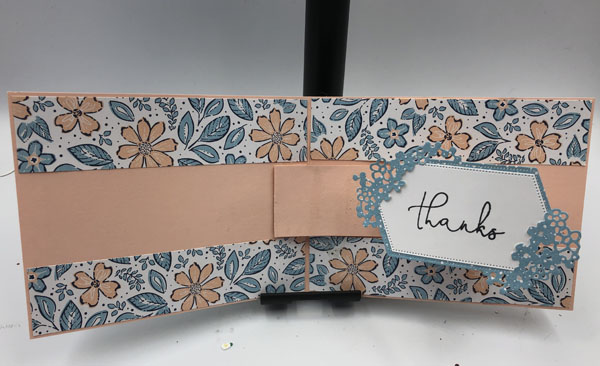
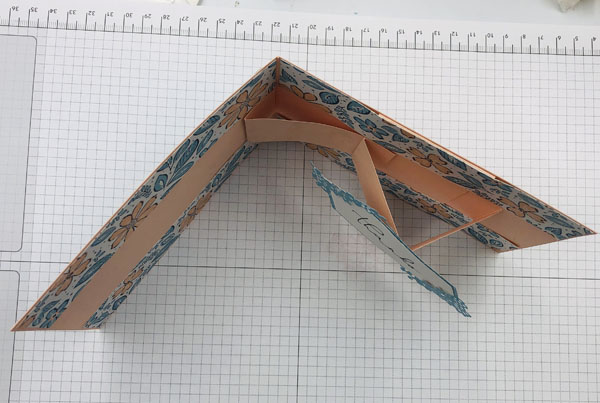
And here is a top view of the card.
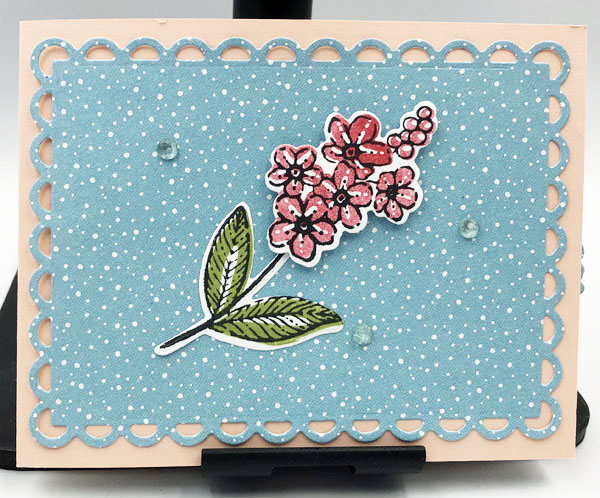
This Sentimental Park Bundle caught my attention as soon as I opened the January – April Mini catalog because of the beautiful label dies. The floral corners of the dies are beautiful. A very cool thing I discovered when I first used the dies is that the the inside edge of the floral bundles is cut so that the smaller straight-edged label nestles inside the larger floral one. Sooo cool!

I used one of the patterns from the Regency Park 6″ x 6″ Designer Series Paper (160559) to decorate the card base which is of Petal Pink cardstock.
Supplies Used in the Beautiful Sentimental Park Pop-Up Card
- Sentimental Park Bundle (160567)
- Scalloped Contours Dies (155560)
- Pear Pizzazz, Sweet Sorbet (stamped off once), and Tuxedo Black Memento Inks
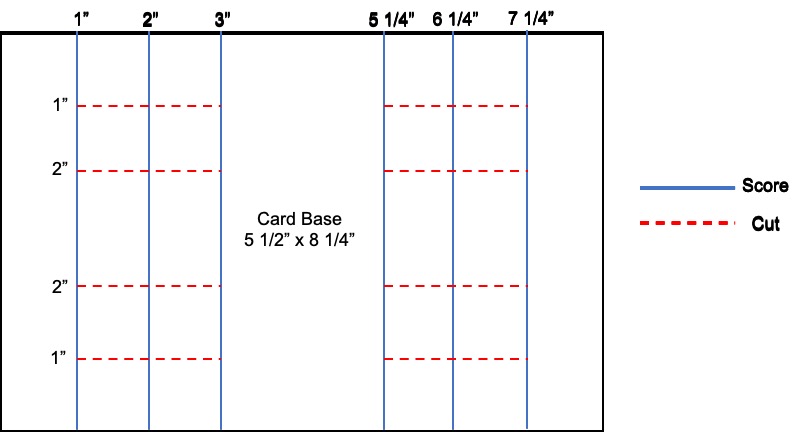
- Petal Pink Cardstock 11″ x 4 1/4″ scored at 5 1/2″; 10″ x 1 1/2″ scored at 3/4, 5 1/2, 7 1/4, 7 1/2 and 9 3/8 “;5 1/4″ x 2″ scored at 1/2″ and 4 3/4”
- Basic White cardstock scrap for label, scrap to stamp flower and leaves
- Regency Park Designer Series Paper, Balmy Blue Polka dot design 5 1/4″ x 4″ and 4 1/4″ x 2 3/4″; Petal Pink flowers with Balmy Blue flowers design 4 pieces 5 3/8″ x 1 1/4″
- Stampin’ Seal and Multipurpose Liquid Glue
- Elegant Faceted Gems (159189)
- Click here to access a these items in a shopping cart for your convenience. You can remove anything you already have.
Once you have the supplies to make this beautiful card, watch this video to see how to put the card together.