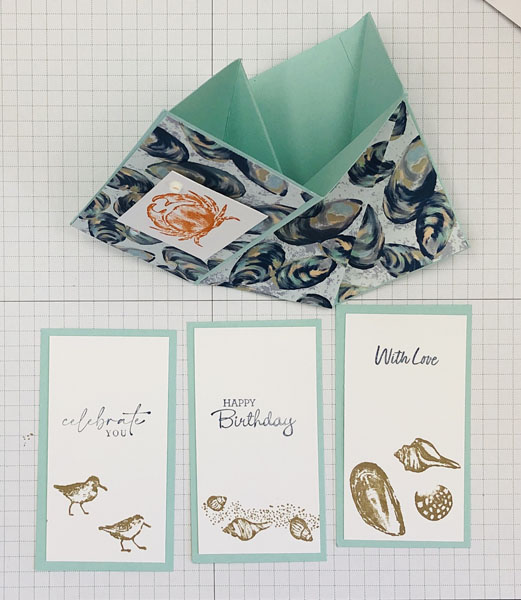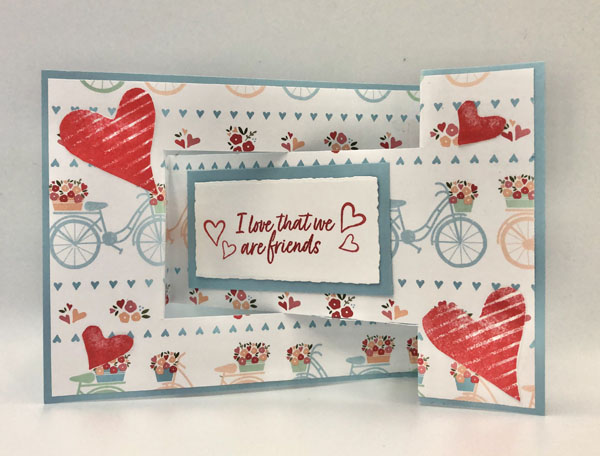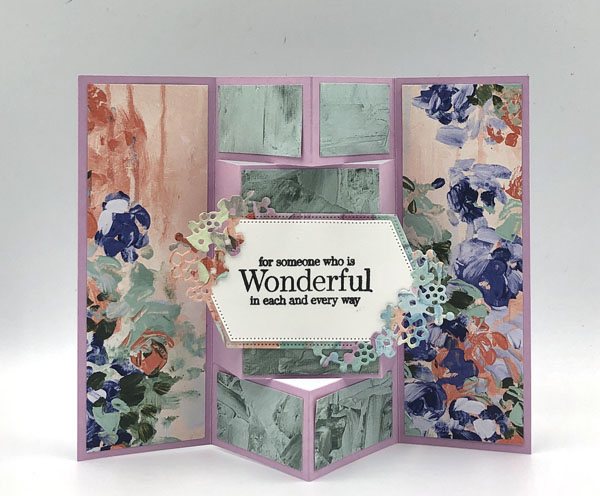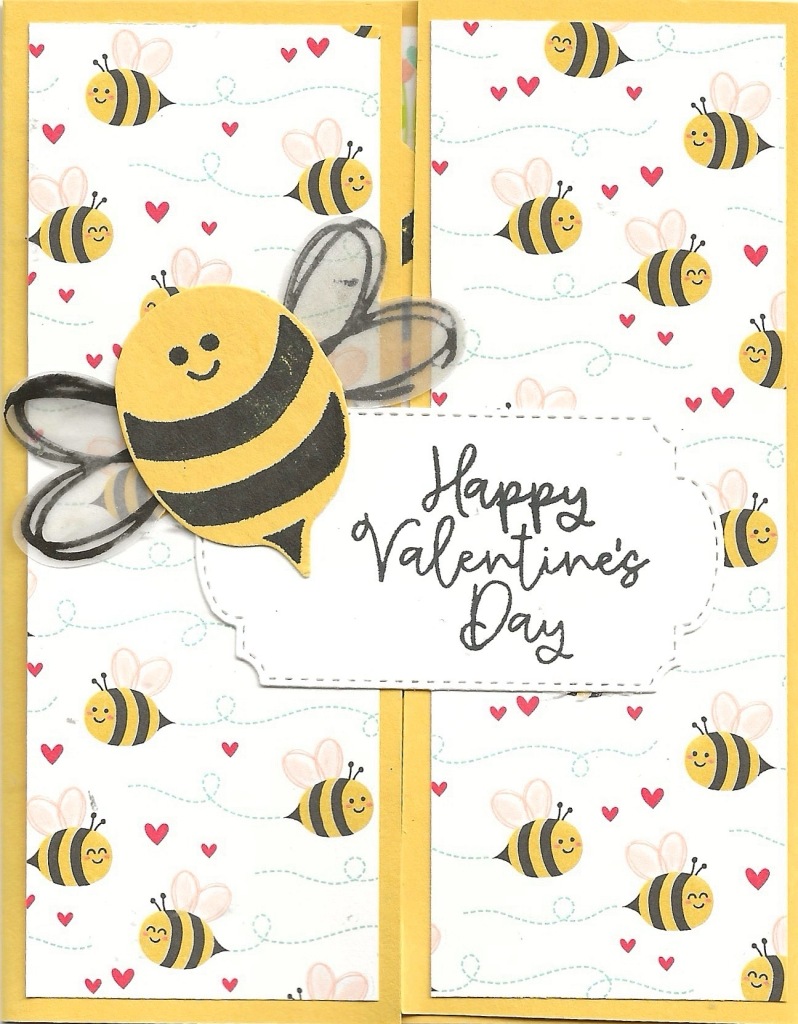
Check out this cute valentine with surprise inside. I used the Bee My Valentine Bundle and the Bee Mine designer series paper to make this card. The card front is so cute, especially that chubby, smiling bee but check out the surprise when you open the card!
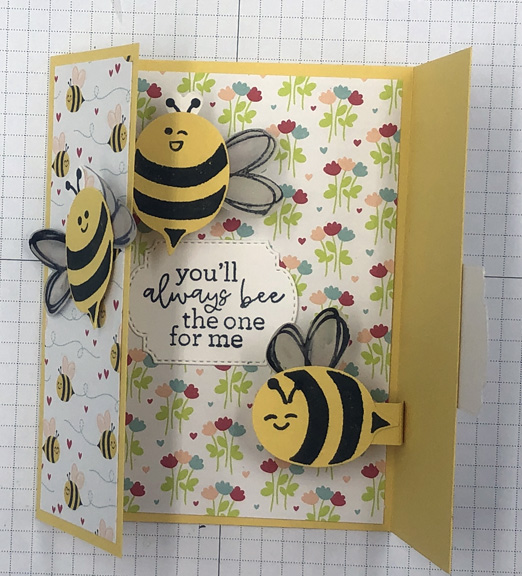
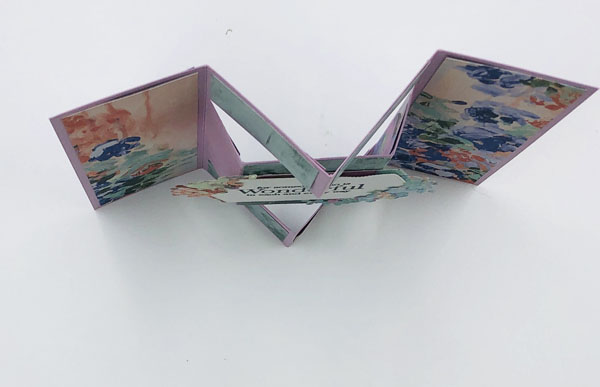
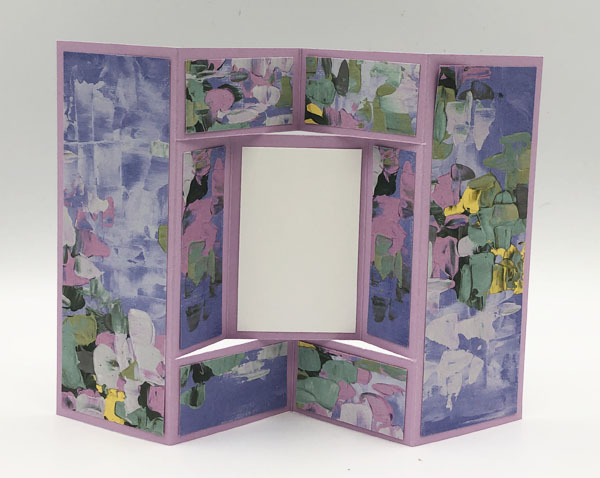
Isn’t this card so cute inside. I love the way the bees popup when you open the card. It really isn’t that difficult to make.
Supplies for Valentine with Surprise Inside
- Bee My Valentine Bundle (162554)
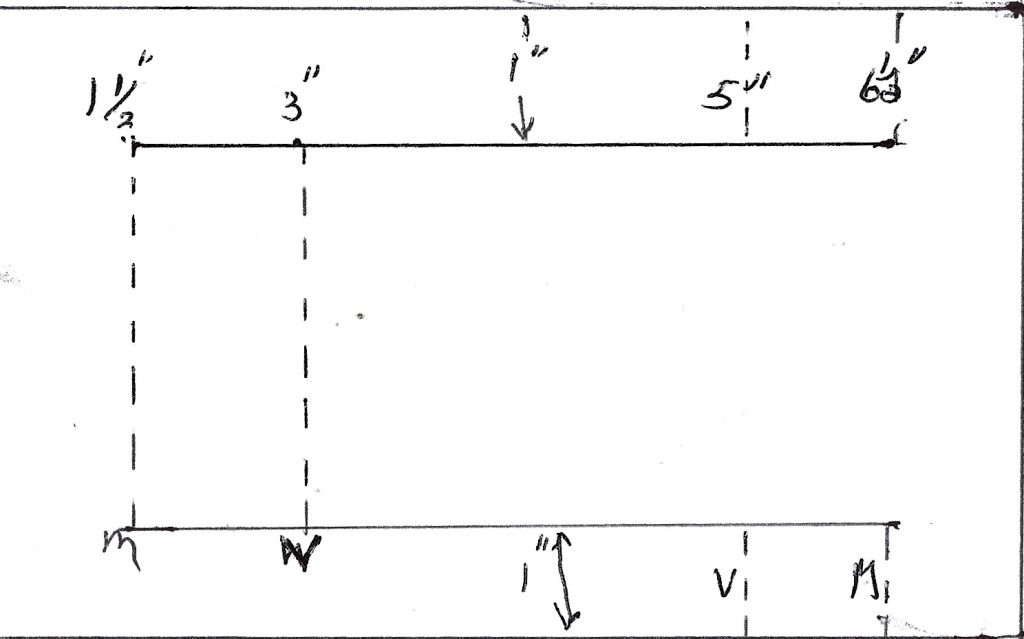
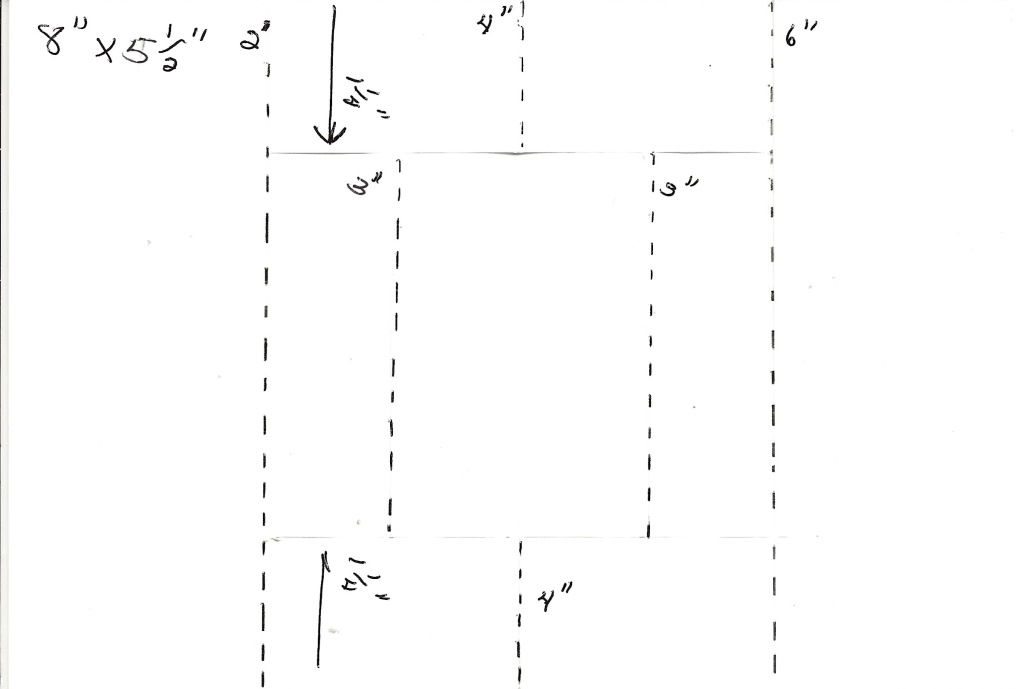
- Daffodil Delight Cardstock (119683) 8 1/2″ x 5 1/21″ scored at 2 1/8″ on each end, scraps
- Basic White Cardstock (159276) – scraps
- Vellum Cardstock (101856) scraps
- Be Mine Designer Series Paper ( 162546) 5 1/4″ x 4″, 2 pieces 5 1/4″ x 1 7/8″
- Memento Ink (132708)
- Jet Black Stazon Ink (101406) – to stamp on vellum
- Thoughtful Expressions Dies (162821) to die-cut labels
- Stampin’ Seal (152813)
- Multipurpose Liquid Glue (110755)
- Paper Trimmer (152392)
- Mini Stampin’ Cut & Emboss Machine (150673)
- For your convenience, click here to be taken to a shopping cart in my store with them already in the cart. You can delete any items you already have.
Once you have gathered the supplies to make this Valentine with Surprise, stamp along with this Facebook Live I did.
Thanks for coming to visit my blog. Stay a while and explore other things I have made.