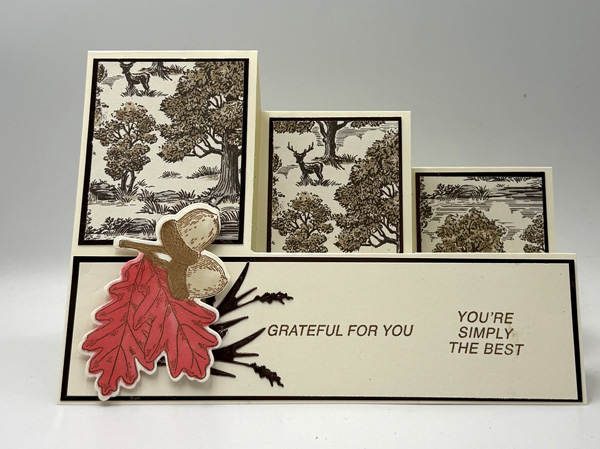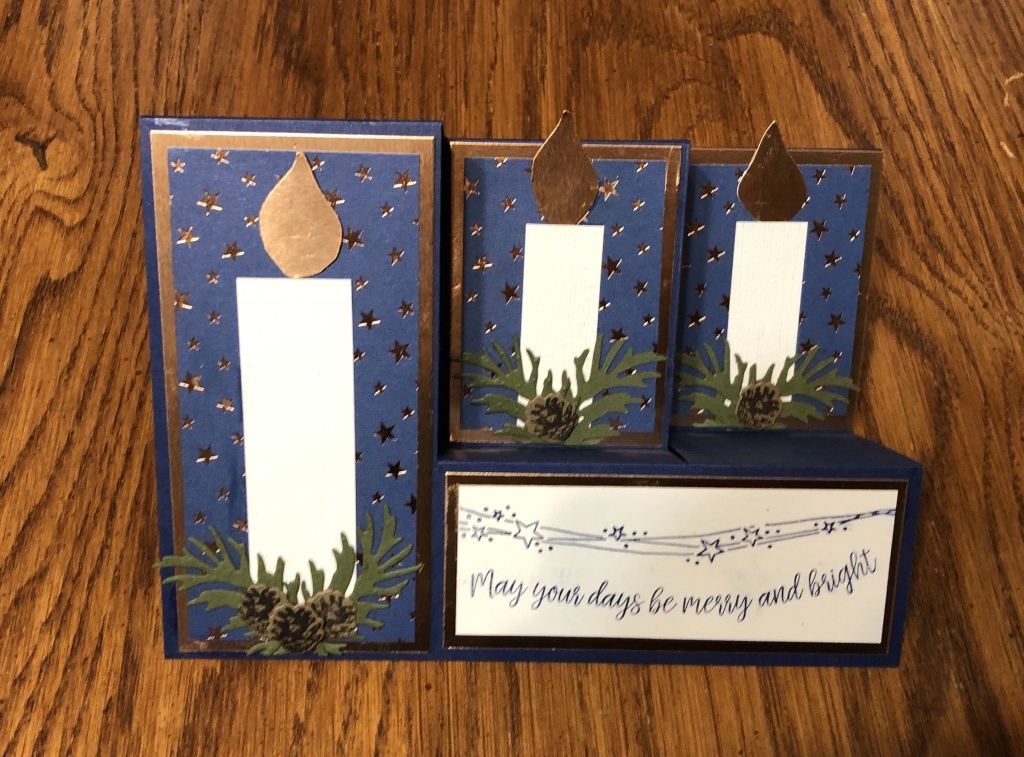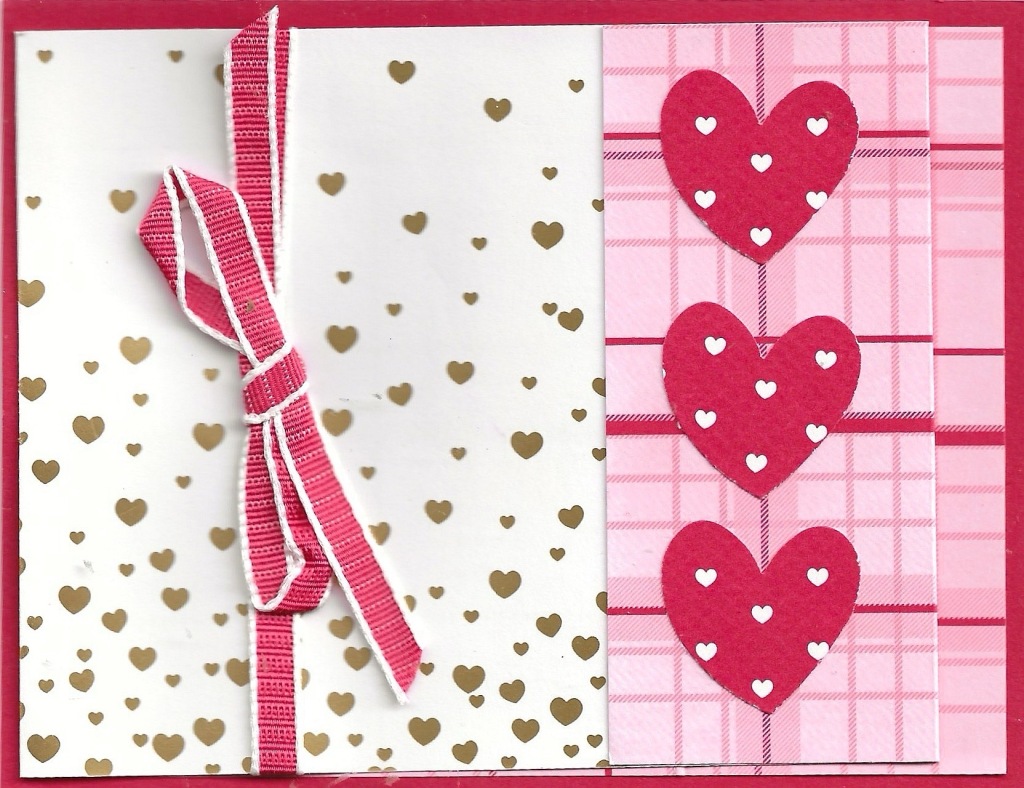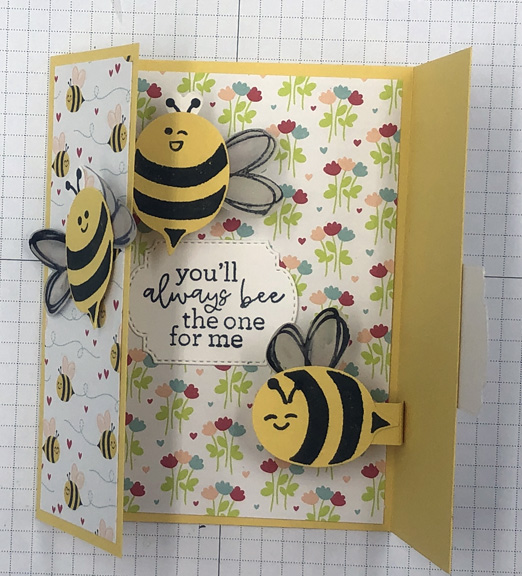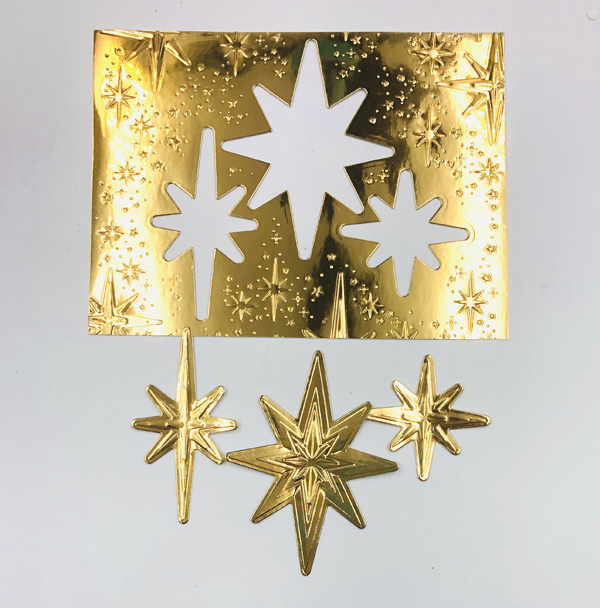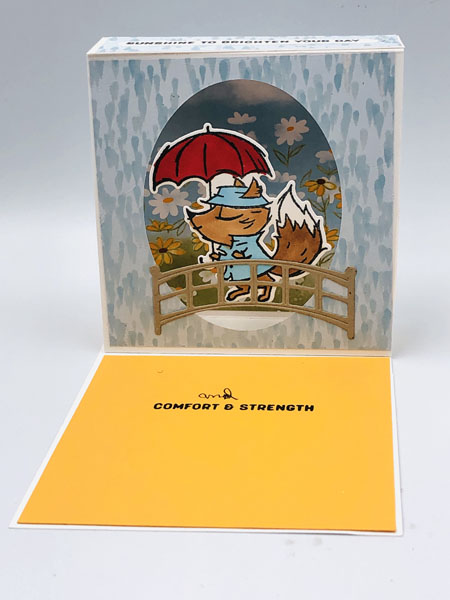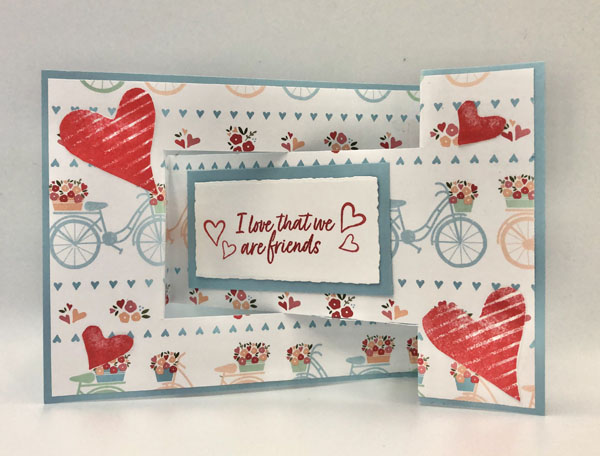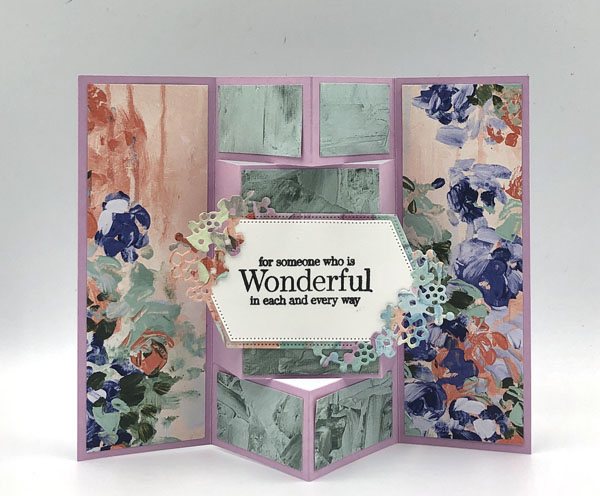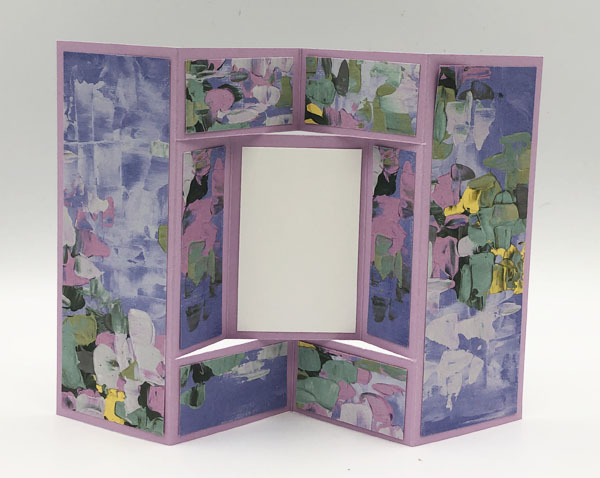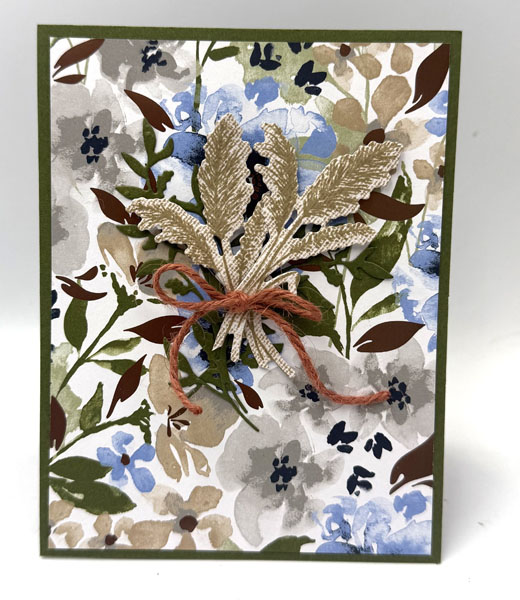
This beautiful pop out greeting card is created with products from the Delicate Dreams Suite of products being released in the March Online Exclusives. Although the camera is not able to capture the full beauty of the bronze foil, trust me, the Delicate Dreams Specialty Designer Series Paper is gorgeous. When you open the card, the fun begins!
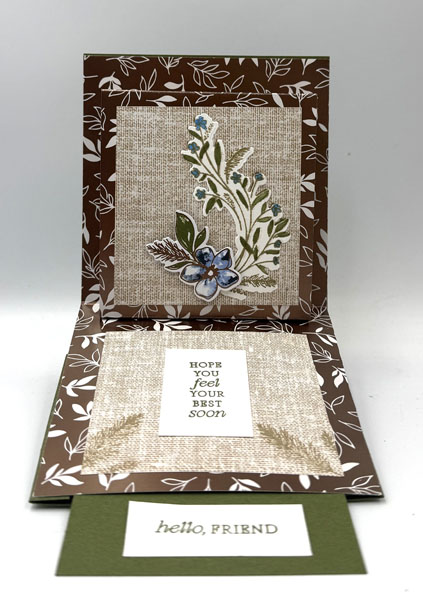
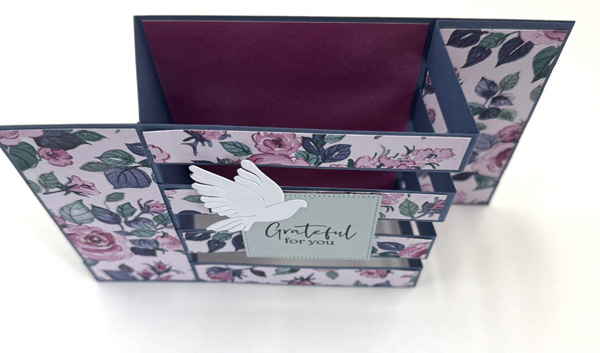
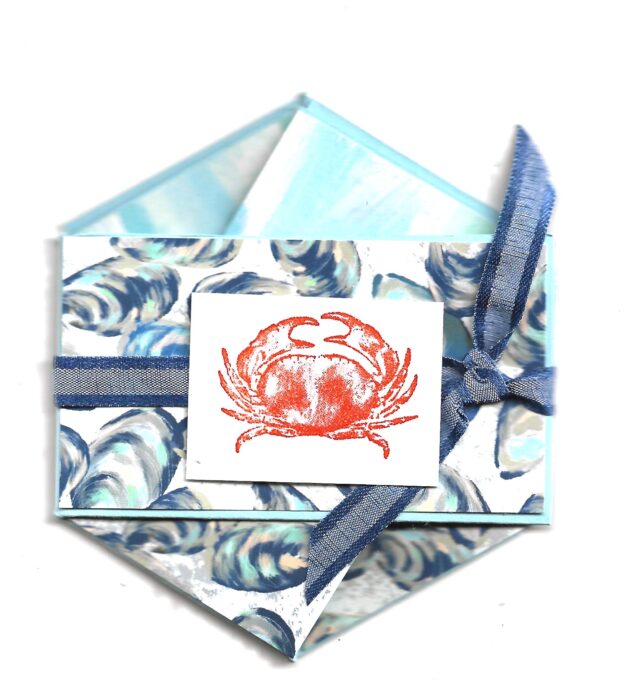
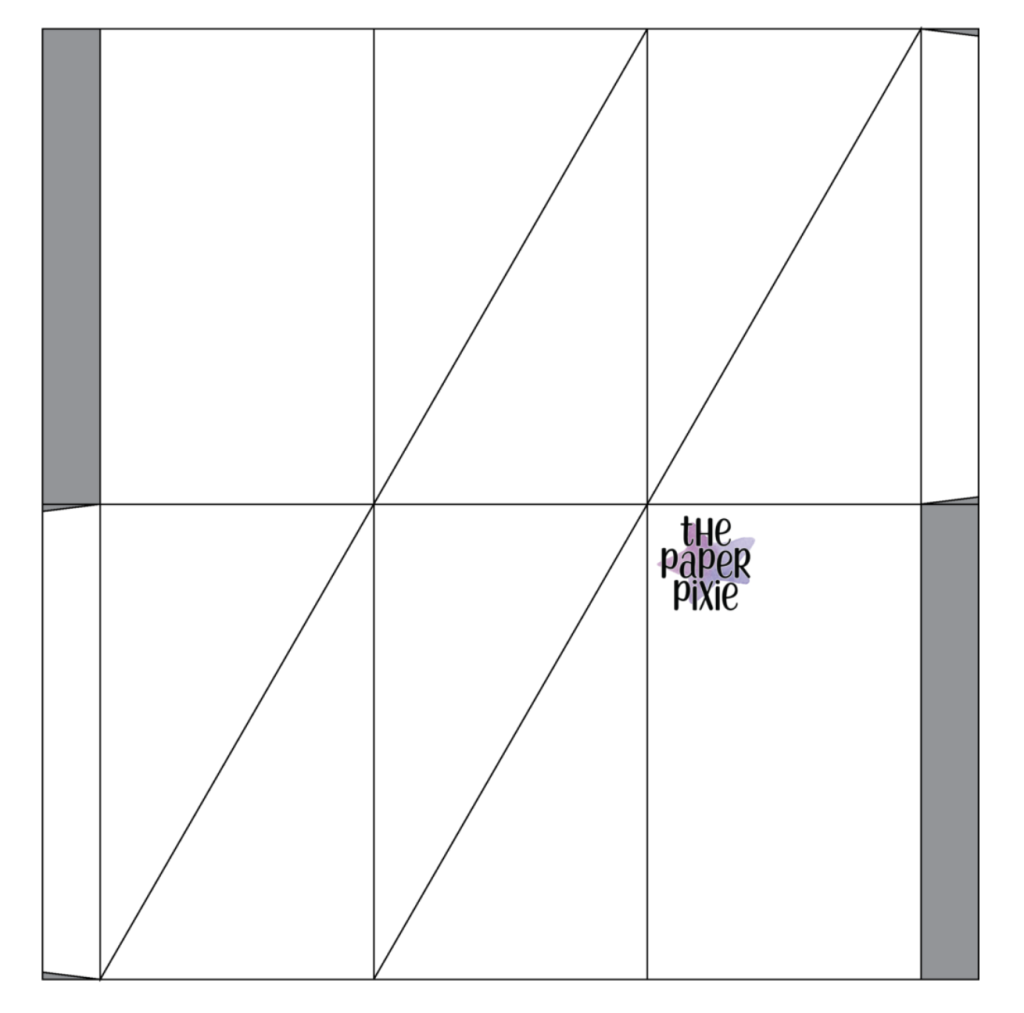
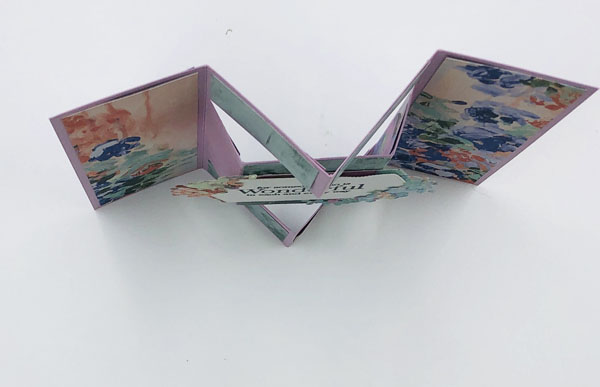
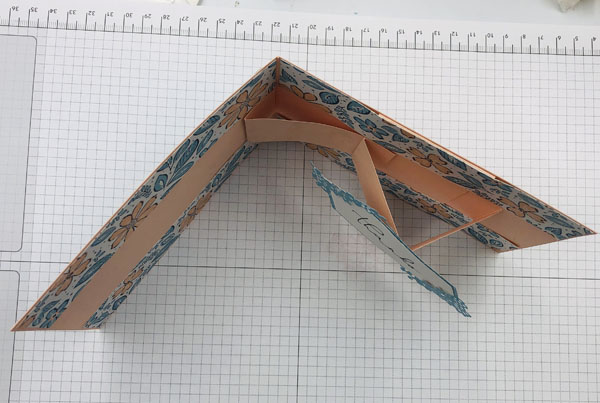
As you open the card, a greeting slides out the bottom and the focal image pops out. While it looks complicated, it really is easy to make. There are several pieces to the card and some scoring that is straight forward but not complicated to put together. The Specialty papers I used are not available until March 3. (Sorry to tease you but I just HAD to show you a bit of these beautiful papers.) Until then, choose your favorite papers and make this fun card. I give you the measurements below.
Supplies needed for this Beautiful Pop Out Greeting Card
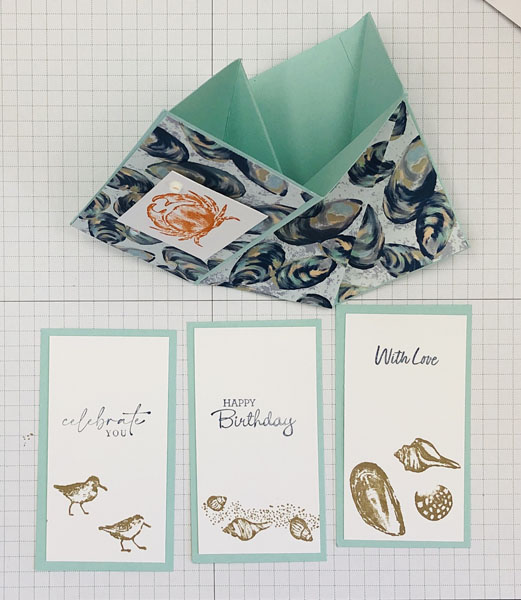
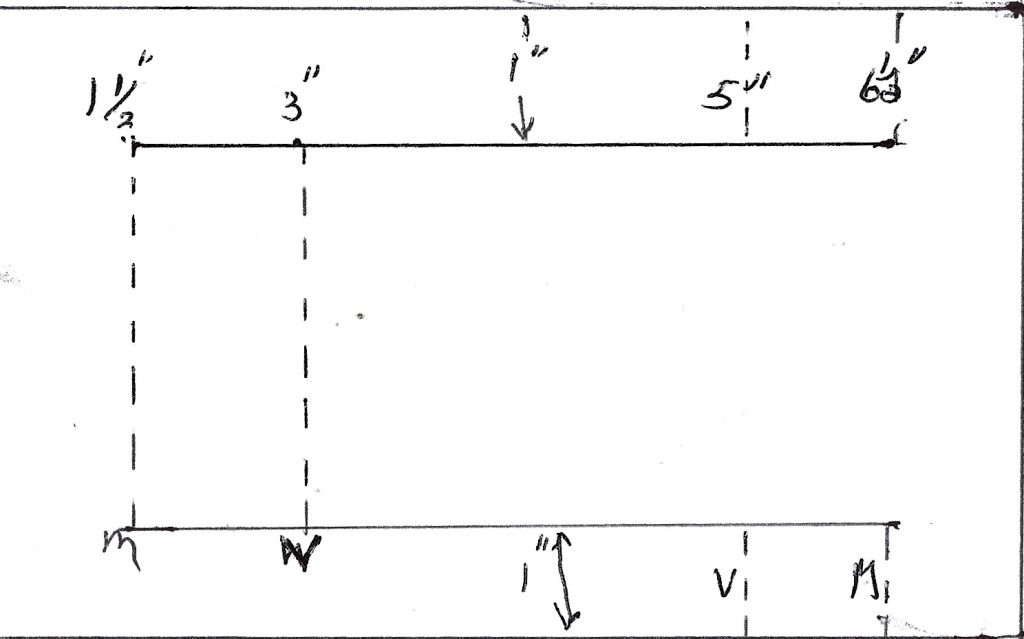
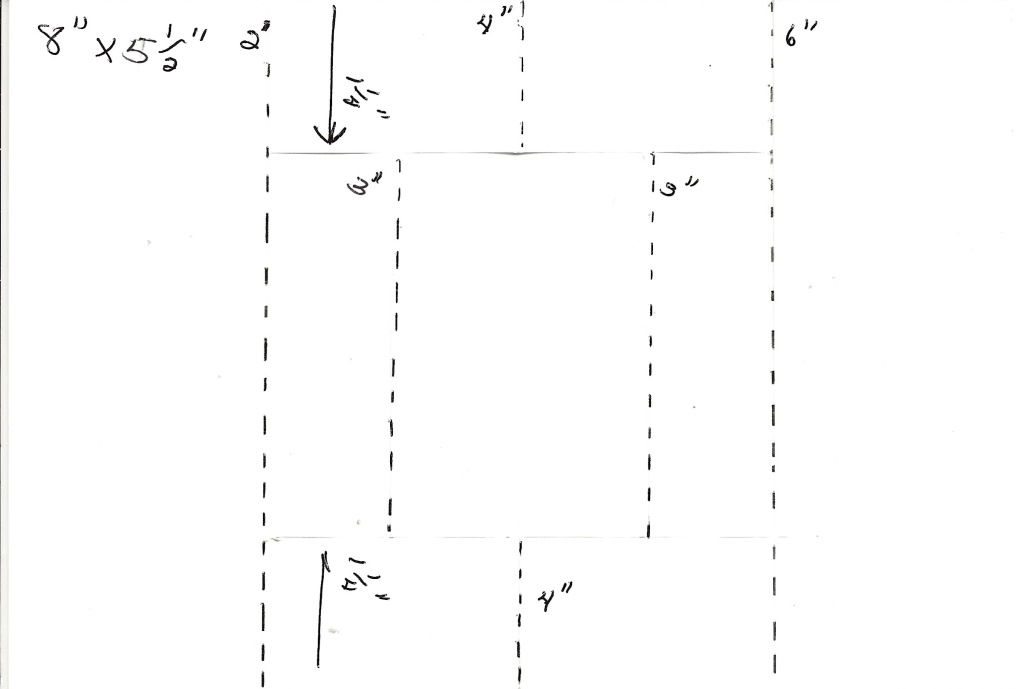
- Color of your choice cardstock – one piece 5 1/2″ x 4 1/4″ for card front, one piece 6″ x 3″ scored at 1/2″ and 1 5/8″ for pop out message, 1 piece 5 1/4″ x 3″ scored at 1/2″ on each end for the back, scraps for greetings
- Inside – I used Bronze Foil Paper 8 1/2″ x 4 1/4″ scored at 4 1/4″
- Inside pop up – again the Bronze Foil Paper 5 1/2″ x 3 1/2″ scored at 1/2″, 1 1/4″ and 5″
- Inside dsp layers – 2 pieces 3 1/4″ x 3″
When you have these pieces cut, you can watch this video to see how to construct this beautiful pop out greeting card.
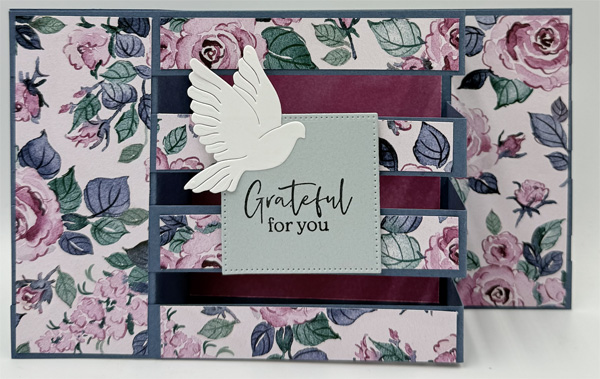
February Product of the Month
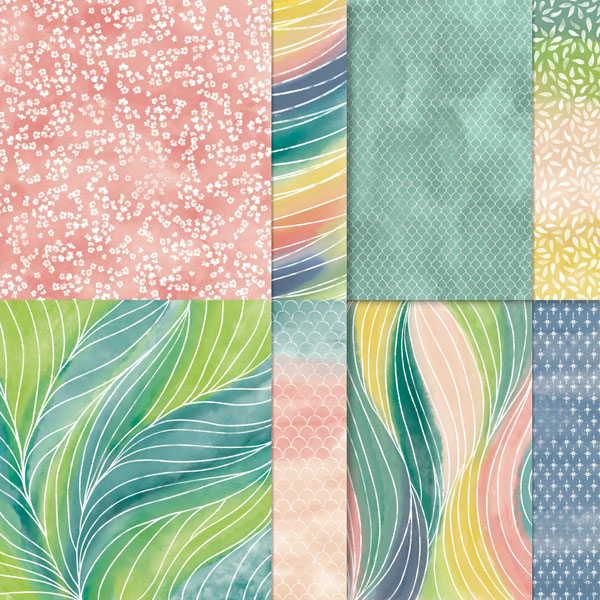
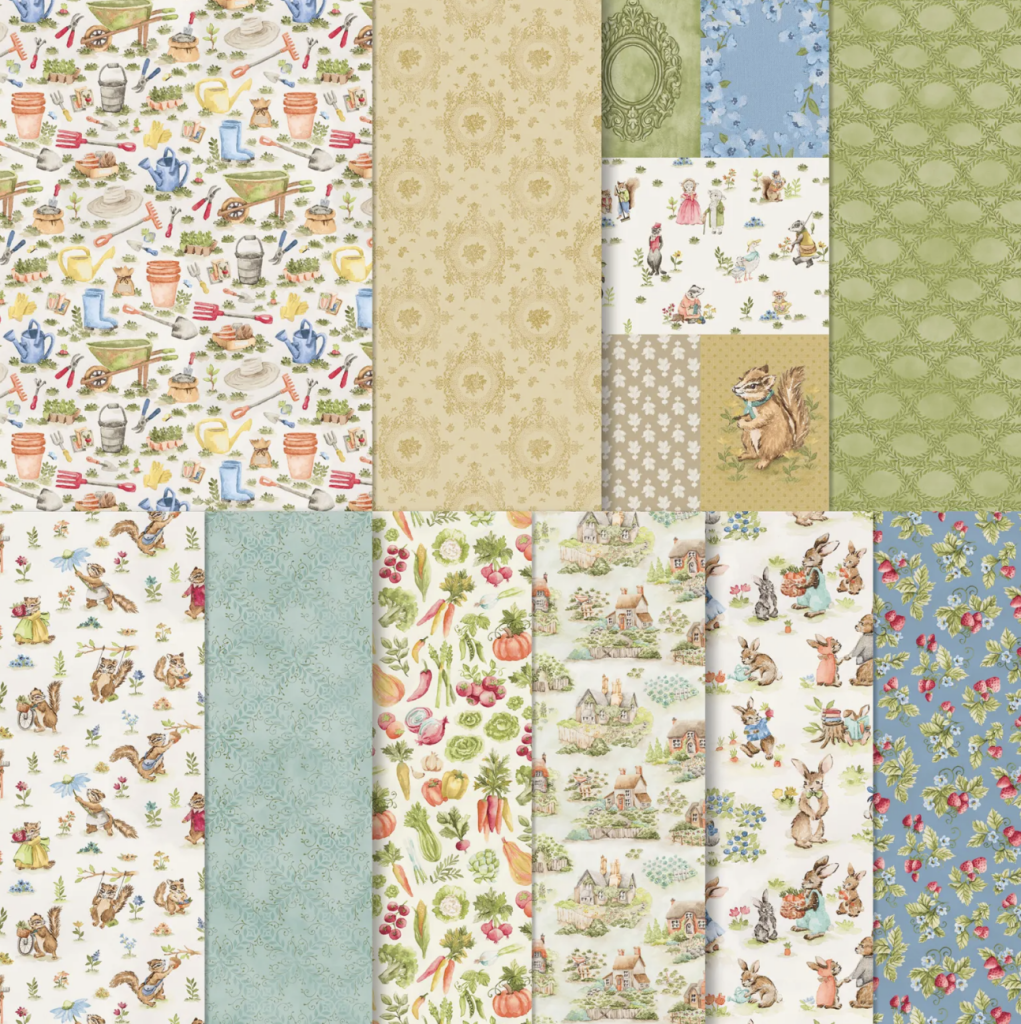
This beautiful Painted Illusions Designer Series Paper is the February Product of the Month. For just $5 when you place a $75 order this paper will be yours. Visit my online store to place your order with me. Thanks for your business.