My first attempts at using Pigment Sprinkles (149663) was a learning experience. Pigment Sprinkles are a new product in the 2019-2020 Annual catalog found on page 179. They are watercolor crystals in some of Stampin’ Up!’s signature colors and are HIGHLY concentrated. They come in a set of 6 colors, Bermuda Bay, Daffodil Delight, Granny Apple Green, Gorgeous Grape, Mango Melody, and Melon Mambo. The bottles have a screw-on lid and a plastic insert with three holes that are covered with a hinged closure. Mix these crystals with water to make color washes.
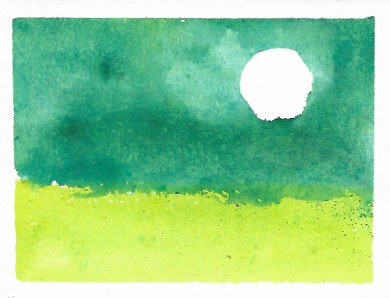
I was going for a light blue wash for a sky and a green wash for grass. My first try using Pigment Sprinkles resulted in the green being OK but…oh my…did I ever get too much Bermuda Bay! I punched out a piece of blue painter’s tape to make a circle mask for the sun. That is why the white spot in my ‘sky’.
My second try using pigment sprinkles was a little better as far as intensity of color was concerned. Can you say…green haze over everything? 🙂

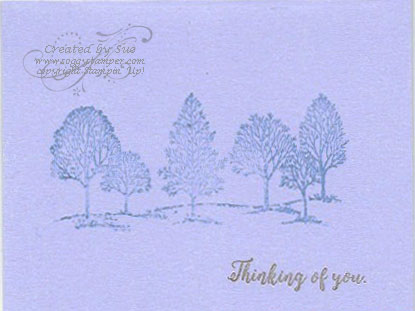
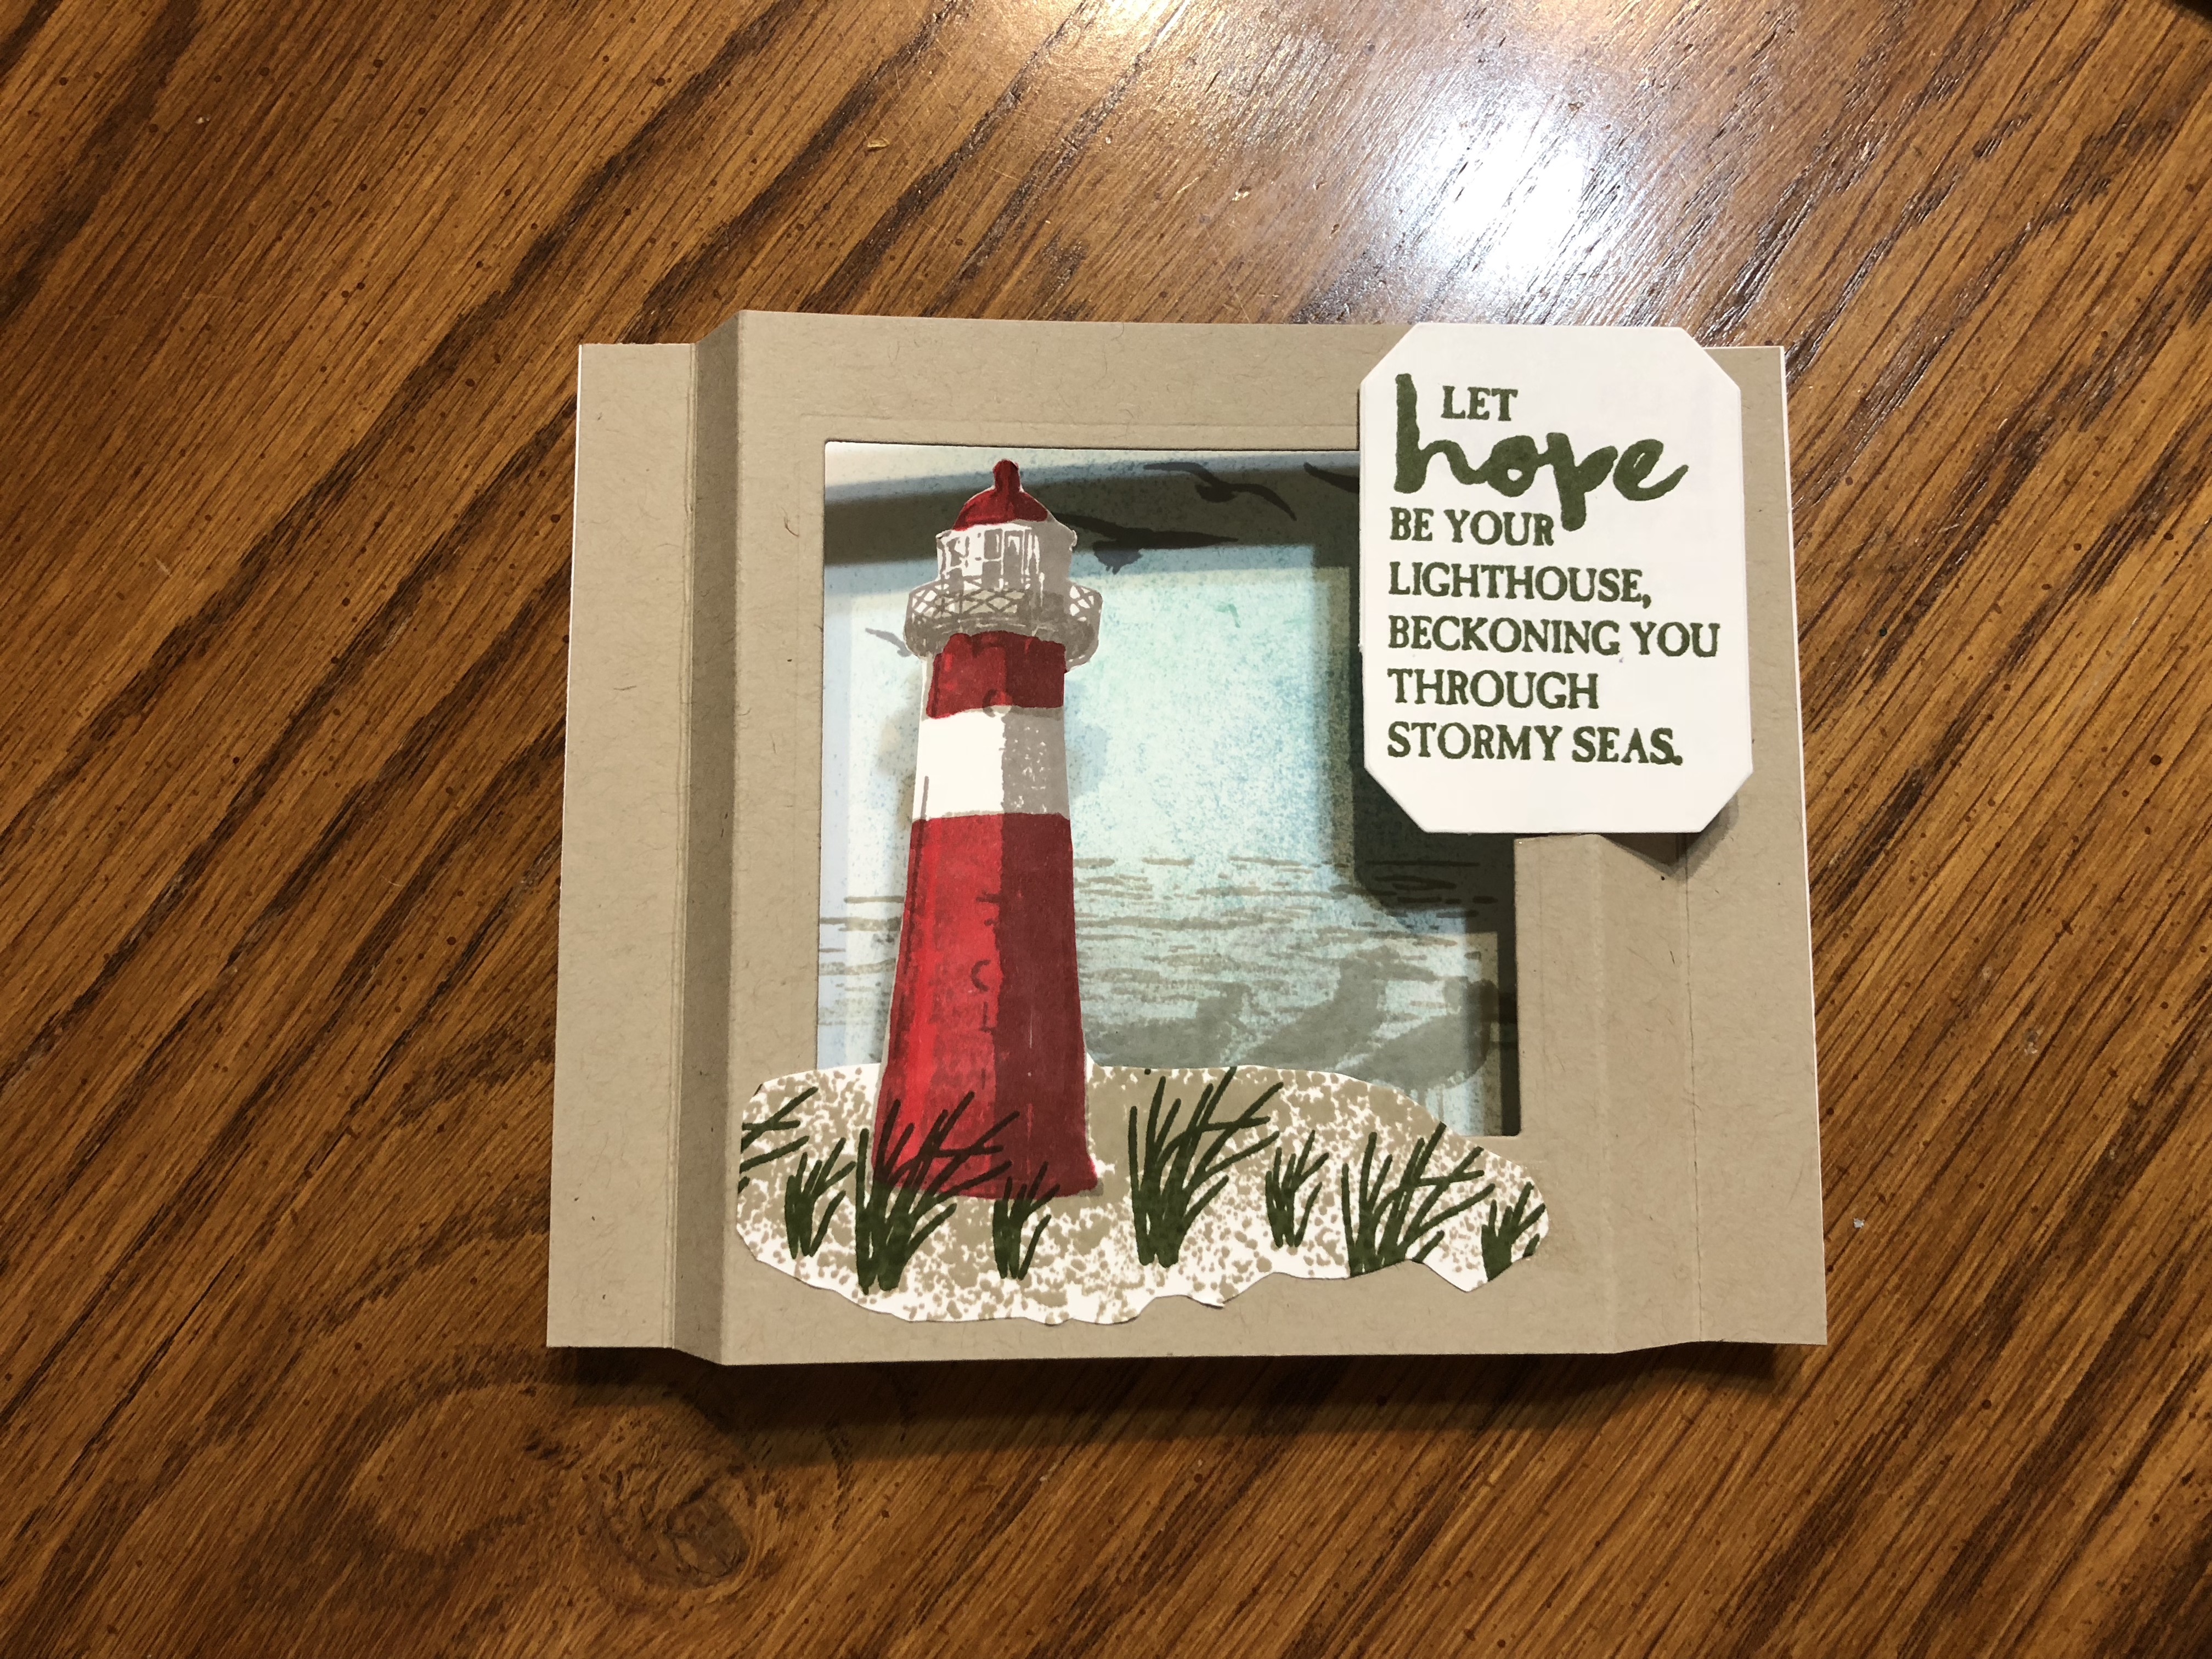
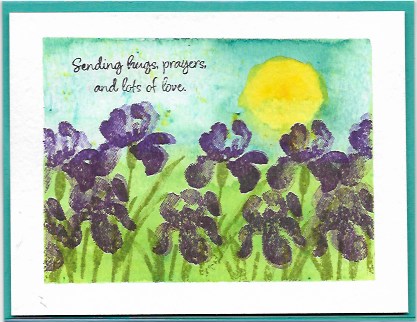
On my third try using pigment sprinkles, I put just one tiny clump of Bermuda Bay crystals, spritzed just a little water on the clump and then used an aqua painter to spread the color around. I added another tiny speck of crystals to another spot until I got good coverage. I also added a touch of the Bermuda Bay sprinkles to the Granny Apple sprinkles to change the color of the grass. A tiny touch of Daffodil Delight sprinkles colored the sun after removing the painter’s tape mask. This is what I was going for. I love the final card!
So my advice to you is to get these Pigment Sprinkles and play around with them. They are easy to mix to get other shades and colors. Be sure to use watercolor paper or Shimmery White cardstock that will hold up under use of water. Most importantly, add just a touch of sprinkles at first and add more if needed.
Supplies Used:
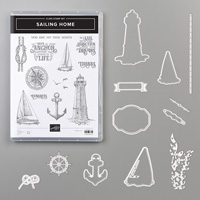
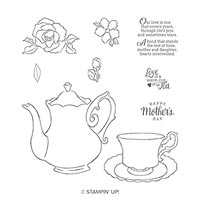
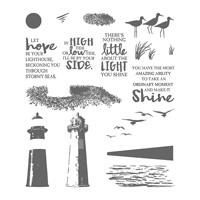
Stamp Set – Inspiring Iris (photopolymer – 149268)
Paper (including cutting measurements) –
Bermuda Bay cardstock (131197) 8 1/2″ x 5 1/2″
Watercolor paper (149612) 5 1/4″ x 4″
Whisper White cardstock (100730) 5 1/2 x 4″ for inside
Inks –
Tuxedo Black Memento Ink (132708)
Pear Pizzazz Classic Stampin’ Pad (147104)
Gorgeous Grape Classic Stampin’ Pad (147099)
Accessories –
Pigment Sprinkles (149663)
Aqua Painter (103954)
SNAIL Adhesive (104332)
Stampin’ Dimensionals (104430)
Blue Painter’s Tape (to tape off a border)
Thanks for coming by to visit. Grab a cup of coffee or tea and sit a while and browse through my posts. Please leave a comment so I know you have been here.