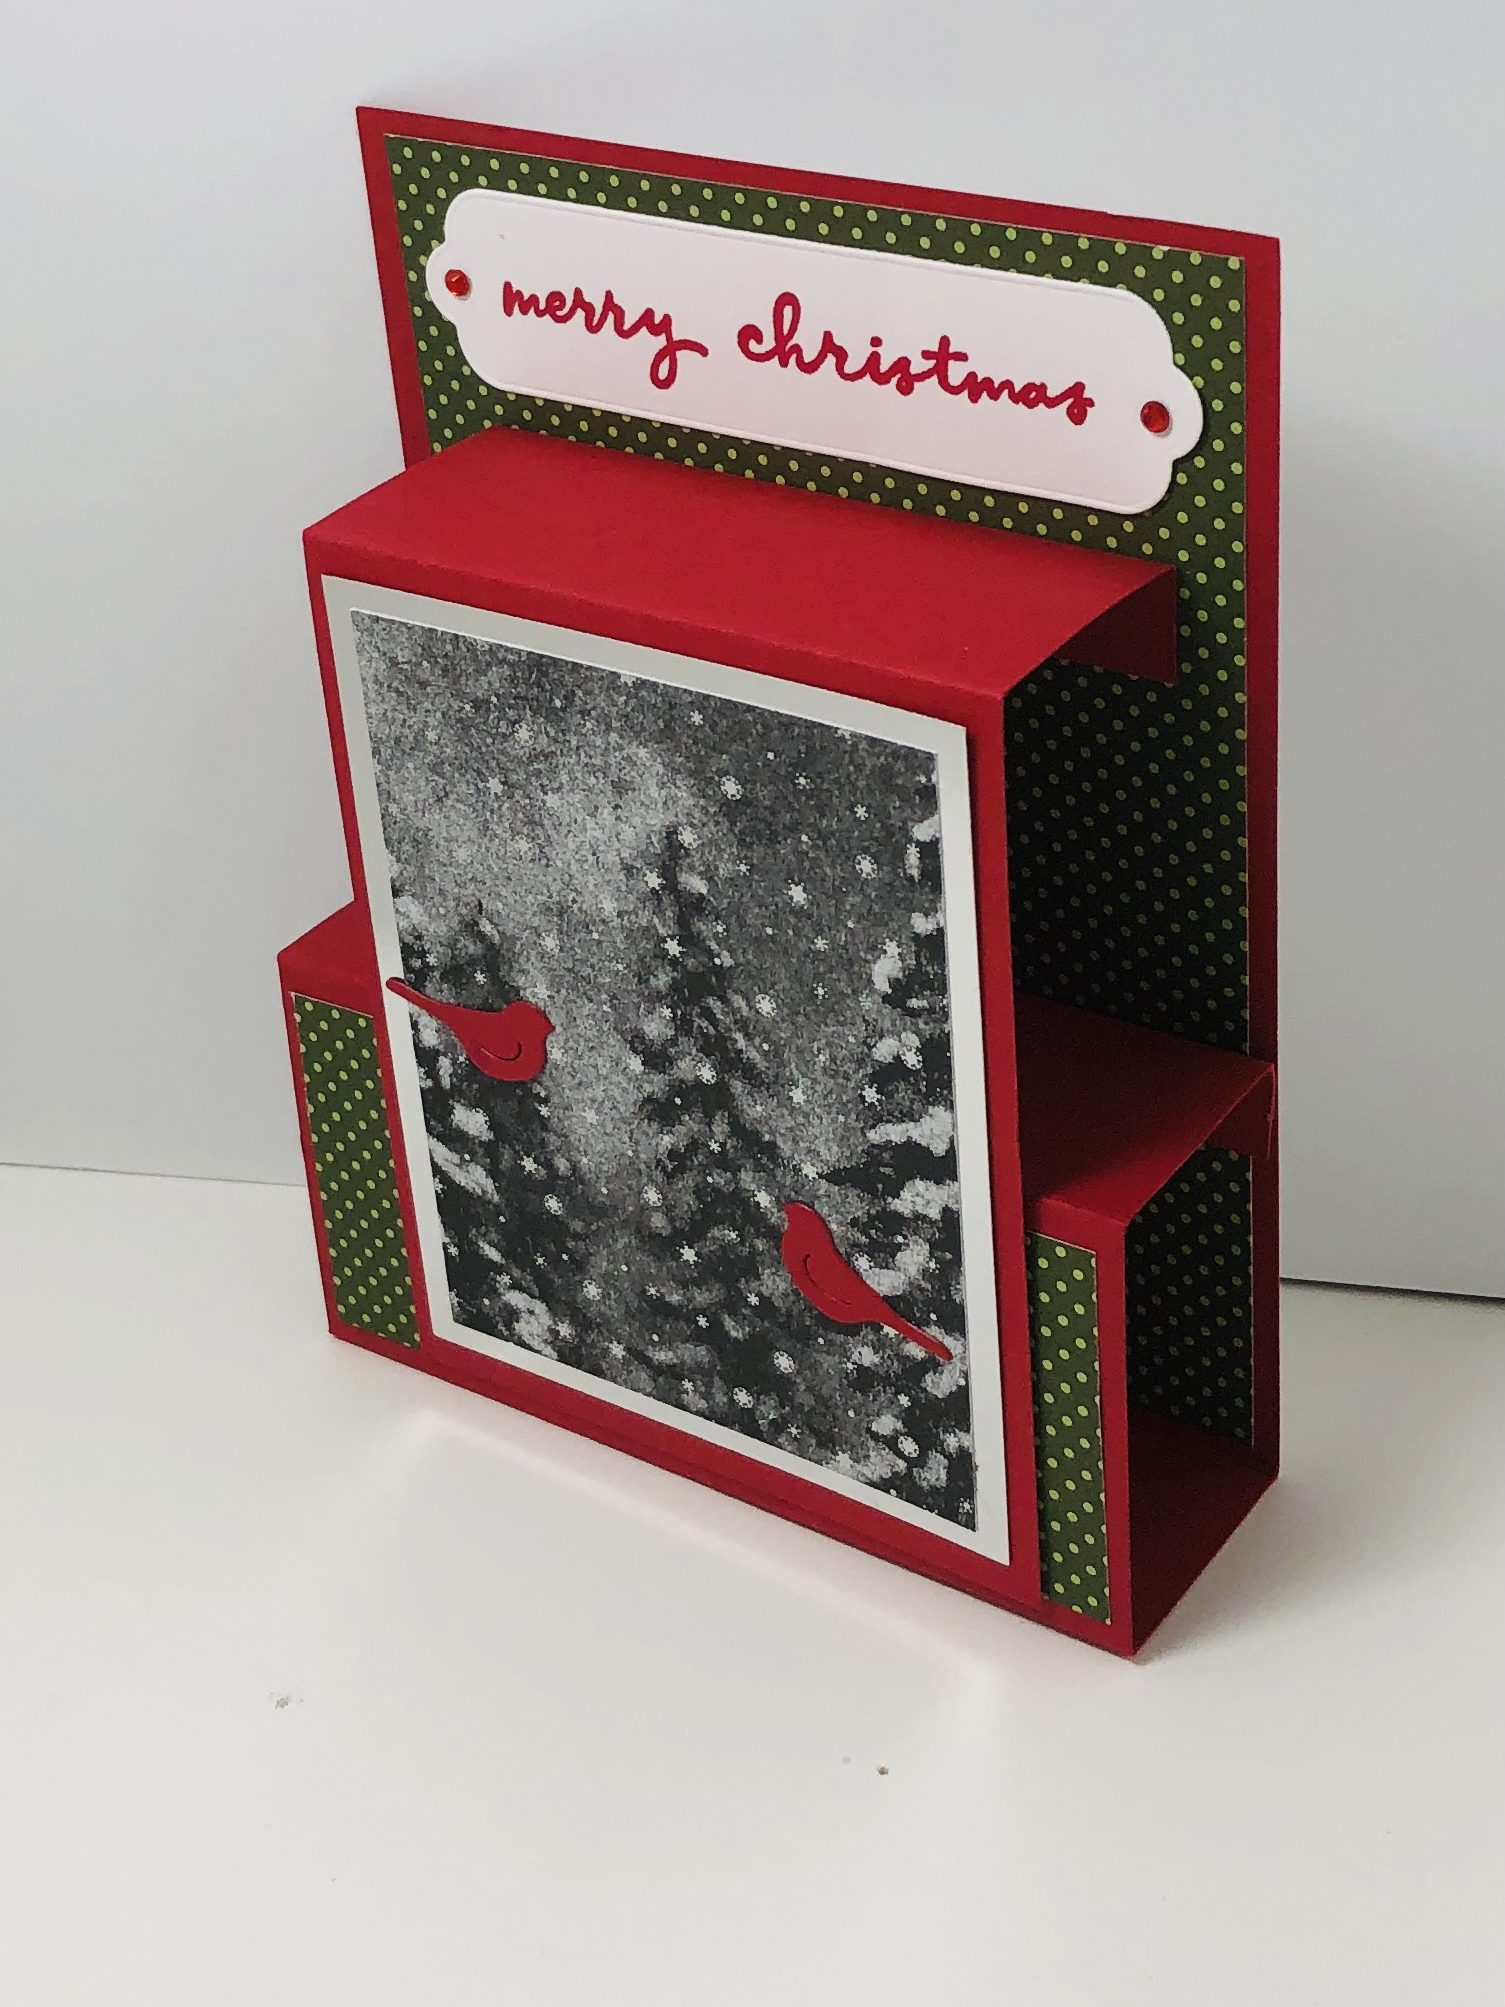
In this post I am featuring the Peaceful Place Suite (156277). This suite of products includes several unique offerings. First there is the Peaceful Cabin stamp set and coordinating Cabin dies. Then there is the beautiful Peaceful Place Specialty Designer Series Paper. You really have to see this paper to appreciate it because the silver embossing does not show up in the photo in the catalog. The colors of this paper are Smoky Slate, Basic Gray and Black with one side of the dsp having silver embossing. The suite includes Snowy White 12″ x 12″ velvet sheets, Timber 3D Embossing Folder, Subtle Shimmer Sequins, and White 3/8″ Glittered Organdy Ribbon.

This is the first card I created with the Peaceful Cabin bundle. This stamp set is a DistINKtive set so you get wonderful depth to the image with only one stamping. The background is Pool Party cardstock on which I stamped the snowflake stamp with Craft White ink. This ink is slower to dry than the classic Stampin’ Up! inks so I was able to add retired Iridescent Ice embossing powder to the snowflakes for a little sparkle. It’s there, the scanner just can’t pick it up. I have a very good friend who just moved to the mountainous Northern Arizona to a log house they built. This card is for them. I’m sure they will like it.
- Peaceful Cabin Bundle
- Basic White Cardstock 8 1/2″ 5 1/2″ scored and folded at 4 1/4″ for card base , 5 1/4″ x 4″ for stamped images, scrap
- Pool Party Cardstock 5 1/4″ x 4″
- Mossy Meadow, Soft Suede, Cinnamon Cider, and Craft White inks
Supplies for Daytime Card Featuring Peaceful Place Suite
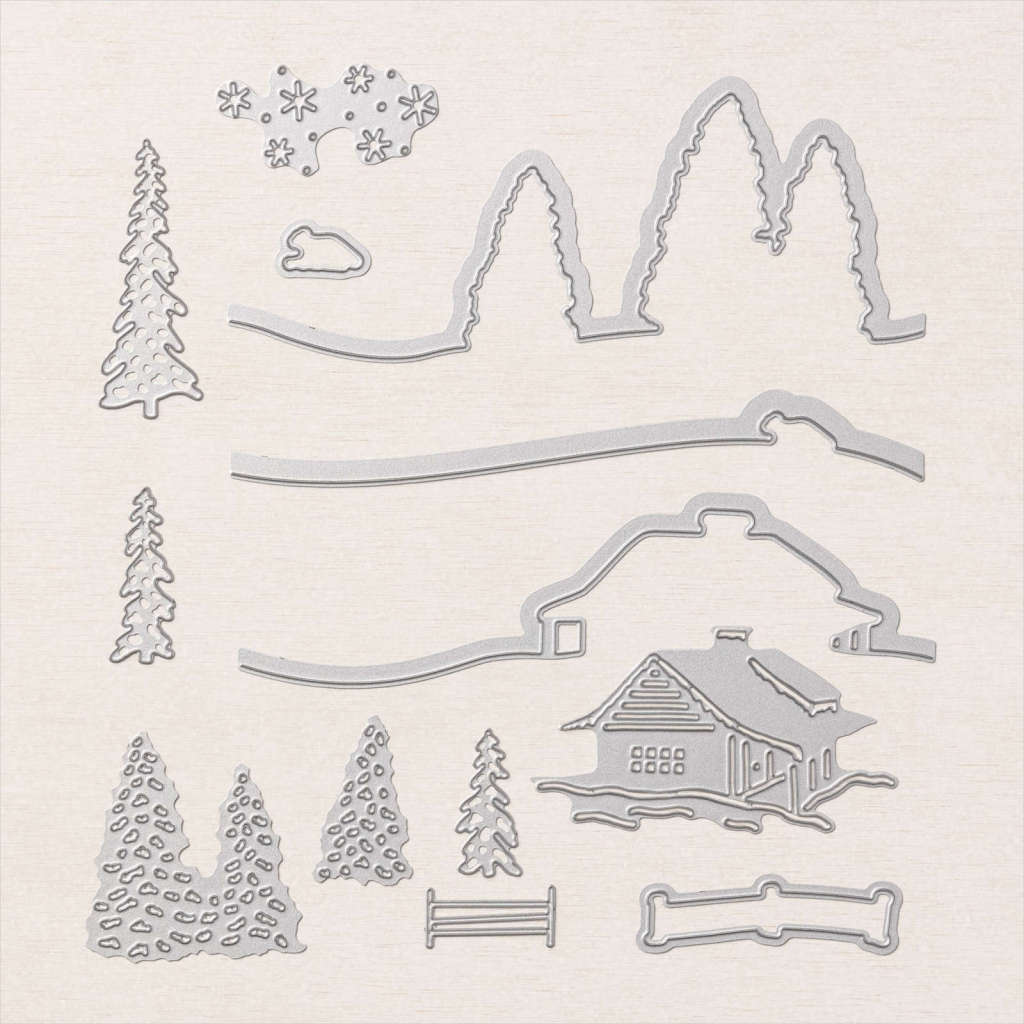
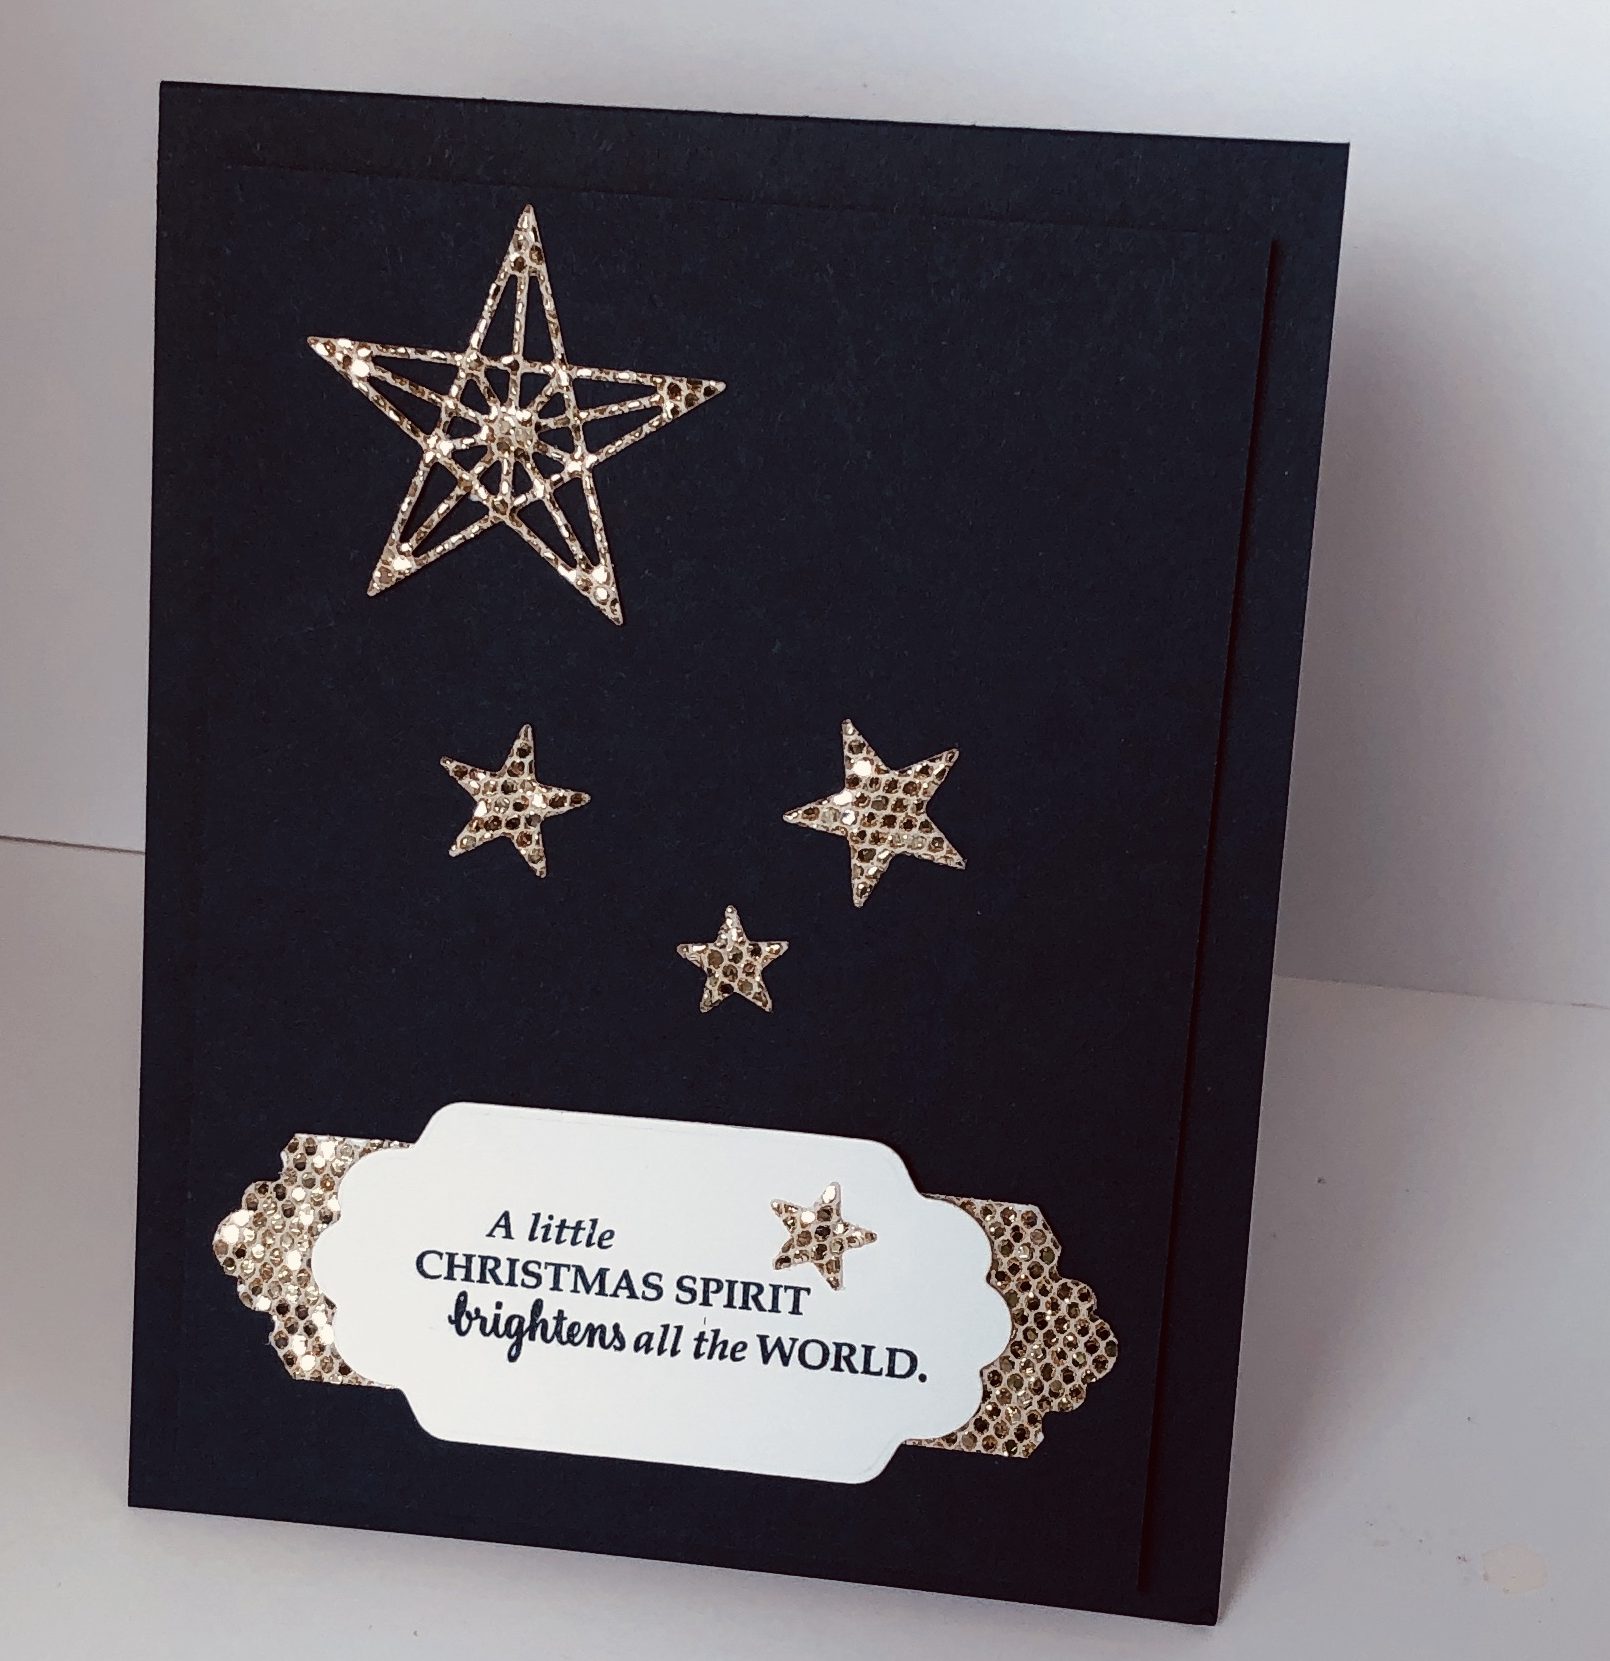
These are the Cabin Dies. At first I tried to use both the outline and the detail cabin dies together to cut out the cabin. The results were not good! I went on pinterest for ideas of how others had used the dies and realized that the two together were intended to cut a silhouette of the cabin. So I created this card that is like a crisp winter night.

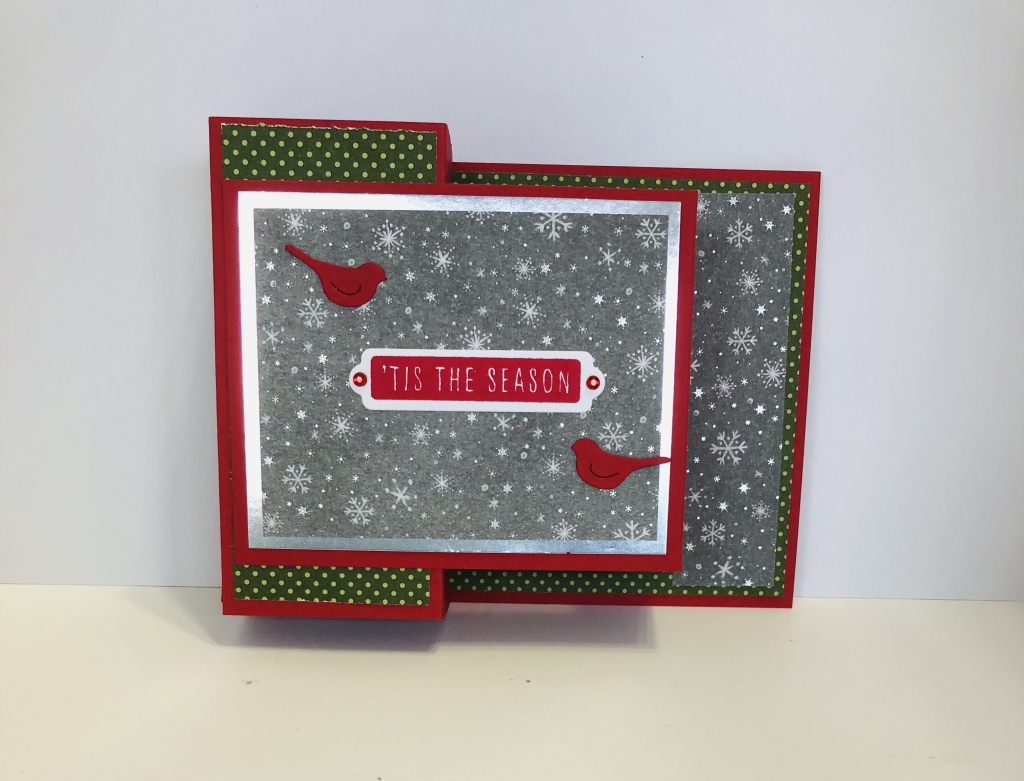
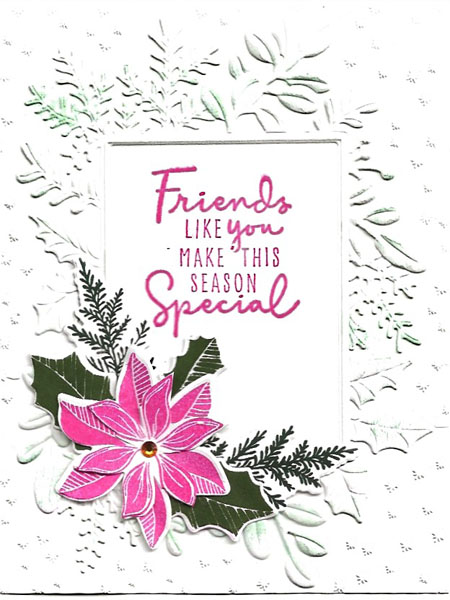
One of the lovely designs of the Peaceful Place Specialty Designer Series Papers is this snowflake design. The snowflakes are white and then there are silver foil dots. This time, the scanner was able to pick up the shine. I used the White 3/8″ Glittered Organdy Ribbon as an accent and stamped the greeting from the Sparkle of the Season stamp set in Real Red ink to add a touch of color to the card. I cut the greeting out with one of the Seasonal Labels dies.
Supplies for Nighttime Card Featuring Peaceful Place Suite
- Basic Gray Cardstock 8 1/2″ x 5 1/2″ scored and folded at 4 1/4″ for card base
- Peaceful Place Specialty Designer Series Paper 5 1/2″ x 4″ for card #2
- Basic Black Cardstock 5 1/4″ x 4″
- Basic White Cardstock 5 1/4″ x 4″ for inside of card, scrap for greeting
- Real Red Ink
- White 3/8″ Glittered Organdy Ribbon
- Click here to be taken to the shopping cart on my online store for the products used in this card. You can remove any products you already have.