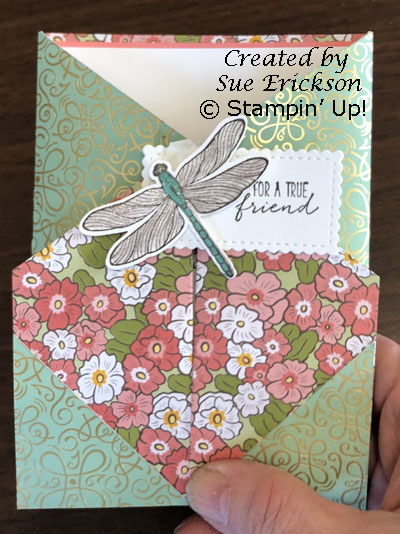
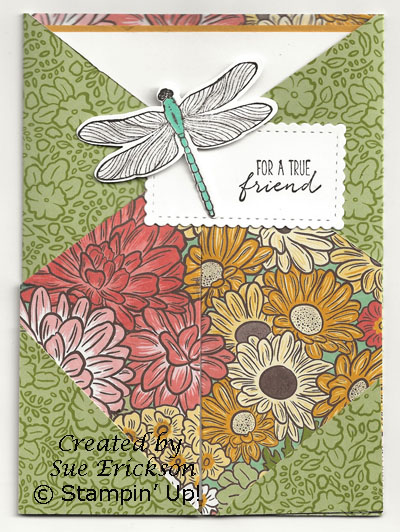
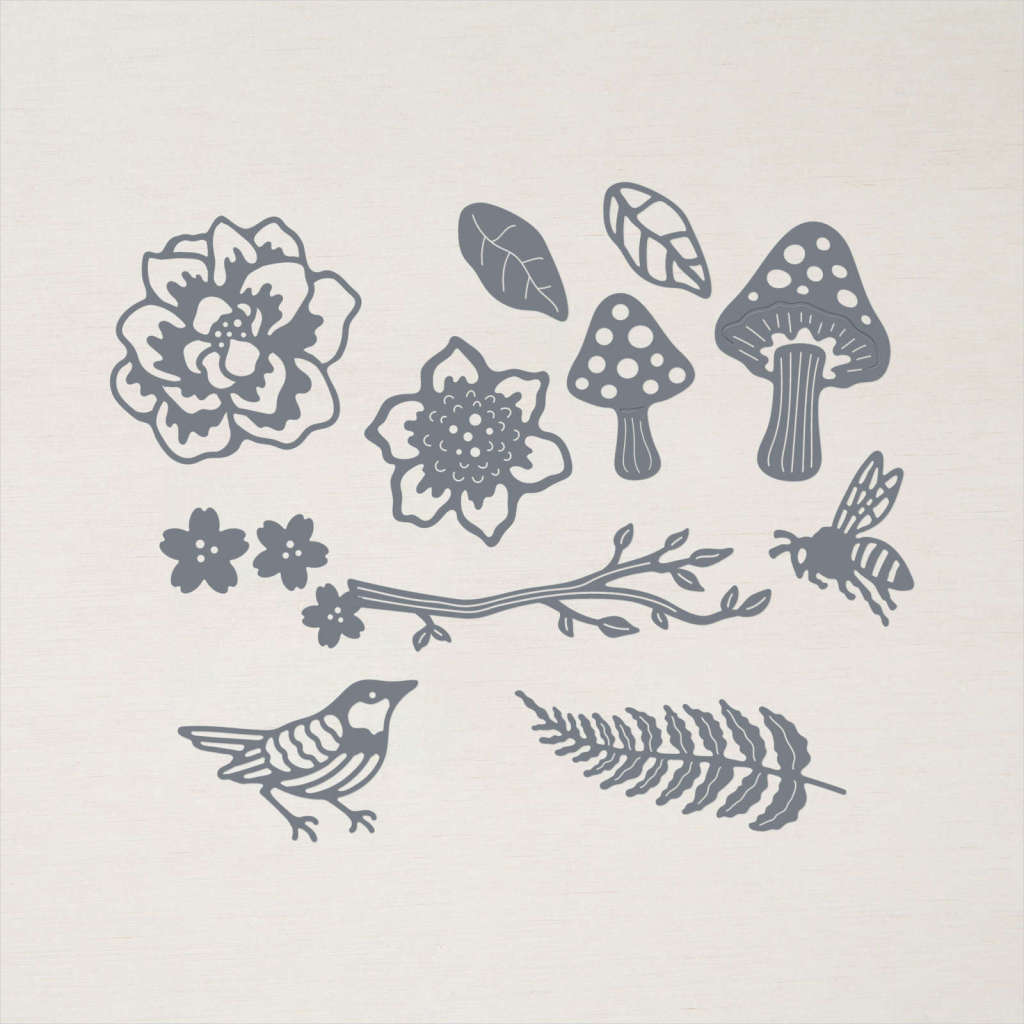
I love the way the Iconic Dies stand out on this corner tuck card! I totally overlooked the iconic dies found on page 163 the first and even the second time I poured over the 2021-2022 Annual Catalog. It wasn’t until I saw a card similar to this on Facebook that I actually looked closely at the dies. Check out the wonderful variety of dies in this set.
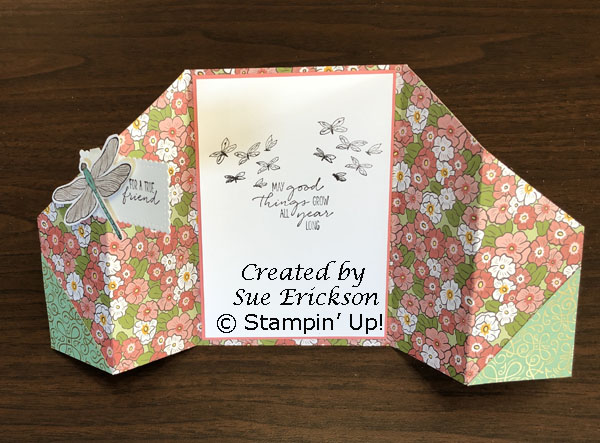
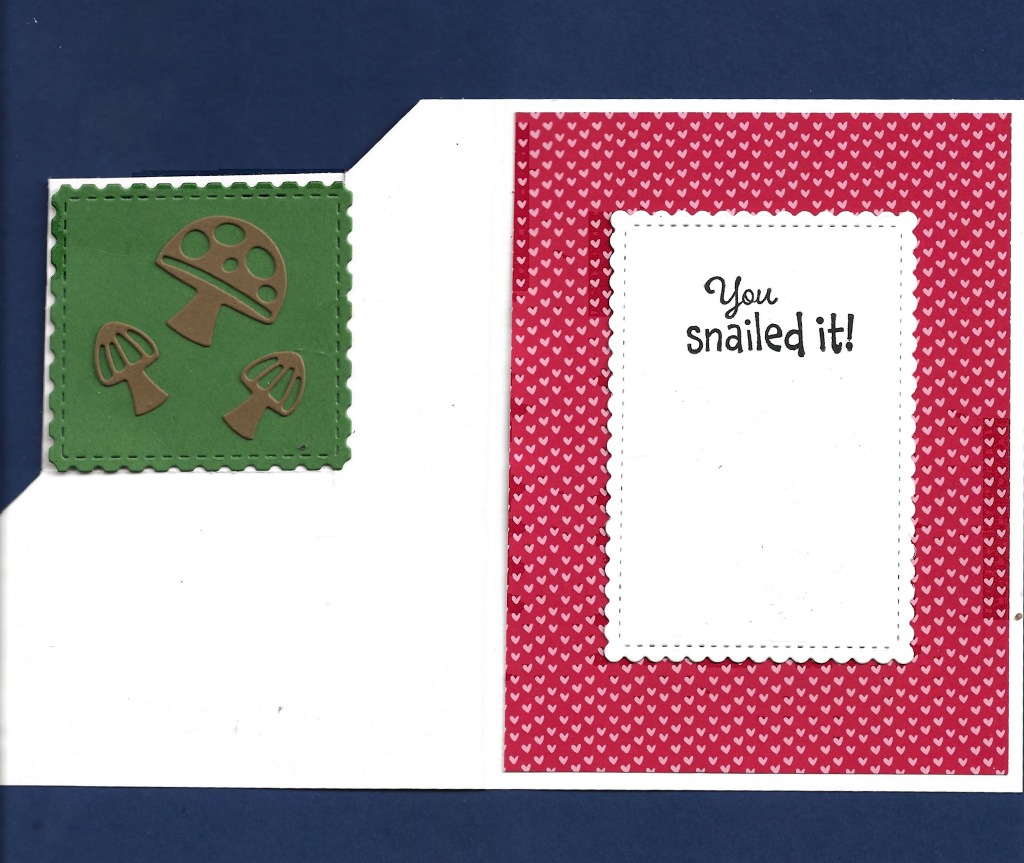
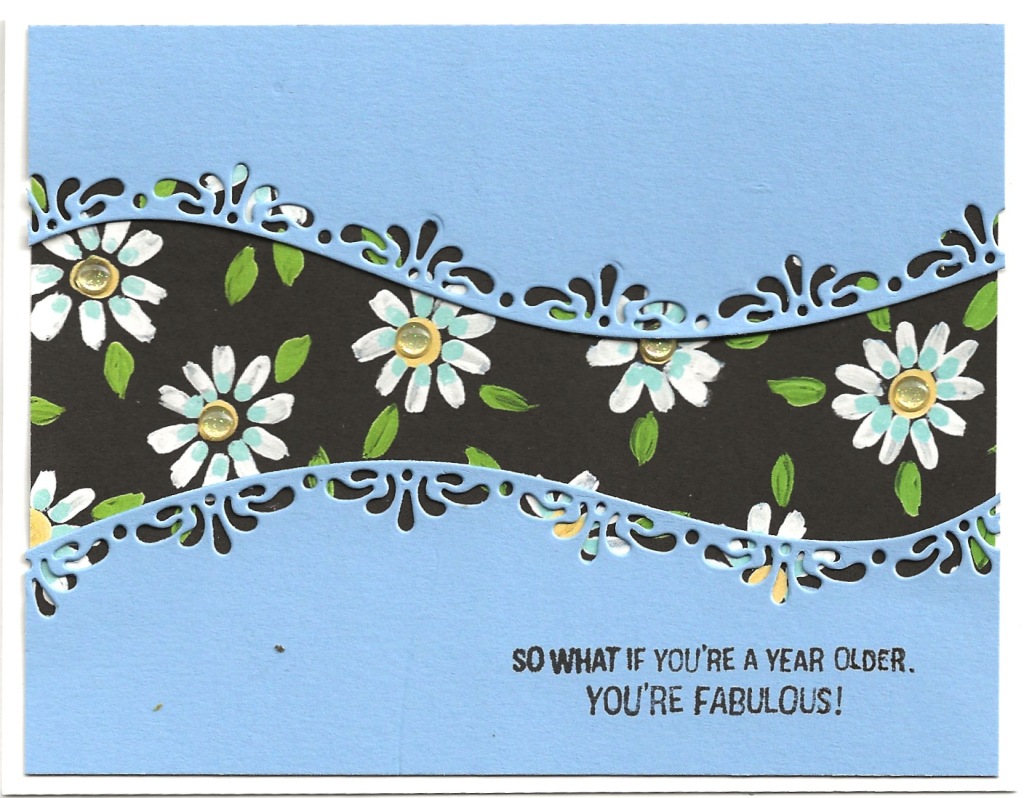
These dies do not correspond with a specific stamp set but you can see how nicely they work with the Daisy Lane stamp set in this Iconic corner tuck card. The iconic dies stand out on this is a fancy fold card where the corner of the front tucks into a triangle on the upper right corner.
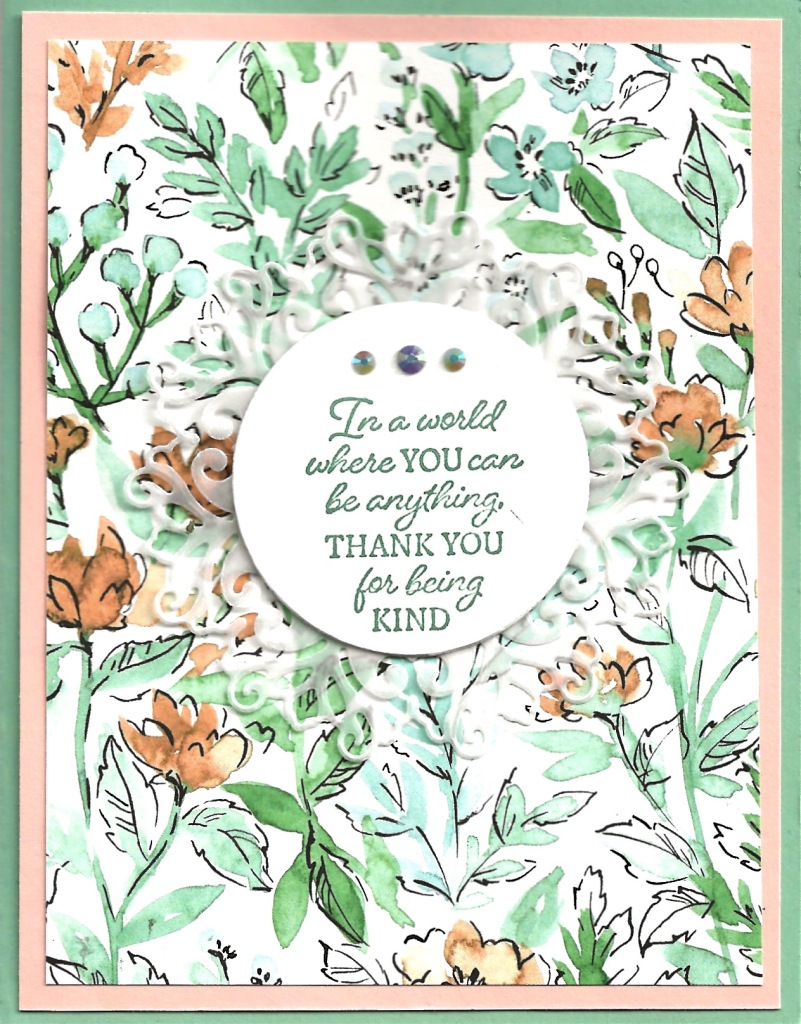
I stamped the fern image from the Daisy Lane stamp set all over the flap, the inside of the card and on the triangle with Pear Pizzazz ink; a verse from the Encircled in Friendship stamp set on Basic White cardstock with Mossy Meadow ink; and the greeting ‘Smile’ on another scrap of Basic White with Mossy Meadow ink. I cut the greeting out with the smallest rectangle in the Stitched So Sweetly dies.
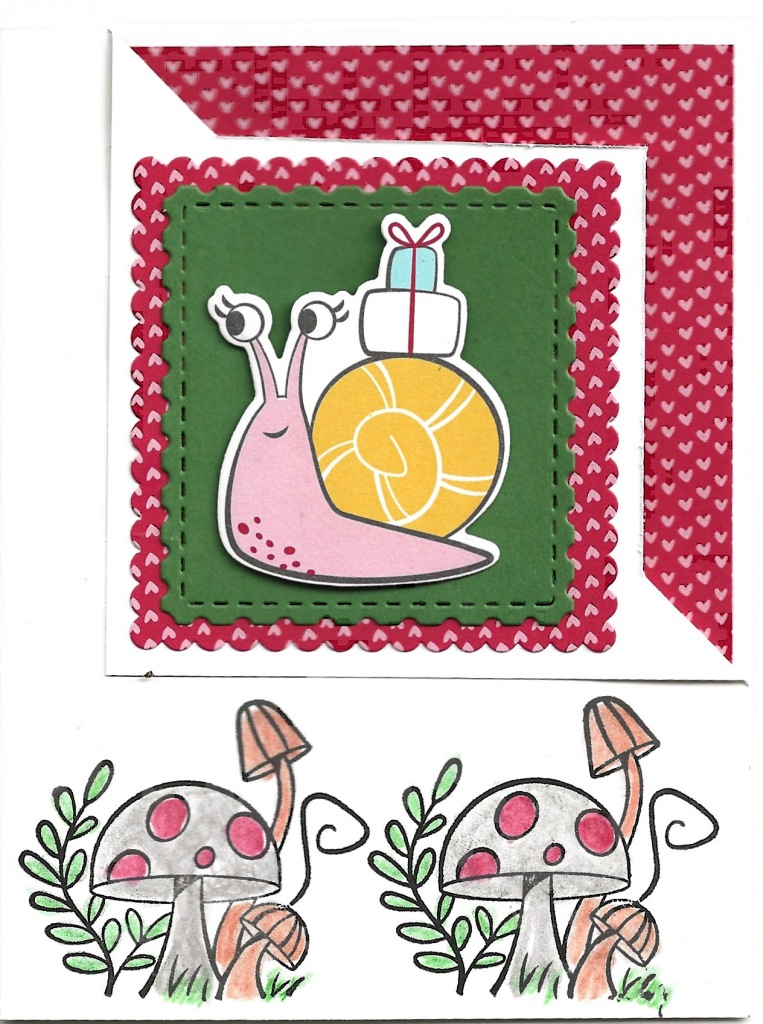
The Soft Suede piece of cardstock was run through the die-cutting machine with the Bark 3D embossing folder to give it a woodsy texture. I then adhered it to a piece of Mossy Meadow cardstock which was glued to the card front flap. The mushrooms were sponged with Real Red ink before being glued to the front. I cut the fern fronds from Pear Pizzazz cardstock.
Supplies Used in Making Iconic Dies Stand Out:
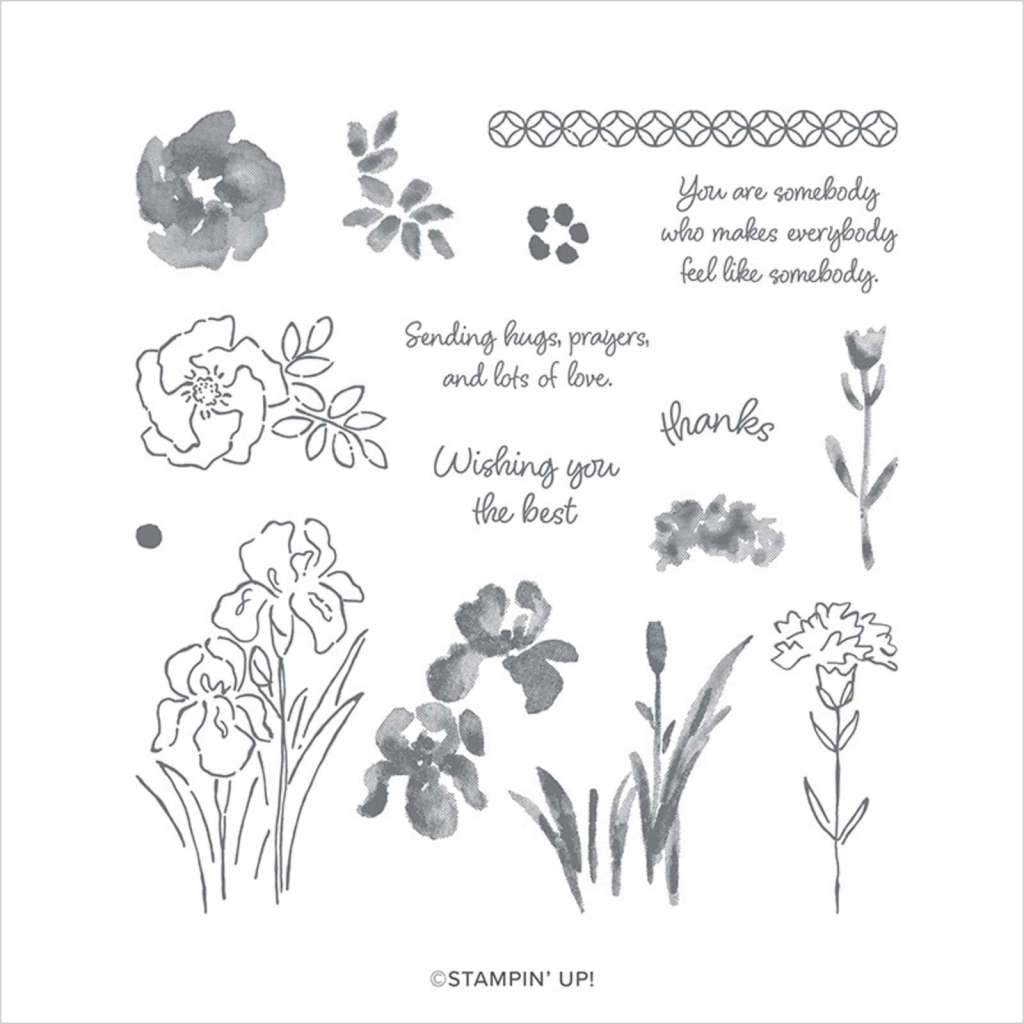
- Daisy Lane and Encircled in Friendship stamp sets
- Real Red, Pear Pizzazz, and Mossy Meadow ink
- Basic White Cardstock – 8″ x 4 1/4″ scored at 2 1/2″, 2 1/4″ x 2 1/4″ cut diagonally in half, 3″ x 4″ for inside greeting, scraps for mushrooms and front label
- Mossy Meadow Cardstock – 3 1/4″ x 4 1/4″
- Soft Suede Cardstock – 3″ x 4″
- Pear Pizzazz cardstock – scrap for fern fronds
- Iconic dies
- Bark 3D embossing folder
- Sponge Dauber
- Trimmer
- Multipurpose Liquid Glue and Stampin’ Seal
- Stampin’ Cut & Emboss Machine
- To order these supplies click here to see my shopping cart
Thanks for stopping by my blog today. I’d love to have you leave a comment so I know you were by. Also remember that this month Stampin’ Up! is having a Designer Series Paper Sale. Hop on over to my online store and stock up on your favorites while they are on sale!